Farm Notes
I’m a bit at a loss for words today, as I sit comfortably in our cozy farmhouse while knowing the untold amount of suffering, fear, and pain happening in Ukraine right now. I’m certainly not qualified to speak on the politics of the moment, but I am committed to learning more about how I (and we, as a global community) can support the people in Ukraine in the days, weeks, and months to come. There are a few food-focused accounts on social media that I am following that I can recommend to stay informed – @oliahercules, @alissatimoshkina, and the hashtag #cookforukraine to name a few.
And in this moment, the best thing I can think to do is to plant seeds. Because I believe there are few things more hopeful or powerful than planting seeds of new life in the face of darkness.
While we work with a few local farms and nurseries to start the majority of our seeds (since we don’t have a proper greenhouse), every season I still start a few trays of seeds that go in our mini indoor greenhouses… and it’s seeding season my friends! If you haven’t started your own seeds before, I totally understand that the process can feel a bit intimidating. But I assure you that YOU CAN DO IT, and I’m here to help walk you through the process with heaps of info below…. ready, set, seed!
Seed Starting 101
SEEDING MATERIALS
*A note that I’m sharing Amazon links for these materials, but encourage you to purchase these items from your local garden shop if you can!
Seeds!
Seed trays (I usually use these 72-cell trays, but to start just a few plants I recommend these)
Clear dome lids OR a mini indoor greenhouse
Grow lights (optional, you can also set seed trays in a sunny, ideally south-facing window)
Heat mat (optional)
SEEDING INSTRUCTIONS
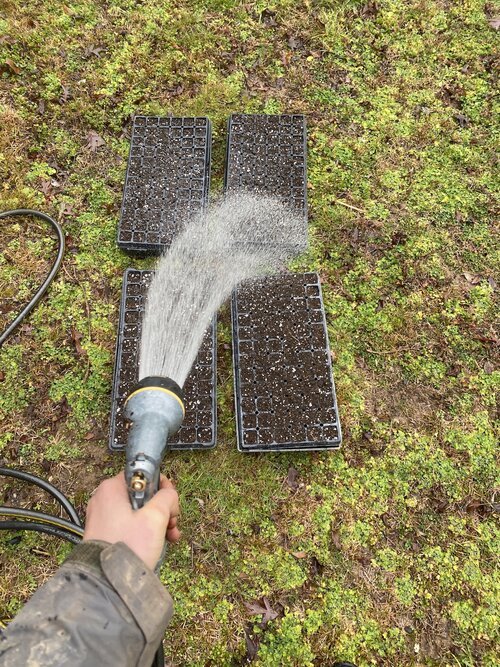
Fill each seed tray with potting soil, tapping the whole tray firmly against the ground as you go so the soil settles. Gently soak the soil-filled trays with a hose (make sure you have a nozzle so you can water the trays gently). Alternatively, you can get the soil wet before your fill your tray – but I find it’s easier to first fill the trays with dry soil and then to gently soak them.

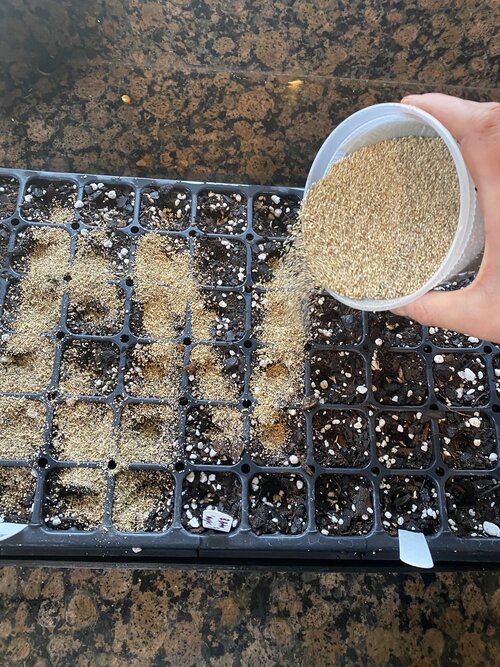
Make holes in each cell using your finger, a pencil, or a dibbler. A general rule is to plant the seed to a depth twice its size. Drop 1 or 2 seeds into each hole (unless seed packet specifically says otherwise).


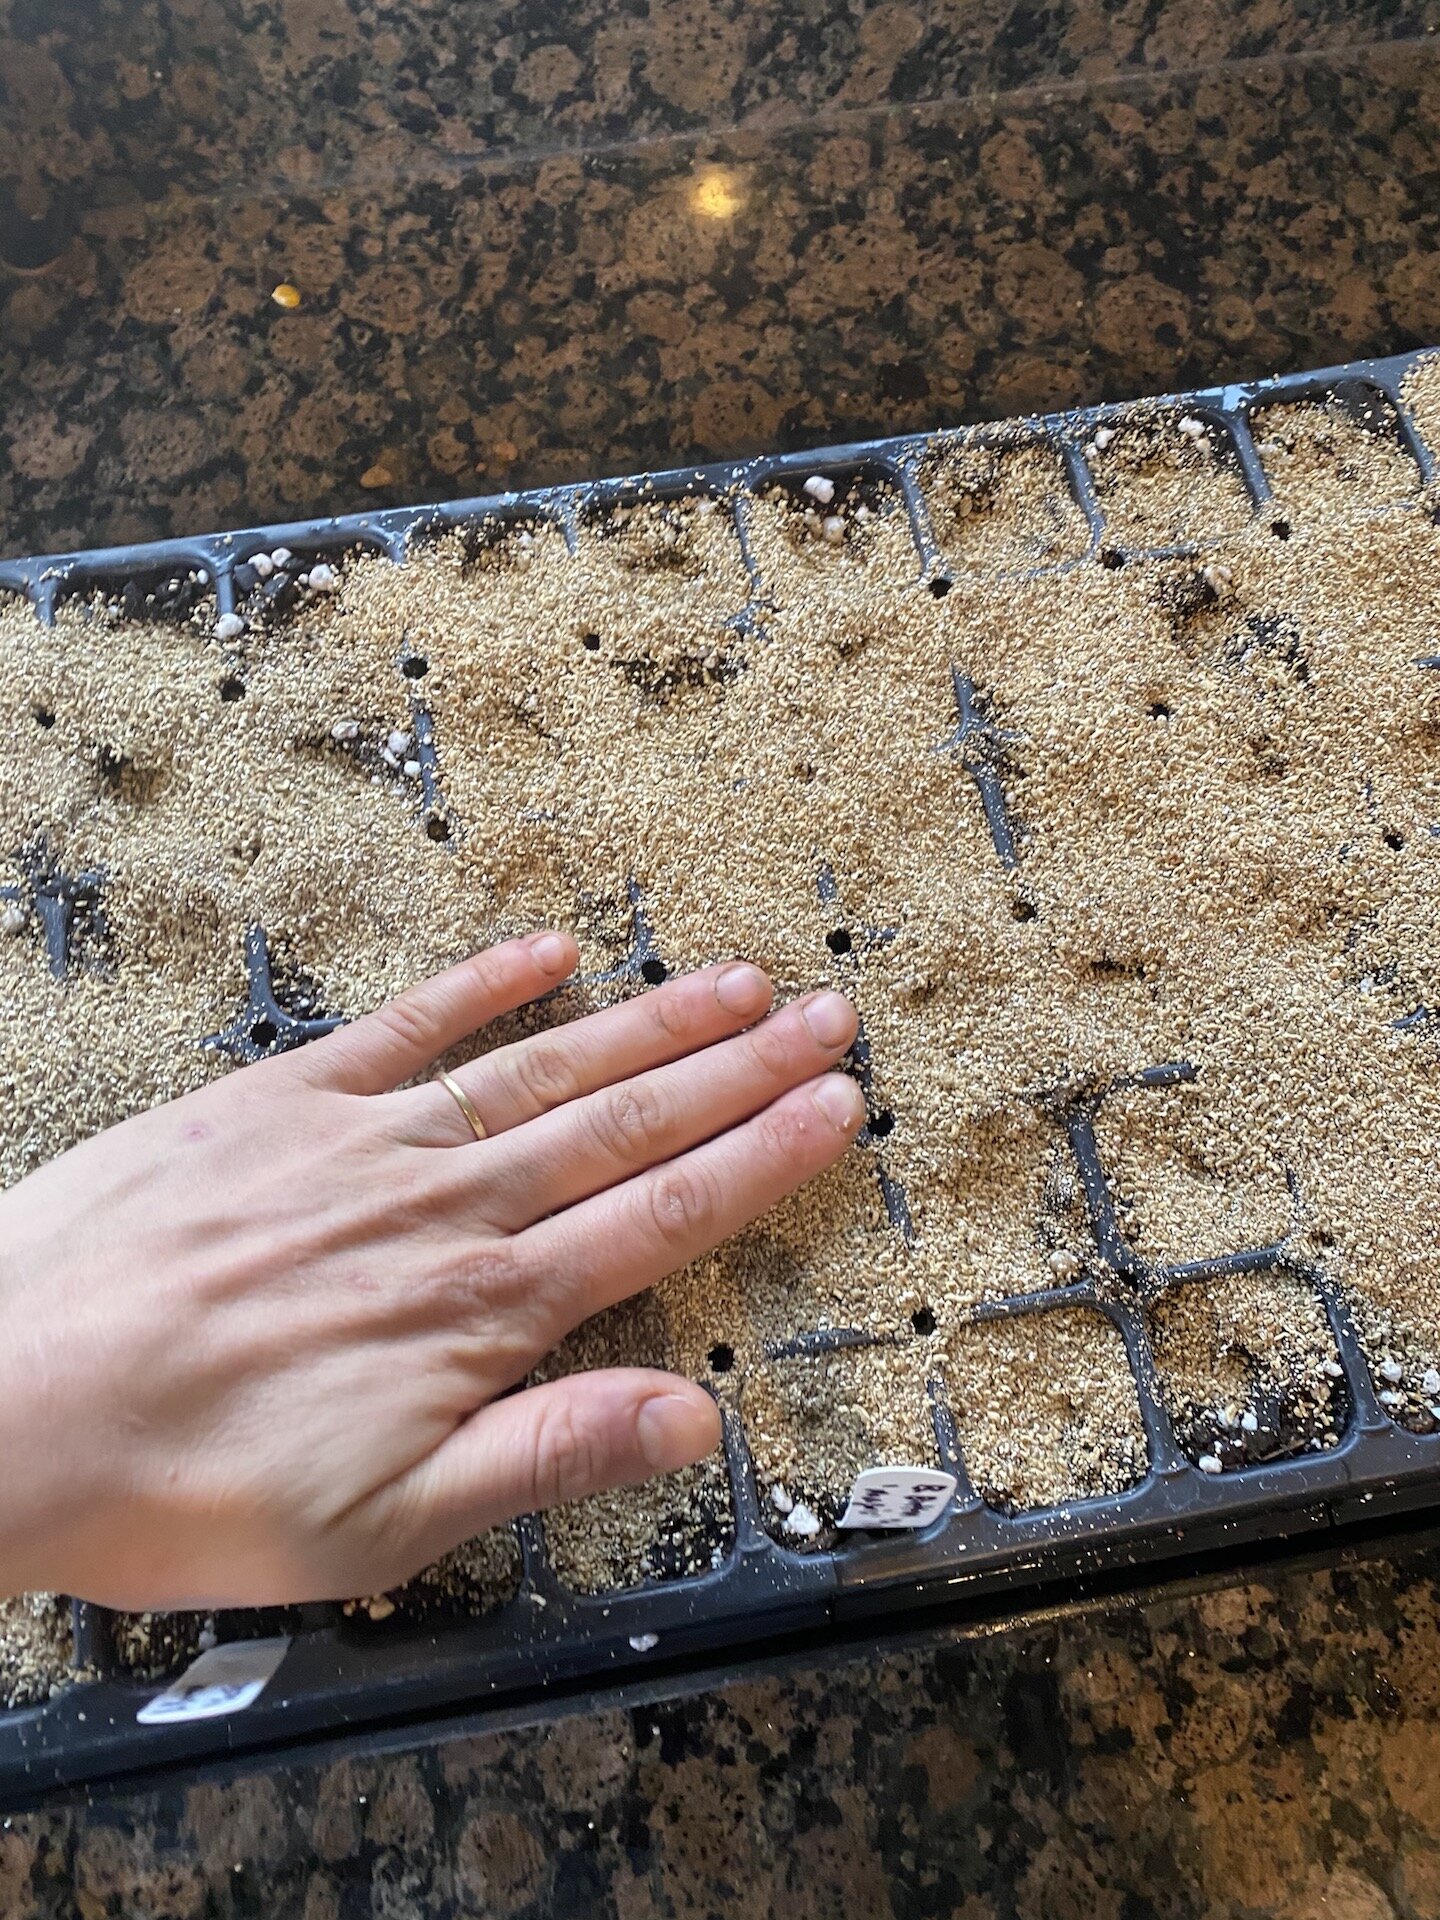
Cover the tray with a light dusting of fine vermiculite or seed starting mix, making sure all seeds are covered.
Label the tray with the variety name and date sown.

Set freshly sown trays into a large plastic tub with an inch of water in the bottom and let them soak up the water from below. Remove once the soil surface is evenly moist. Seed trays should not be watered from overhead until the plant begins to emerge, as a strong blast from your hose can damage your plants.
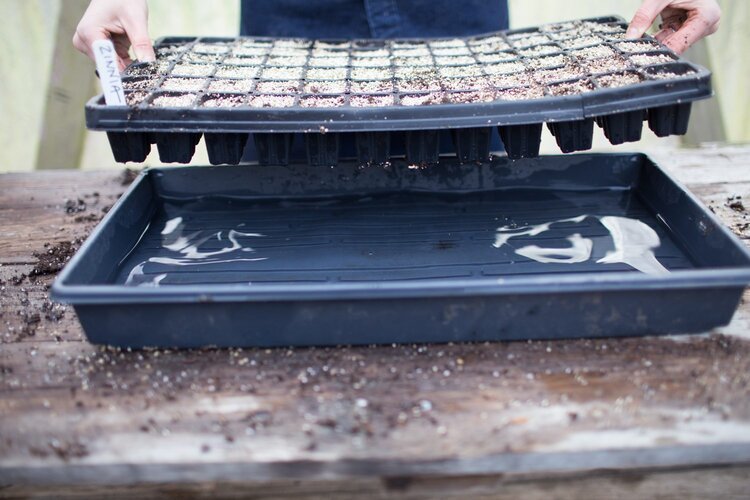
Photo credit: Floret Farm
Cover trays with a clear plastic dome (OR place in your indoor greenhouse) and set onto a 70°F heat mat (optional) or just in a warm corner of the house, consistently above 65°F. Check your seed packet to see if any of your seeds need light to germinate – most seeds do not need light for germination, but some do – and you’ll obviously want to turn your grow lights on (or place in a sunny window) for seeds that need light! A note that many plants can take a long time to germinate (anywhere from 1-3 weeks) so patience is key!
If using plastic dome lids over your trays – Once your seeds have germinated, remove the dome and take off heat mat (if using) once seeds have sprouted. Move trays to your greenhouse space and turn on the grow lights. If you don’t have a space with grow lights, a sunny south-facing window is your next best bet.
If not using the dome lids and your trays are already in your indoor greenhouse space – Once your seeds have germinated, turn on your grow lights. If it seems too wet in your greenhouse space at any point, roll up the plastic (if possible) to lower the humidity level.
NOTE ABOUT GROW LIGHTS: Make sure your grow lights are suspended a few inches above seedlings, keeping them on for 14 to 16 hours per day. As the plants get taller, keep raising the lights so that they are 2-3 inches above the tallest plant.
NOTE ABOUT WATERING: Use your finger to feel the soil moisture levels in the trays – if the plants just seem a little dry, gently spritz with a spray bottle filled with water. If the plants see really dry, water them from below by placing in a tub filled with an inch of water on the bottom (like you did when the seeds were first sown).
I hope these are some helpful tips for starting your own seeds this season! In a few weeks, I’ll talk about what to do when your plants need to be potted up into bigger trays, and how to “harden off” your plants before they go in the ground outside. As always, if you have any questions don’t hesitate to give me a holler!
Kitchen Notes
To make room as we start planting for spring, this week I’m harvesting the very last remaining veggies from our winter fields the winter… and I realized we still had few heads of green cabbage hanging on out there!
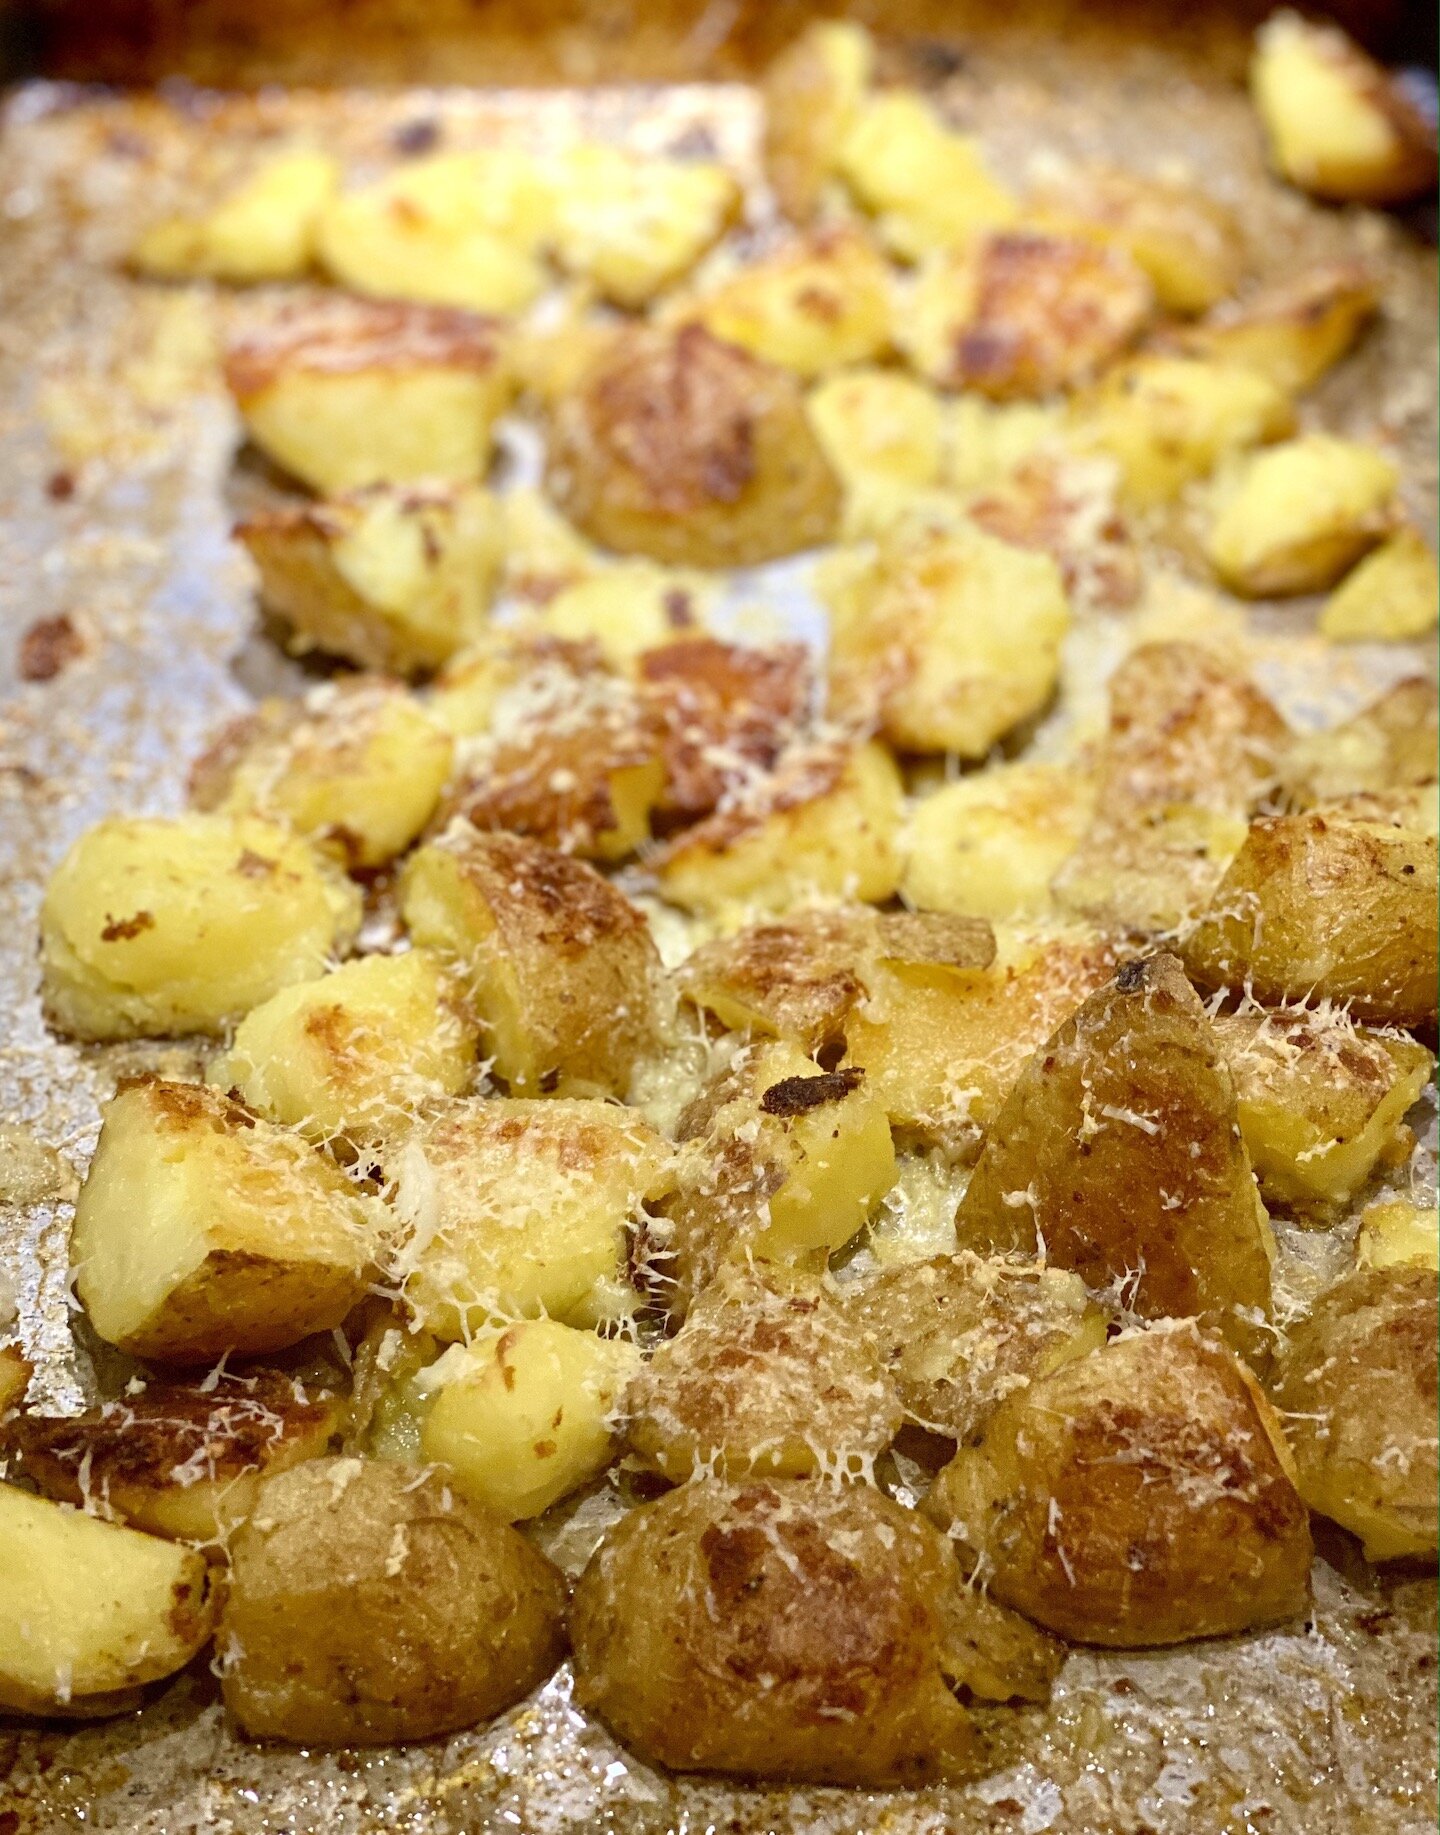
Now, if I have several hours to spare, my go-to cabbage dish is this recipe for Braised Cabbage… but when I’m in a hurry THIS is the recipe I use for equally delicious cabbage that is ready in less than 30 minutes. I know this is one of the least sexy dishes imaginable, but I promise you’ll be shocked by how dang good a humble head of cabbage can taste.
Butter Braised Cabbage
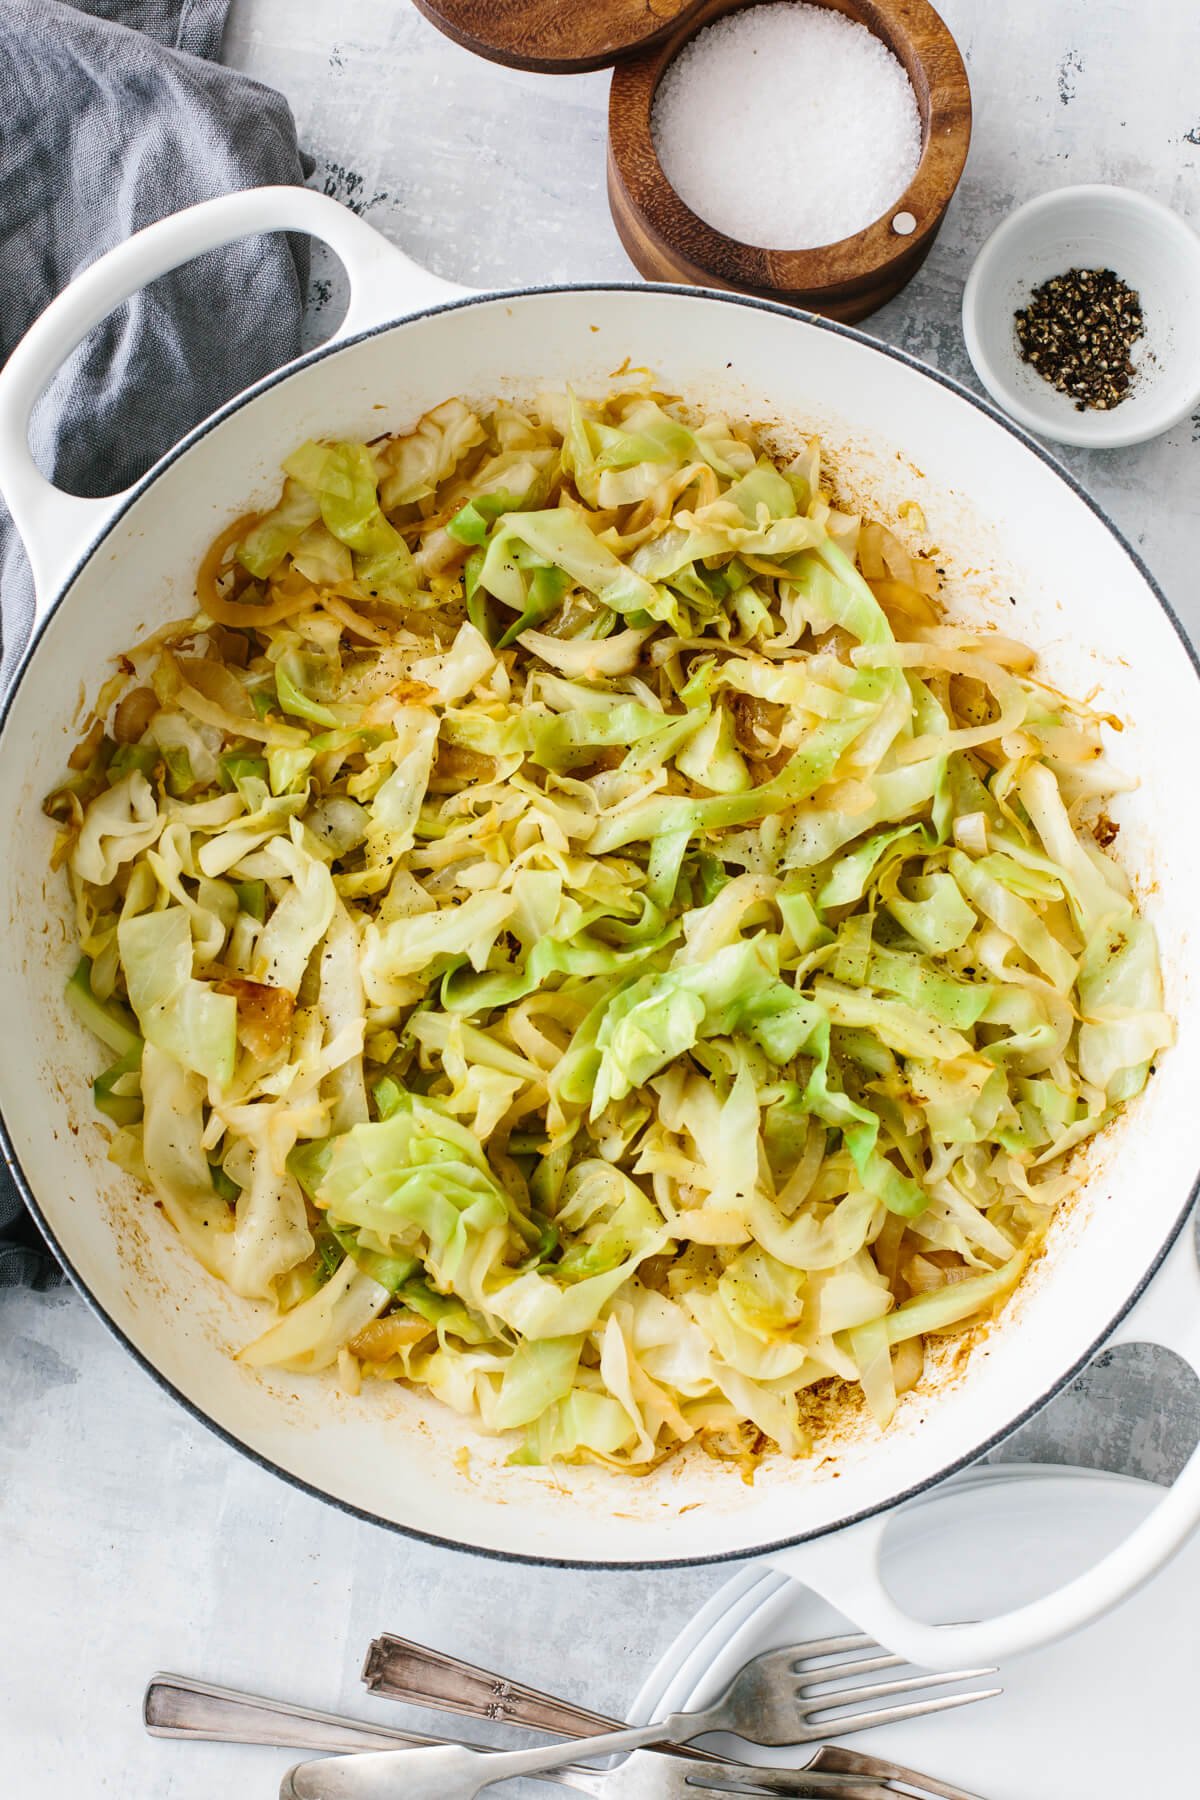
Photo credit: Downshiftology
INGREDIENTS
3 tablespoons butter
1 head green cabbage (around 3lbs)
Kosher salt
Freshly ground black pepper
Splash of apple cider vinegar
PREPARATION
Cut the cabbage in half from its top down through its core. Place the cut-side down on your cutting board, then shred it as thinly as possible around the core, then discard the core.
Heat a large saute pan or dutch oven over medium-high heat. Add the butter and once it has melted, add the cabbage, 1.5 teaspoons kosher salt, and 1/2 teaspoon freshly ground pepper. Saute for 15-20 minutes, stirring occasionally, until the cabbage is tender and begins to brown. You don’t have to constantly stir – leaving it undisturbed for a few minutes at a time allows the cabbage to caramelize and get extra yummy.
When the cabbage has reduced by quite a bit and has begun to brown, remove from heat and stir in the apple cider vinegar. Taste and add a bit of additional salt and pepper to taste. Serve warm.
Recipe adapted from Well Plated.
Today’s Stats
Low temp: 35F
High temp: 47F
Sunrise: 6:52am
Sunset: 6:08pm
Moon phase: Waning Crescent
Additional notes: Cool and cloudy, chance of rain