
Farm Notes
Let’s talk about making your garden/farm planting plans for 2022!
Regardless of how big or small your growing area may be, I highly recommend creating a visual planting plan at the beginning of each season, where you can plan out which crops will go where over the course of a year. To help you visualize what I’m talking about (and to offer you a template to use if this is helpful for you), here is an excerpt of our planting plan for March and April of 2021 (also see photo below):

Example planting plan from March 2021.
In the planting plan, I include information about how a certain crop will be spaced within the row (for example, when we plant tomatoes, I specify that we will plant one row of tomatoes down the middle, and each plant is spaced 18” apart). I also mark on the spreadsheet the expected planting date – which I’ll update after we do the actual planting, as my expected planting dates aren’t always accurate!
I use a template titled Seeding Calendar, where I keep track of when I need to start seeds to have them ready to transplant into the garden at the right time. While I work with other farms/nurseries to start the majority of our seedlings, I enjoy starting my own seeds for things that are a bit funky (like edible flowers), and for seeds that only take a few weeks to start (like anything in the cucurbit family - cucumbers, zucchini, etc). Not sure when to start seeds indoors? Here’s a great guide that is customized by zip code that is an awesome resource!
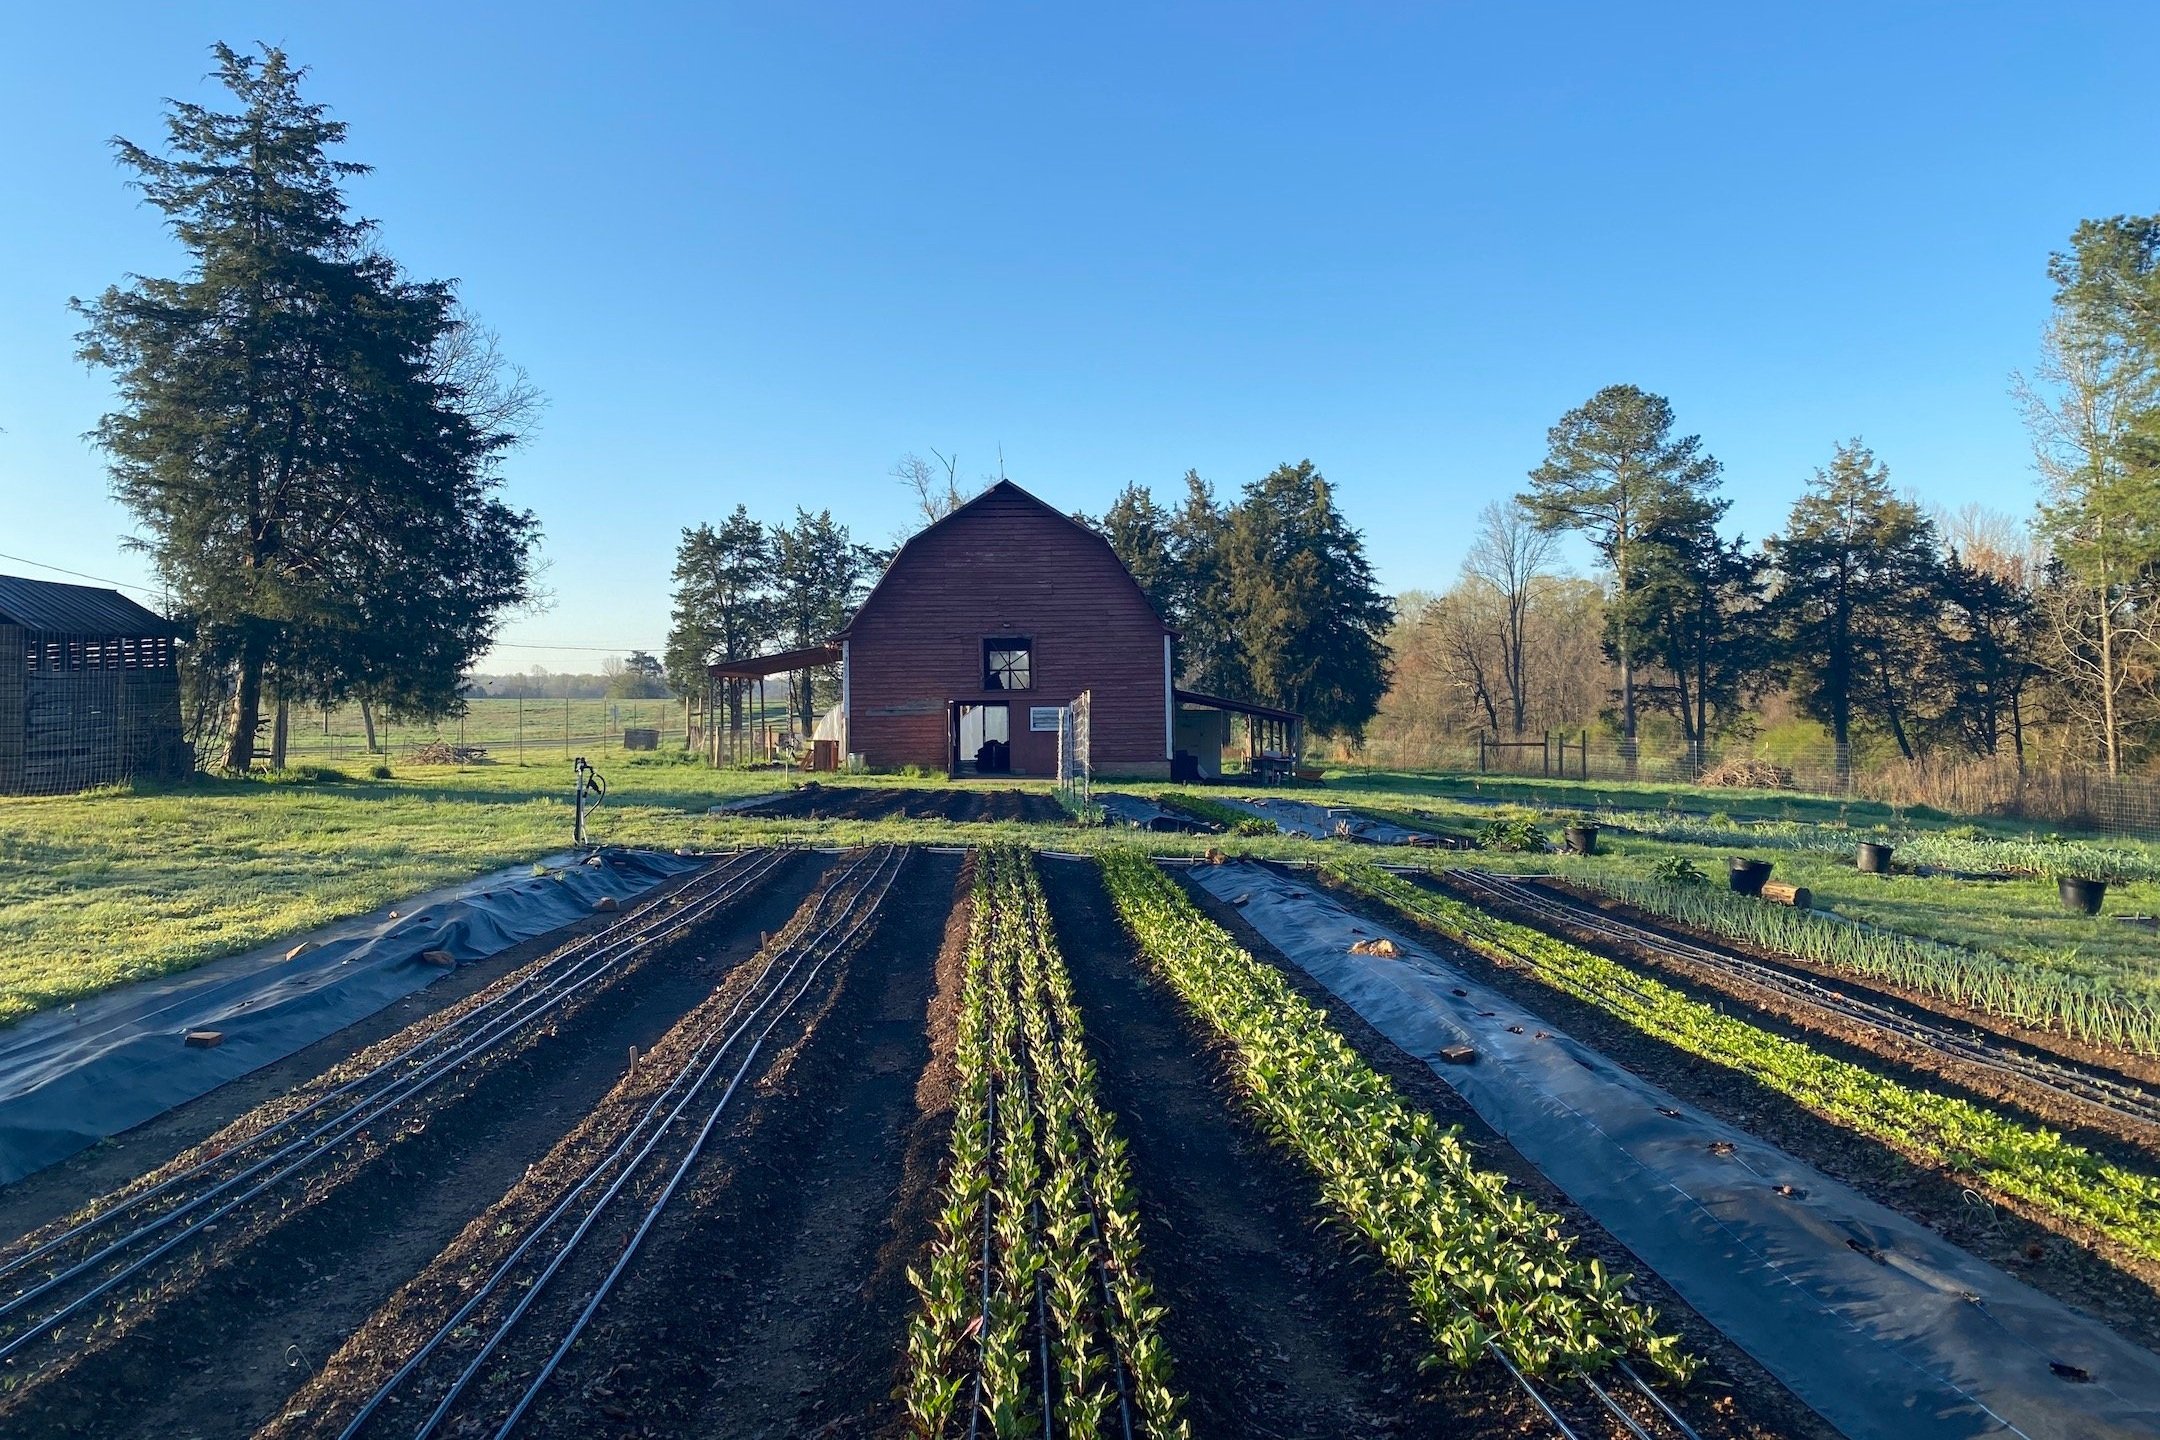
I find that this process of mapping out the whole season is incredibly helpful, and means that when thousands of seedlings arrive here and are ready to be planted, I know exactly where everything is going. It’s also useful for planning out future growing seasons, because I make sure to rotate different crop families – for example, I’ll make sure that I don’t plant our brassicas (broccoli, cabbage, kale, etc) in the same place two years in a row. The reason we rotate crops is to ensure we don’t deplete the soil of nutrients, and because it really helps with pest/disease management to move the different crop families around each season. For more information about crop rotation and why it’s important, check out this article.
So if you have a home garden, make a planting plan! Just create a layout for your garden space on a spreadsheet (or even with pen on paper) and start filling in details about which plants you’d like to grow, and where they will go. If you have any questions or need some help with this planning process, just give me a holler!
Kitchen Notes
Real talk. My kitchen inspiration this week isn’t exactly the epitome of “farm to table”… but until a few days ago, I’d never made homemade enchiladas before, as I assumed they were complicated and time consuming to make. Alas! The other day while scrounging in the kitchen, I realized we had all the ingredients for enchiladas, and decided to give them a try. It may look like a lot of ingredients and steps, but I promise that the whole process goes WAY quicker than you expect. But pretty please don’t skip the step of making your own enchilada sauce! It will be well worth the tiny bit of extra effort, and will be way tastier + healthier than the store-bought stuff. For this recipe, the enchilada filling has ground beef + beans, but you can totally substitute with other proteins like shredded pork or chicken, or make them vegetarian by subbing with sautéed veggies like mushrooms, peppers, zucchini, etc.
Beef & Bean Enchiladas

Photo Credit: The Beach House Kitchen
INGREDIENTS
For the Enchilada Sauce
3 tablespoons olive oil
3 tablespoons flour (GF flour works too)
1 tablespoon brown sugar
1-2 teaspoons chipotle chili powder (use more or less based on your spice tolerance!)
1 teaspoon ground cumin
½ teaspoon garlic powder
¼ teaspoon dried oregano
¼ teaspoon cinnamon
¼ teaspoon salt, to taste
2 tablespoons tomato paste
2 cups broth (vegetable, chicken, or beef)
1 tablespoon apple cider vinegar
Freshly ground black pepper, to taste
For the Enchiladas
1 tablespoon olive oil
1 yellow onion, finely chopped
2 garlic cloves, minced
¼ teaspoon salt, to taste
1 lb ground beef
1 can (14-oz) black beans, rinsed and drained
1 can (14-oz) can pinto beans, rinsed and drained
8 tortillas (or burrito wraps)
1.5-2 cups shredded cheese
Handful fresh cilantro, roughly chopped (optional garnish)
INSTRUCTIONS
First make the enchilada sauce – Measure out the dry ingredients (the flour, brown sugar, chili powder, cumin, garlic powder, oregano, cinnamon and salt) into a small bowl. In a medium-sized pot over medium heat, warm the oil until it’s sizzling, then pour in the flour + spice mixture. While whisking constantly, cook until fragrant and slightly deepened in color, about 1 minute. Whisk the tomato paste into the mixture, then slowly pour in the broth while whisking constantly to remove any lumps. Raise heat to medium-high and bring the mixture to a simmer, then reduce heat as necessary to maintain a gentle simmer. Cook, whisking often, for about 5 to 7 minutes, until the sauce has thickened a bit and a spoon encounters some resistance as you stir it. Remove from heat, then whisk in the vinegar and season to taste with additional salt and/or pepper.
Make the beef and bean enchilada filling – Preheat your oven 350F. Heat olive oil in a skillet over high heat. Add onion, garlic, and salt and cook for 2 minutes. Add ground beef and cook for 4-5 minutes, breaking it up as you go, until most of the meat has browned. Next add the rinsed and drained black + pinto beans to the skillet, as well as 1/4 cup of your enchilada sauce. Stir to combine and continue cooking until the ground beef is fully cooked. Taste and add additional salt if needed.
Assemble and bake the enchiladas – Smear a bit of the enchilada sauce on the bottom of a 9x13 pyrex baking dish. Assemble the enchiladas by scooping the enchilada filling on the lower third of a tortilla. Roll up the tortilla and then place in the baking dish, seam side down. Repeat with remaining filling and tortillas. Pour enchilada sauce over the enchiladas and top with the shredded cheese. Bake for 10 minutes covered, then 10 minutes uncovered. Serve hot and enjoy!
Today’s Stats
Low temp: 18F
High temp: 37F
Sunrise: 7:28am
Sunset: 5:19pm
Moon phase: Waxing Crescent
Additional notes: Very cold and clear!