
Farm Notes
I’m about ready to build an ark with the nonstop rain that we’ve been getting around here! I know a lot of folks all over the country are dealing with winter storms right now, and I hope everyone is staying safe, warm, and dry. On the bright side, starting spring seeds is a great activity when you’re cooped up inside. I did my first round of seeding over the weekend, and took a bunch of photos to walk y’all through the process. So if you’re interested in learning more about starting seeds, here’s the rundown:
Materials You’ll Need
Seeds!
Seed trays (I usually use these 72-cell trays, but to start just a few plants I recommend these)
Clear dome lids OR a mini indoor greenhouse
Grow lights (there are LOTS to choose from, but these the ones I use)
Heat mat (optional)
*** I did find a seeding kit on Amazon that includes a bottom tray, 72-cell seed tray, dome, and heat mat for $42 here.
Instructions
Fill each seed tray with potting soil, tapping the whole tray firmly against the ground as you go so the soil settles. Gently soak the soil-filled trays with a hose (make sure you have a nozzle so you can water the trays gently). Alternatively, you can get the soil wet before your fill your tray – but I find it’s easier to first fill with the trays with dry soil and then to gently soak them.


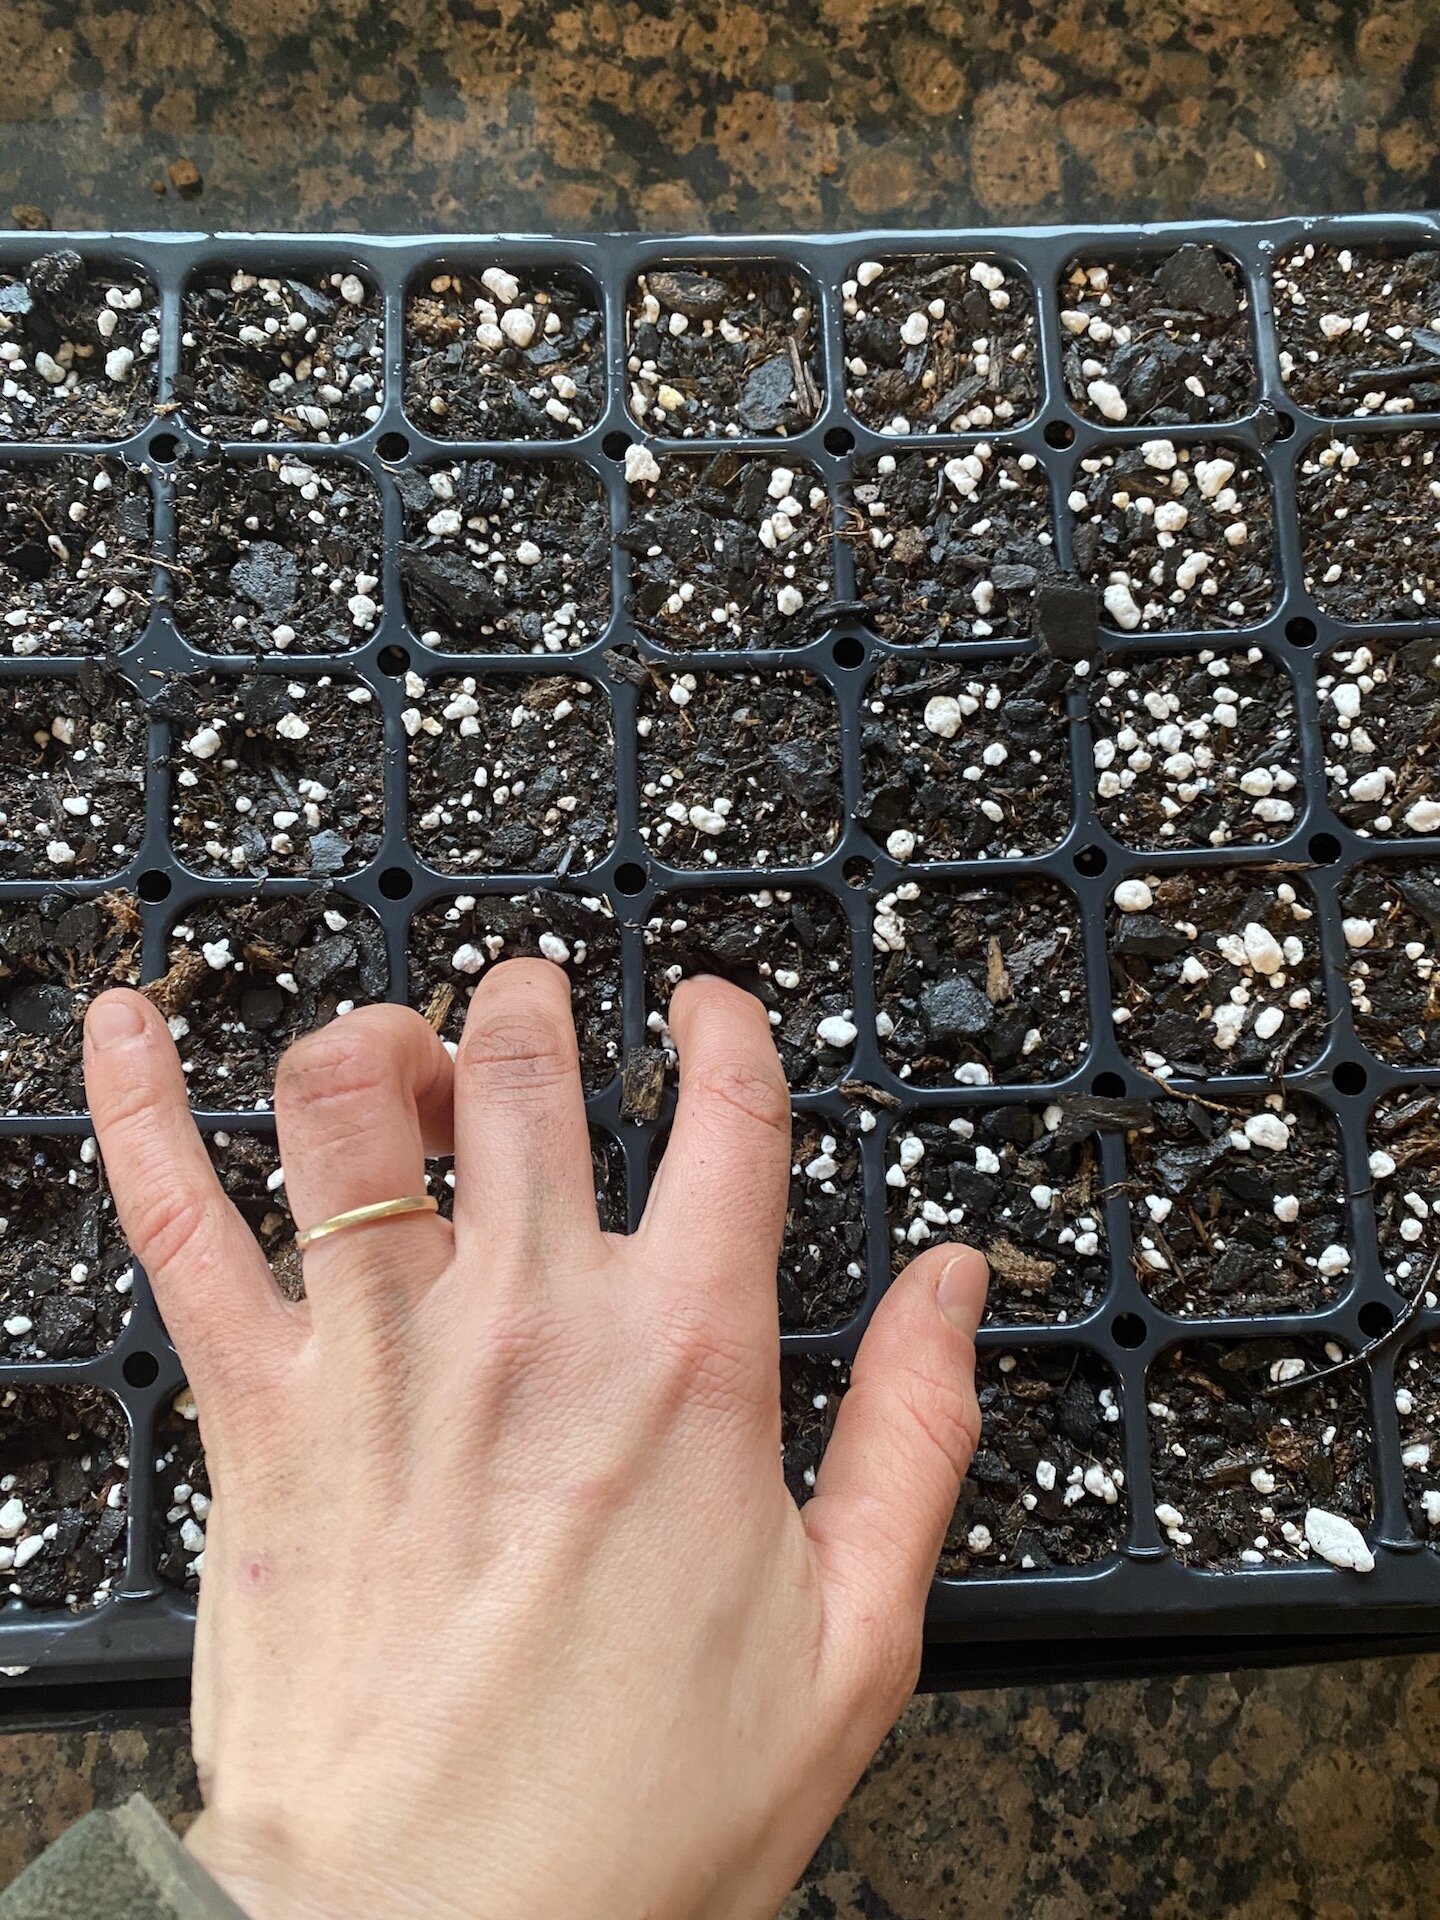
Make holes in each cell using your finger, a pencil, or a dibbler. A general rule is to plant the seed to a depth twice its size. Drop 1 or 2 seeds into each hole.

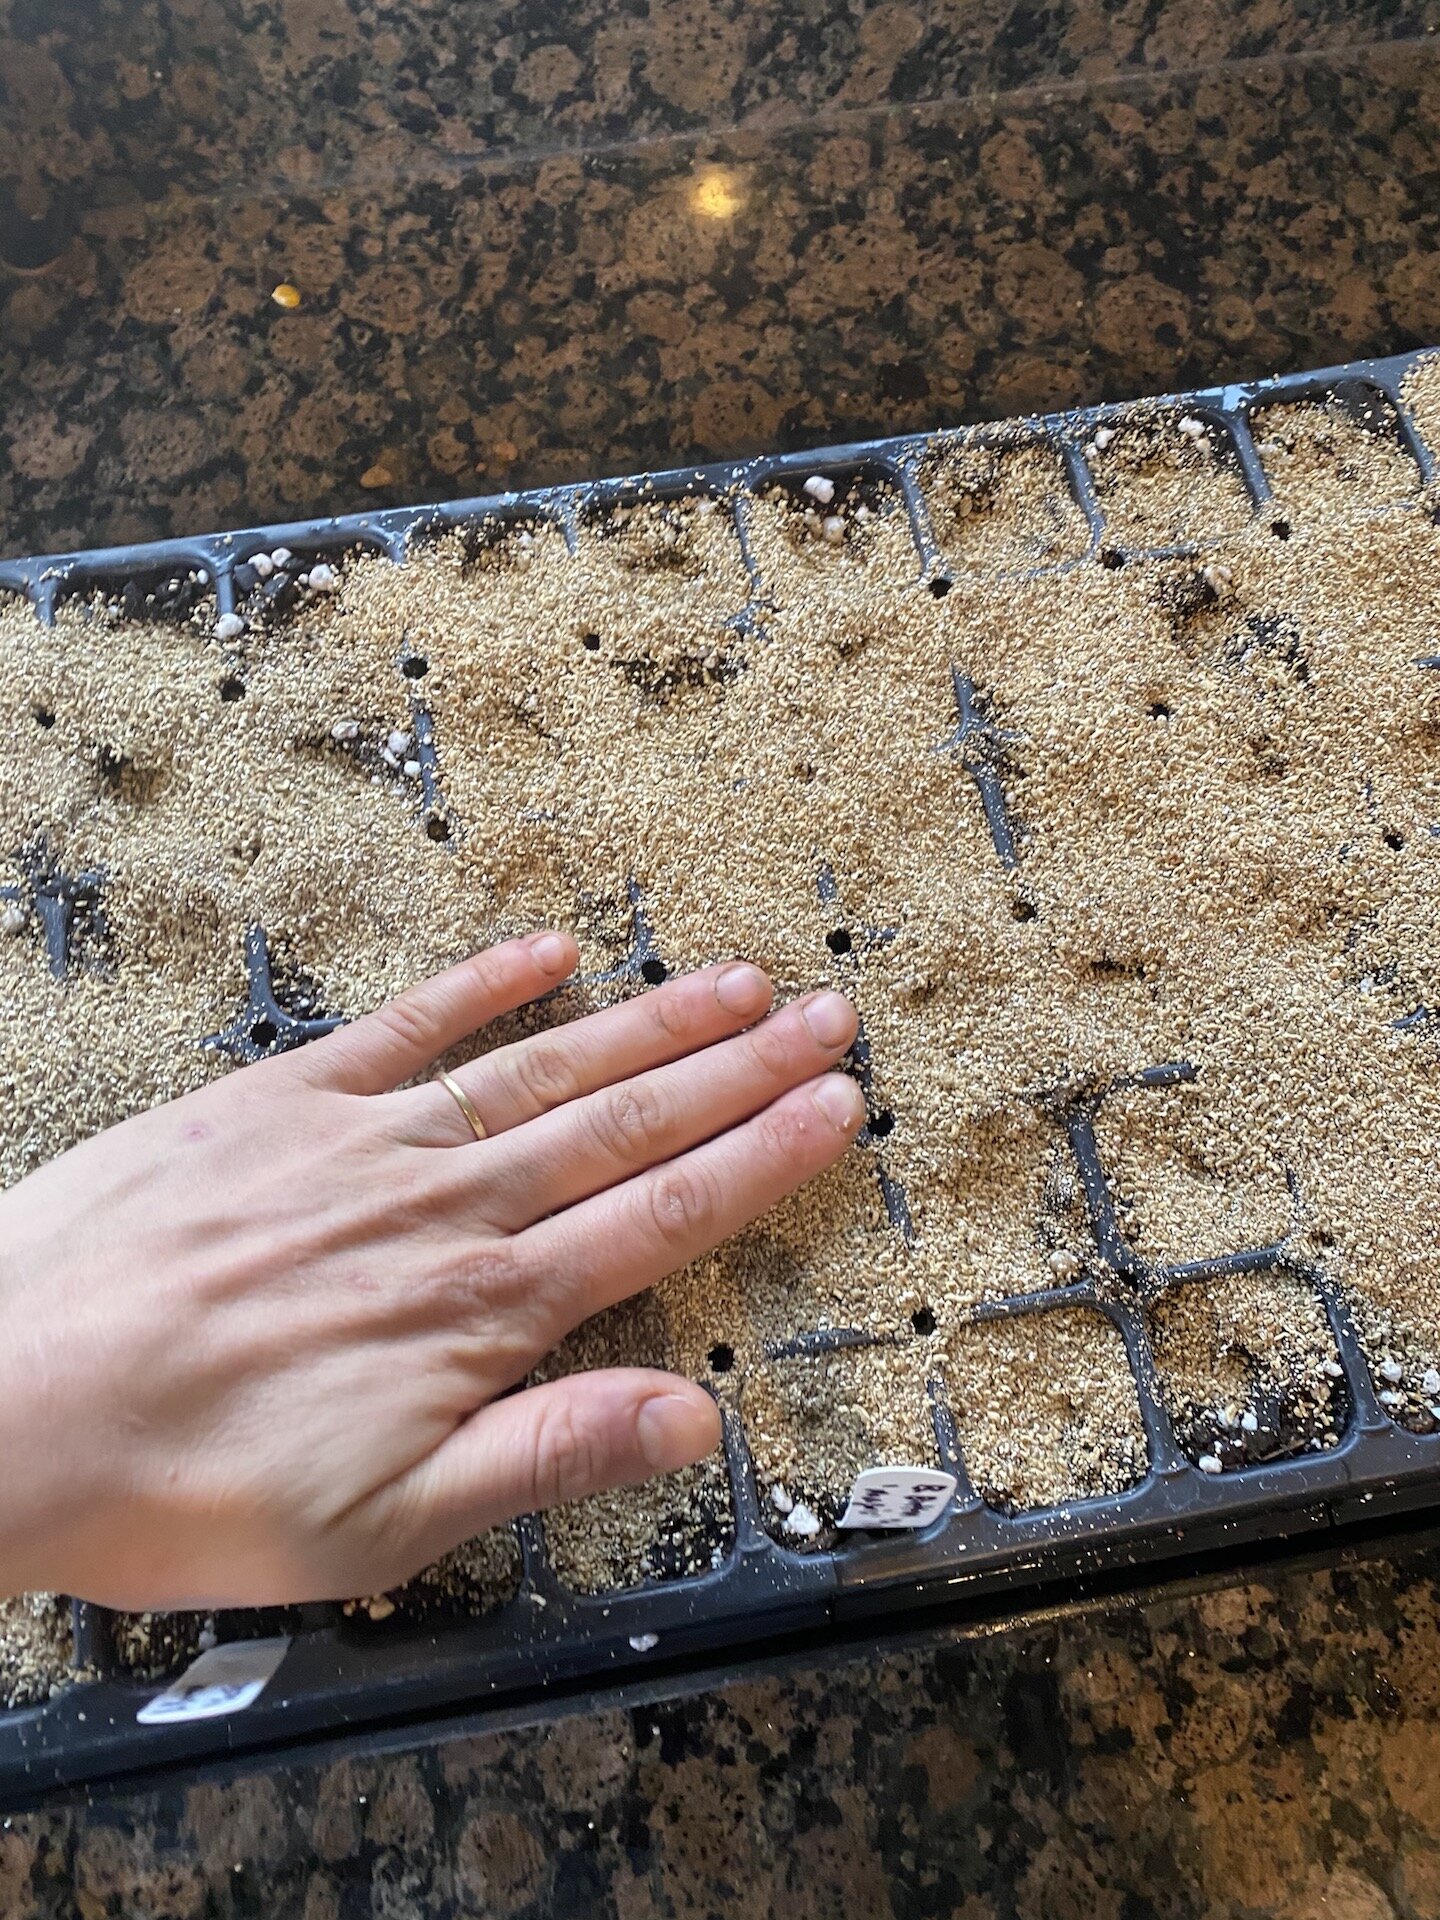
Cover the tray with a light dusting of fine vermiculite or seed starting mix, making sure all seeds are covered.
Label the tray with the variety name and date sown.

Set freshly sown trays into a plastic tub with an inch of water in the bottom and let them soak up the water from below. Remove once the soil surface is evenly moist. Seed trays should not be watered from overhead until the plants have their first set of true leaves, as a strong blast from your hose can damage your plants.

Photo credit: Floret Farm
Cover trays with a clear plastic dome (OR place in your indoor greenhouse) and set onto a 70°F heat mat (optional) or just in a warm corner of the house, consistently above 65°F. Check your seed packet to see if any of your seeds need light to germinate – most seeds do not need light for germination, but some do – and you’ll obviously want to turn your grow lights on for seeds that need light! A note that many plants can take a long time to germinate (anywhere from 1-3 weeks) so patience is key!
Once your seeds have germinated – if using plastic dome lids over your trays – remove the dome and take off heat mat (if using) once seeds have sprouted. Move trays to your greenhouse space and turn on the grow lights. If you don’t have a space with grow lights, a sunny south-facing window is your next best bet.
Once your seeds have germinated – if not using the dome lids and your trays are already in your indoor greenhouse space – turn on your grow lights. If it seems too wet in your greenhouse space at any point, roll up the plastic (if possible) to lower the humidity level.
Make sure your grow lights are suspended a few inches above seedlings, keeping them on for 14 to 16 hours per day. As the plants get taller, keep raising the lights so that they are 2-3 inches above the tallest plant.
Use your finger to feel the soil moisture levels in the trays – if the plants just seem a little dry, gently spritz with a spray bottle filled with water. If the plants see really dry, water them from below by placing in a tub filled with an inch of water on the bottom (like you did when the seeds were first sown).
I hope these are some helpful tips for starting your own seeds this season! In a few weeks I’ll talk about what to do when your plants need to be potted up into bigger trays, and how to “harden off” your plants before they go in the ground outside.
Kitchen Notes
This winter weather has me leaning into allll the comfort foods, and tonight I made one of my go-to comfort side dishes – crispy smashed potatoes with parmesan and garlic. The secret to this recipe is cooking the potatoes two ways: first by par-boiling them in salted water until tender, and then smashing and roasting them in a hot oven until crispy and golden. The extra steps are 100% worth it, and once you cook potatoes this way, you won’t go back! This recipe is inspired by Cookie & Kate.
Crispy Smashed Potatoes with Parmesan & Garlic
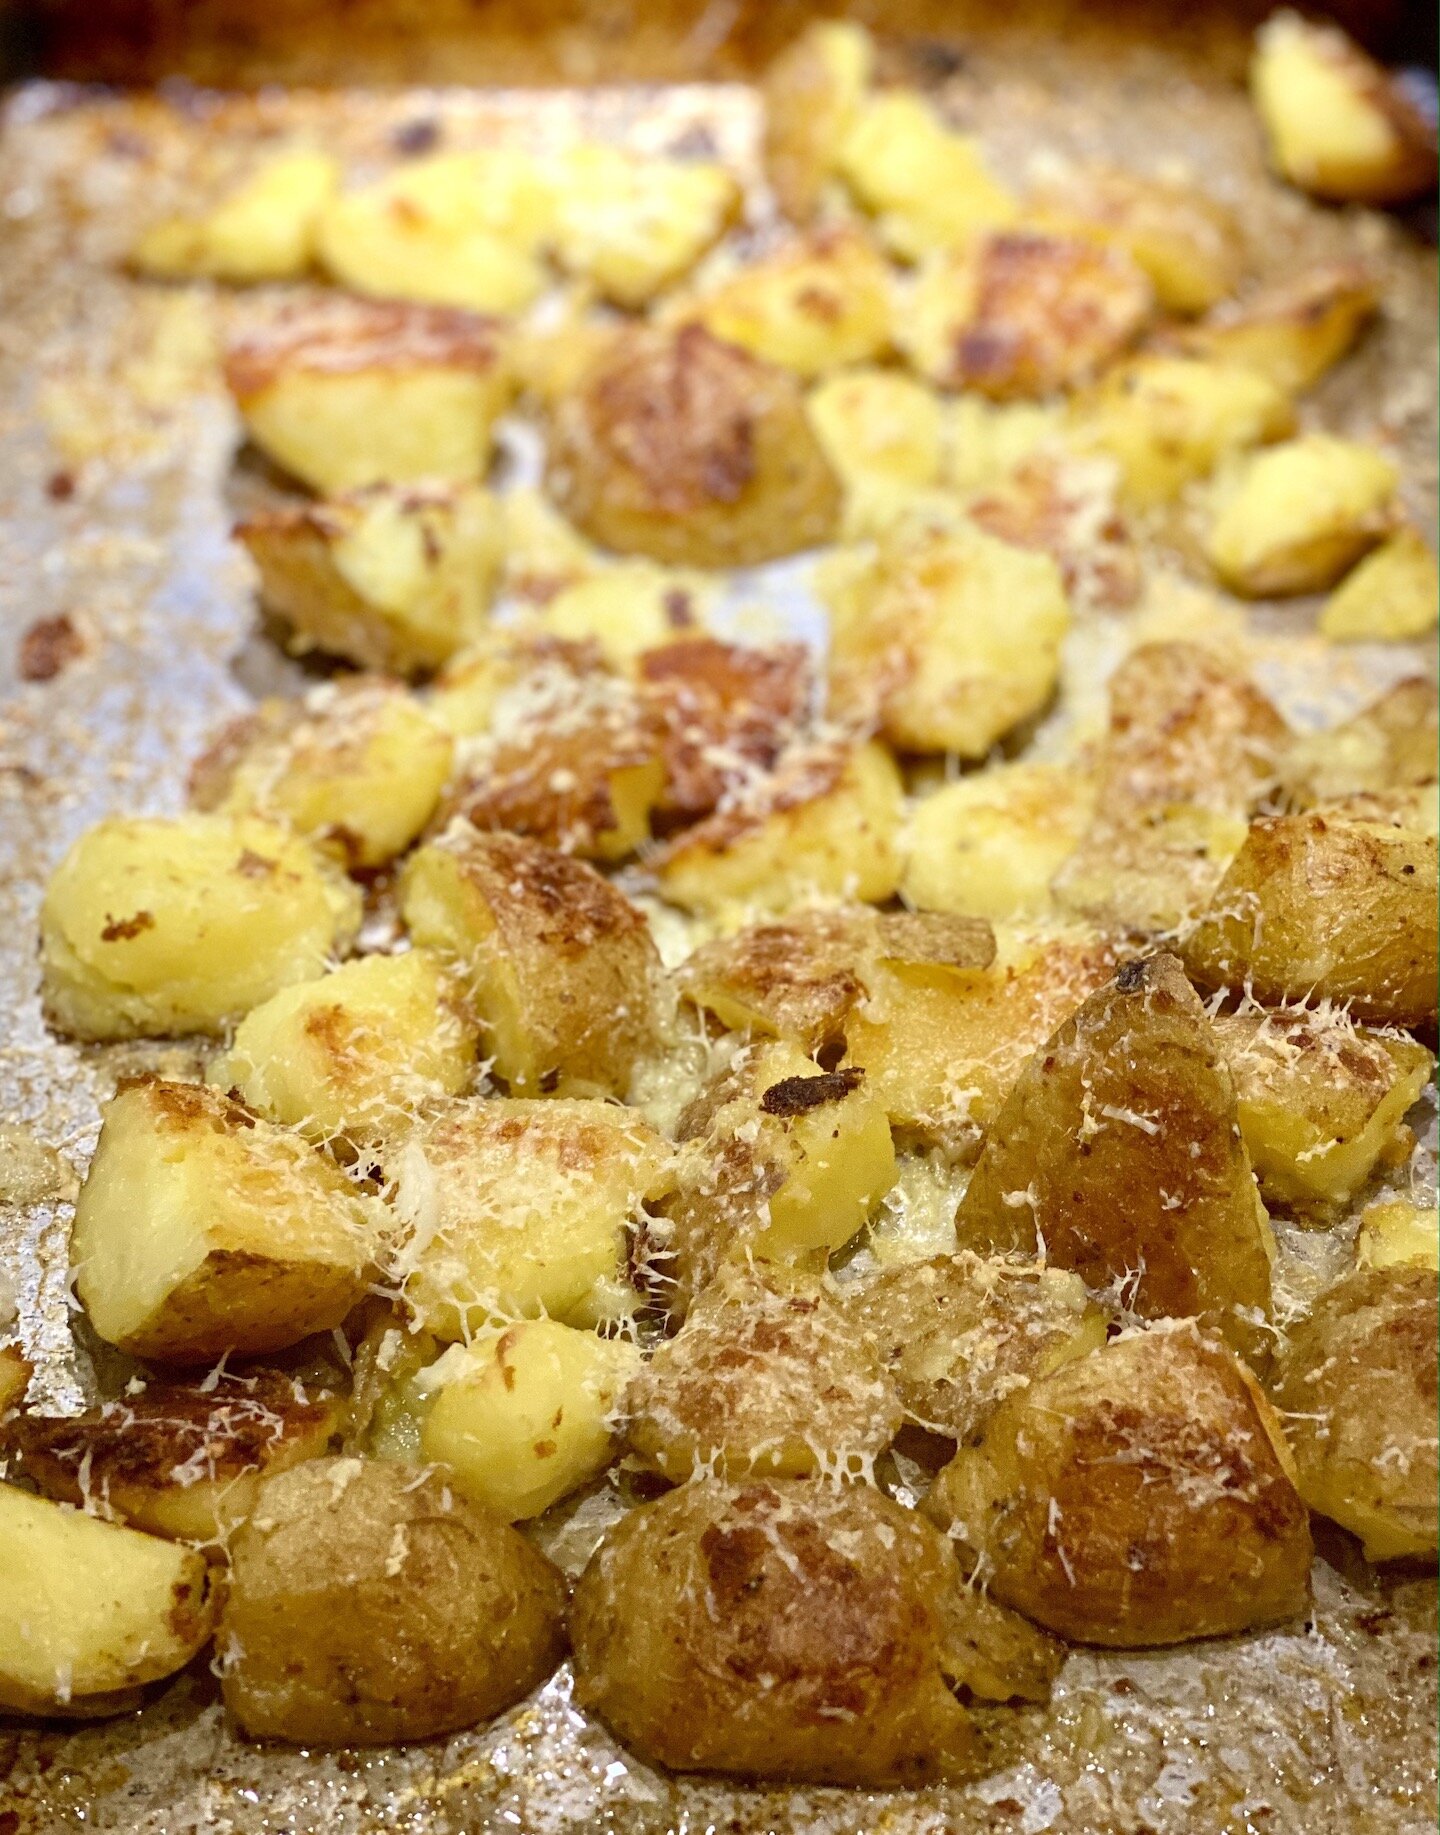
These potatoes may not win any beauty contests, but they will win any taste test!
INGREDIENTS
2 pounds small-to-medium red or yellow potatoes
3 tablespoons plus ¼ teaspoon salt, divided
4 tablespoons olive oil, divided
Freshly ground black pepper, to taste
2 cloves garlic, minced
Parmesan cheese, freshly grated
2 tablespoons chopped fresh parsley, chives and/or green onion
A few lemon wedges
INSTRUCTIONS
To prepare the potatoes, scrub them clean if dirty and rinse under running water. Remove and discard any nubby sprouting areas. Place the potatoes in a large Dutch oven or soup pot.
Fill the pot with water until the potatoes are submerged and covered by 1 inch of additional water. Add 3 tablespoons of the salt. Bring the mixture to a boil over medium-high heat and continue cooking until the potatoes are very easily pierced through by a fork (smaller potatoes are done around 20 minutes, and medium around 25 minutes).
While the potatoes cook, preheat the oven to 425 degrees Fahrenheit and drizzle 1 tablespoon of the olive oil over a large, rimmed baking sheet. Brush the oil so it’s evenly distributed over the sheet.
When the potatoes are done, drain them in a large colander and let them cool for about 5 minutes, until they can be handled safely.
Evenly distribute the potatoes over the prepared baking sheet, and use a potato masher or a serving fork to gently smash each potato to a height of about ½ inch. (Thinner potatoes are more crispy.)
Drizzle the remaining 3 tablespoons of olive oil over the smashed potatoes. Add ¼ teaspoon salt and freshly ground pepper over the potatoes.
Bake until the potatoes are nice and golden on the edges, about 20 minutes. Remove from oven and toss the potatoes with the minced garlic and a hefty dusting of freshly grated parmesan, and bake for an additional 5 minutes.
Remove from oven and sprinkle with chopped fresh herbs, a squeeze of lemon juice, and an extra bit of parmesan cheese if you feel inclined!
Todays Stats
Low temp: 32F
High temp: 36F
Sunrise: 7:04am
Sunset: 5:59pm
Moon phase: Waxing Crescent
Additional notes: Cold and freezing rain throughout the day.