
Farm Notes
Fall planting is officially in full force here at Farmbelly! Last Wednesday, we received thousands of fall seedlings from Banner Greenhouses – this time they had to be shipped in boxes, which made me pretty nervous about the condition they would arrive in, but thankfully the plants were all in great shape when it came time to unpack the boxes. We were also lucky to get some incredible weather last week for planting… with a few cool and cloudy days that were perfect for getting our plant babies in the ground.

A big part of making sure that these big planting pushes go smoothly is making sure our growing beds are ready for planting. Bed preparation takes a lot of time and energy, which is why we take these few weeks off our CSA, so we can focus on getting all the fall plants in the ground. Today I want to go through our process for preparing a bed for planting, in case it is helpful for anyone! Note that our bed prep process is specifically for planting directly in the ground (vs in raised garden beds)… but many of the steps still apply whether you are growing in-ground or in a raised bed.
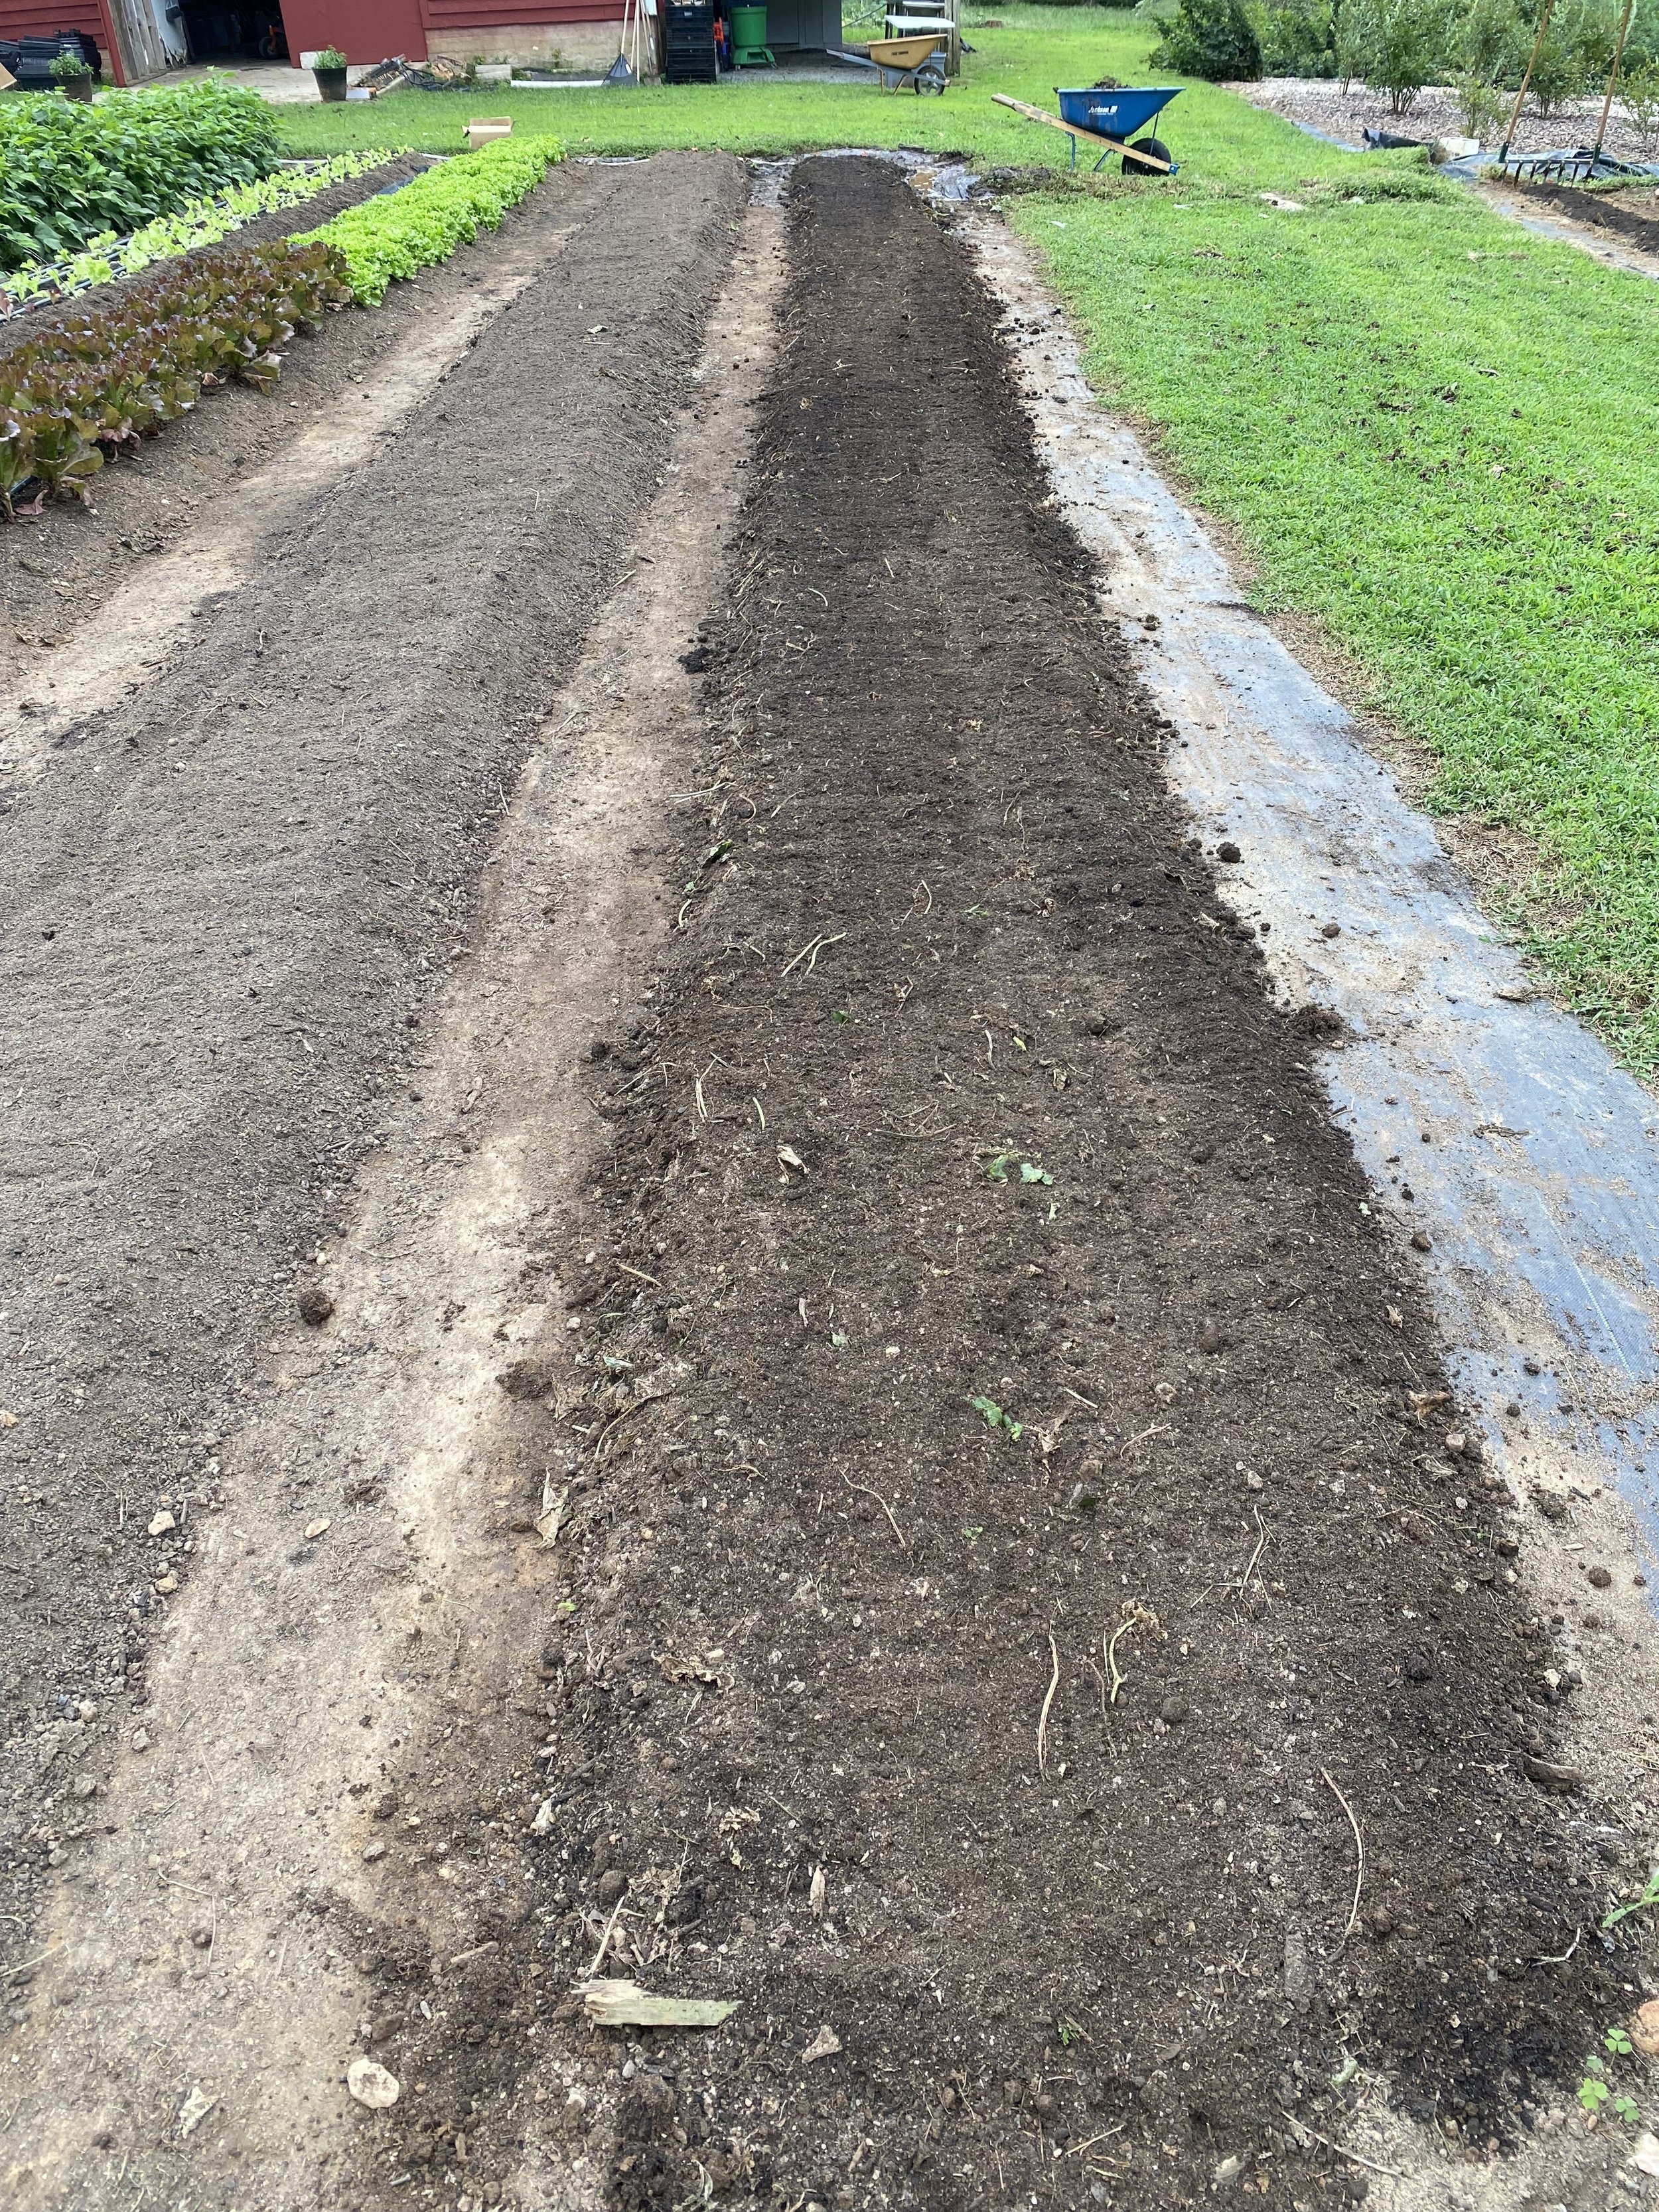
Below is a photo gallery where I illustrate each of these steps:
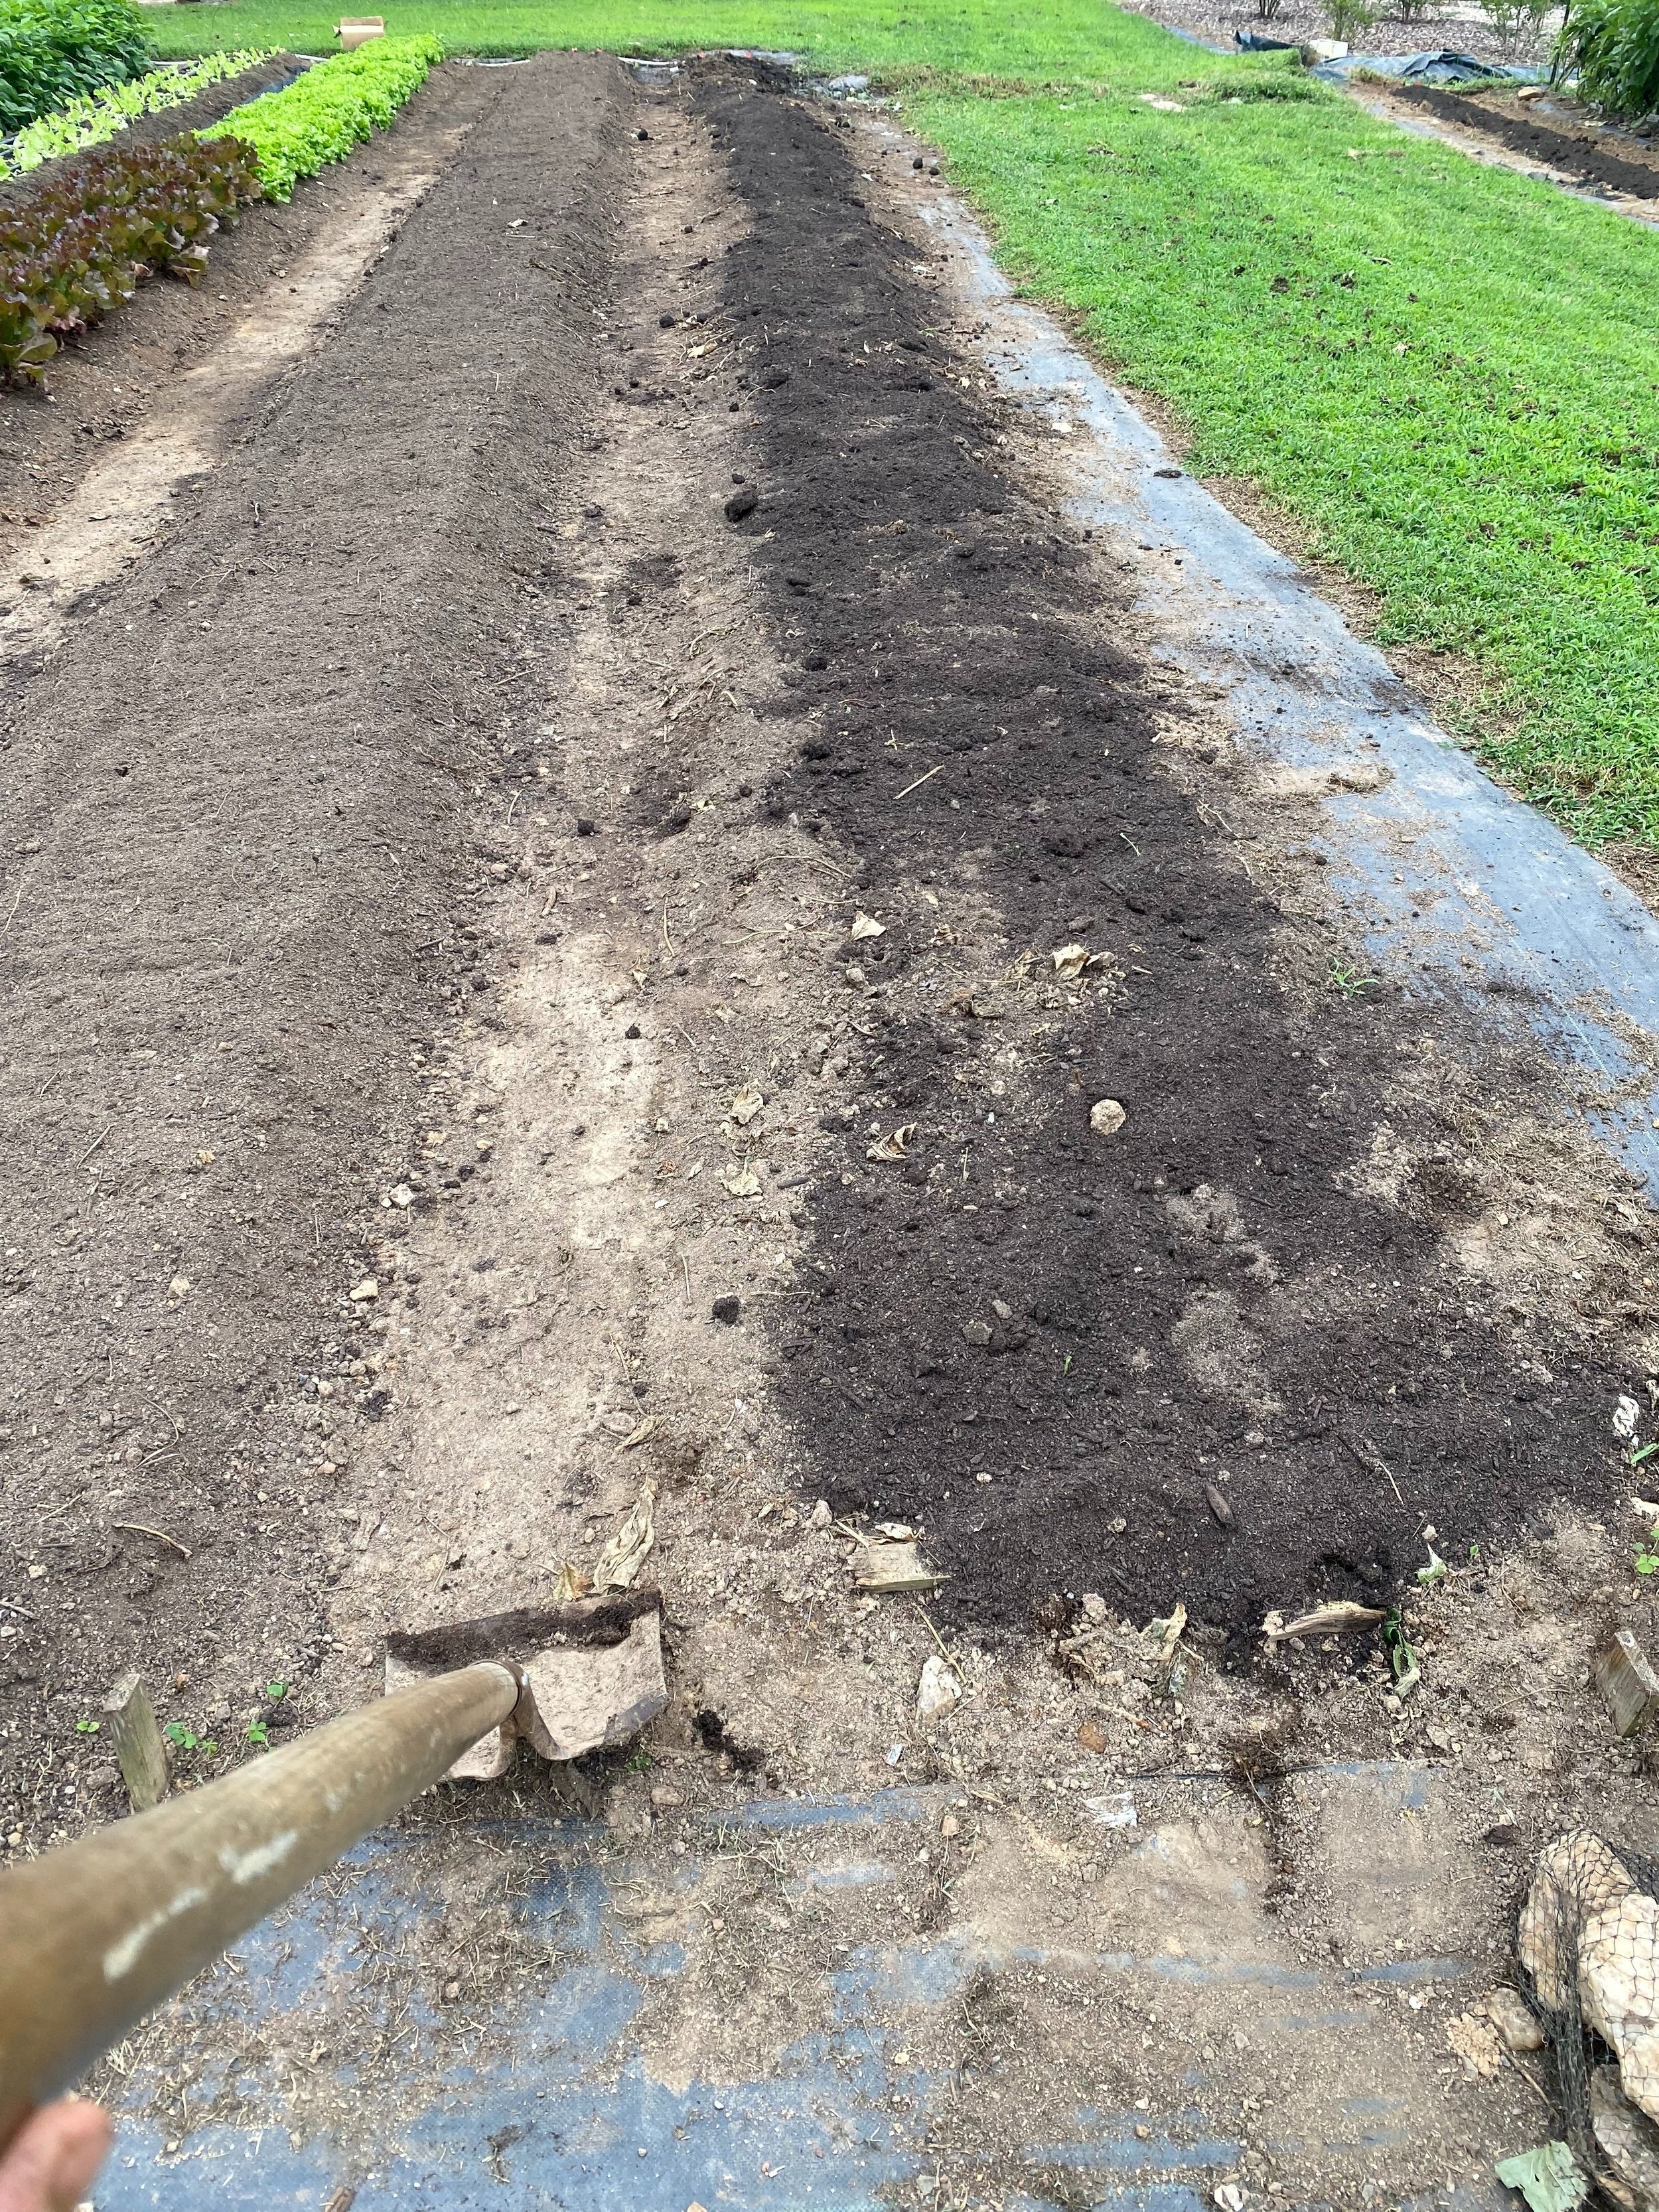
Apply compost to your bed (for our 50 foot beds we usually add 2-3 full wheelbarrows of compost). We source our compost by the giant truck-load from a local compost company, Brooks. If you are growing in raised beds, I recommend going to your local garden store and asking what compost/soil amendment mixture they recommend for raised beds.
Next I use a square-nosed shovel to “shape” the beds and to scoop any dirt that has fallen into the pathways back on to the bed. This is an important step that serves a few purposes – it keeps the beds nice and straight, puts any precious compost and soil that has fallen into the pathway back onto the bed, and it helps keeps our pathways tidy and weed-free.
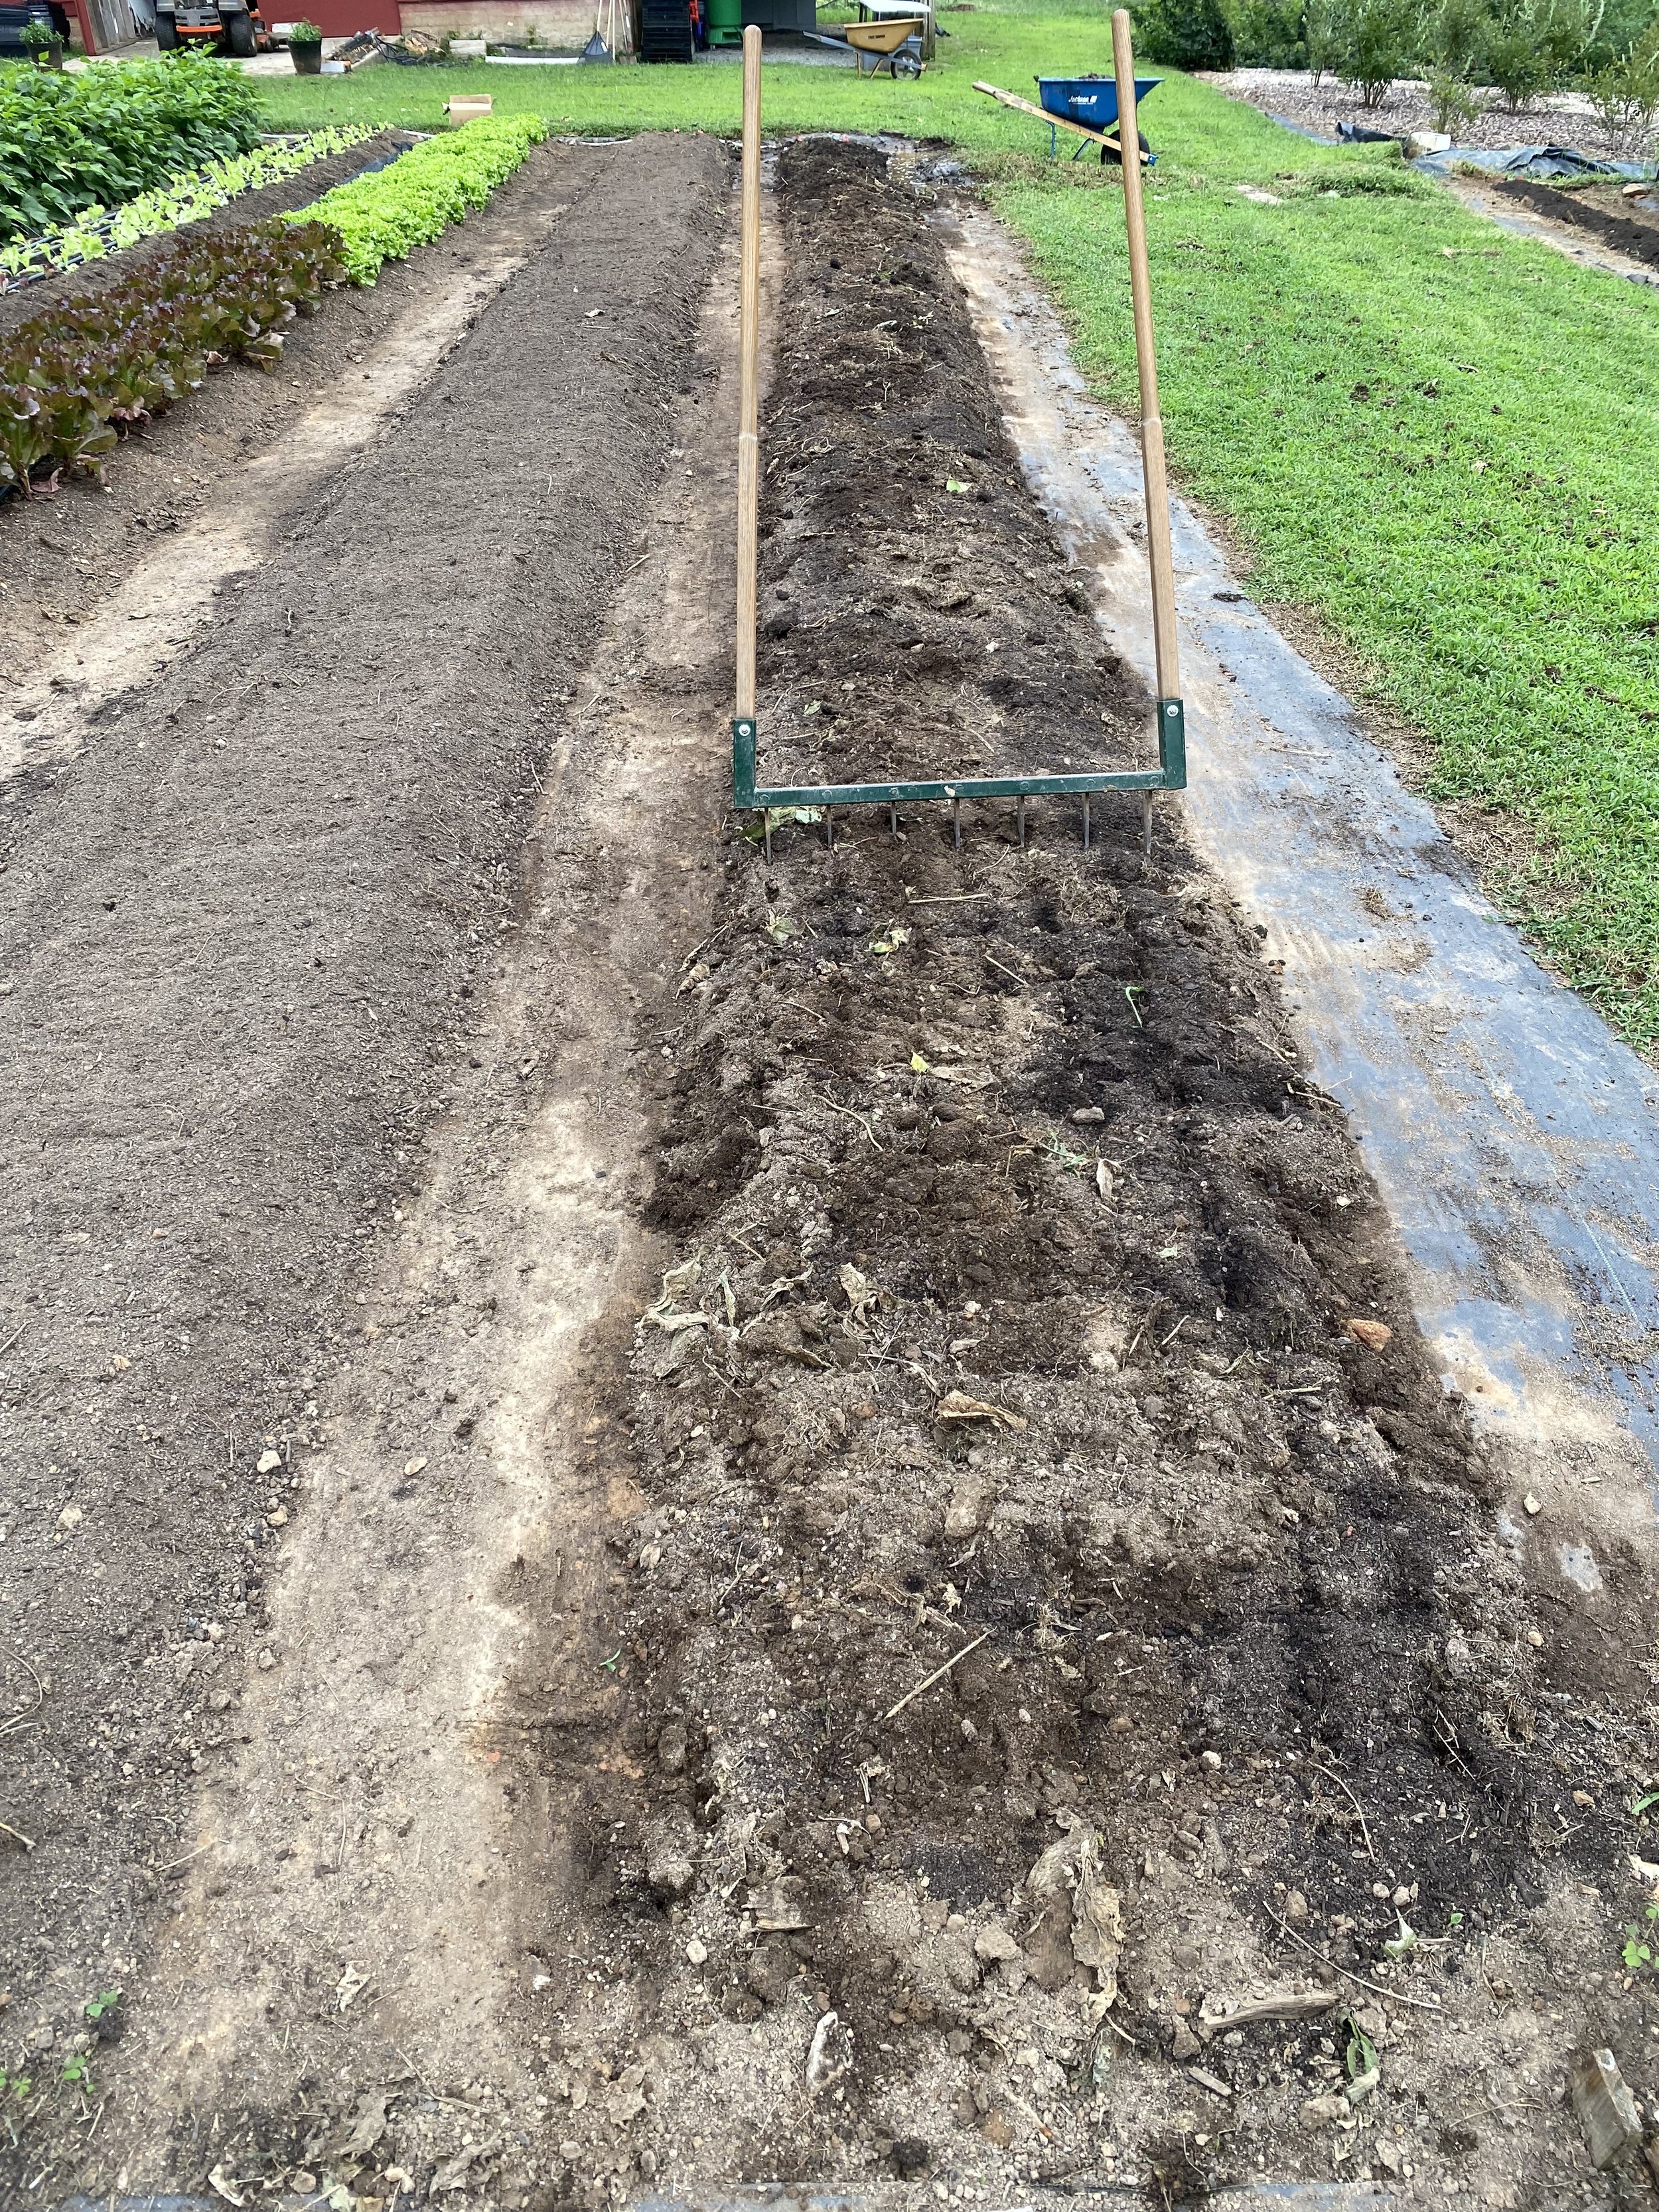
Next we use a tool called a broadfork – basically a giant pitchfork that is the width of our 30” beds – to aerate and loosen the soil. This step helps break up any compaction in the soil, allowing plant roots to expand and water + nutrients to move more freely. If you are growing in a raised bed, simply use a pitchfork for this step and twist the tines to loosen up your soil.
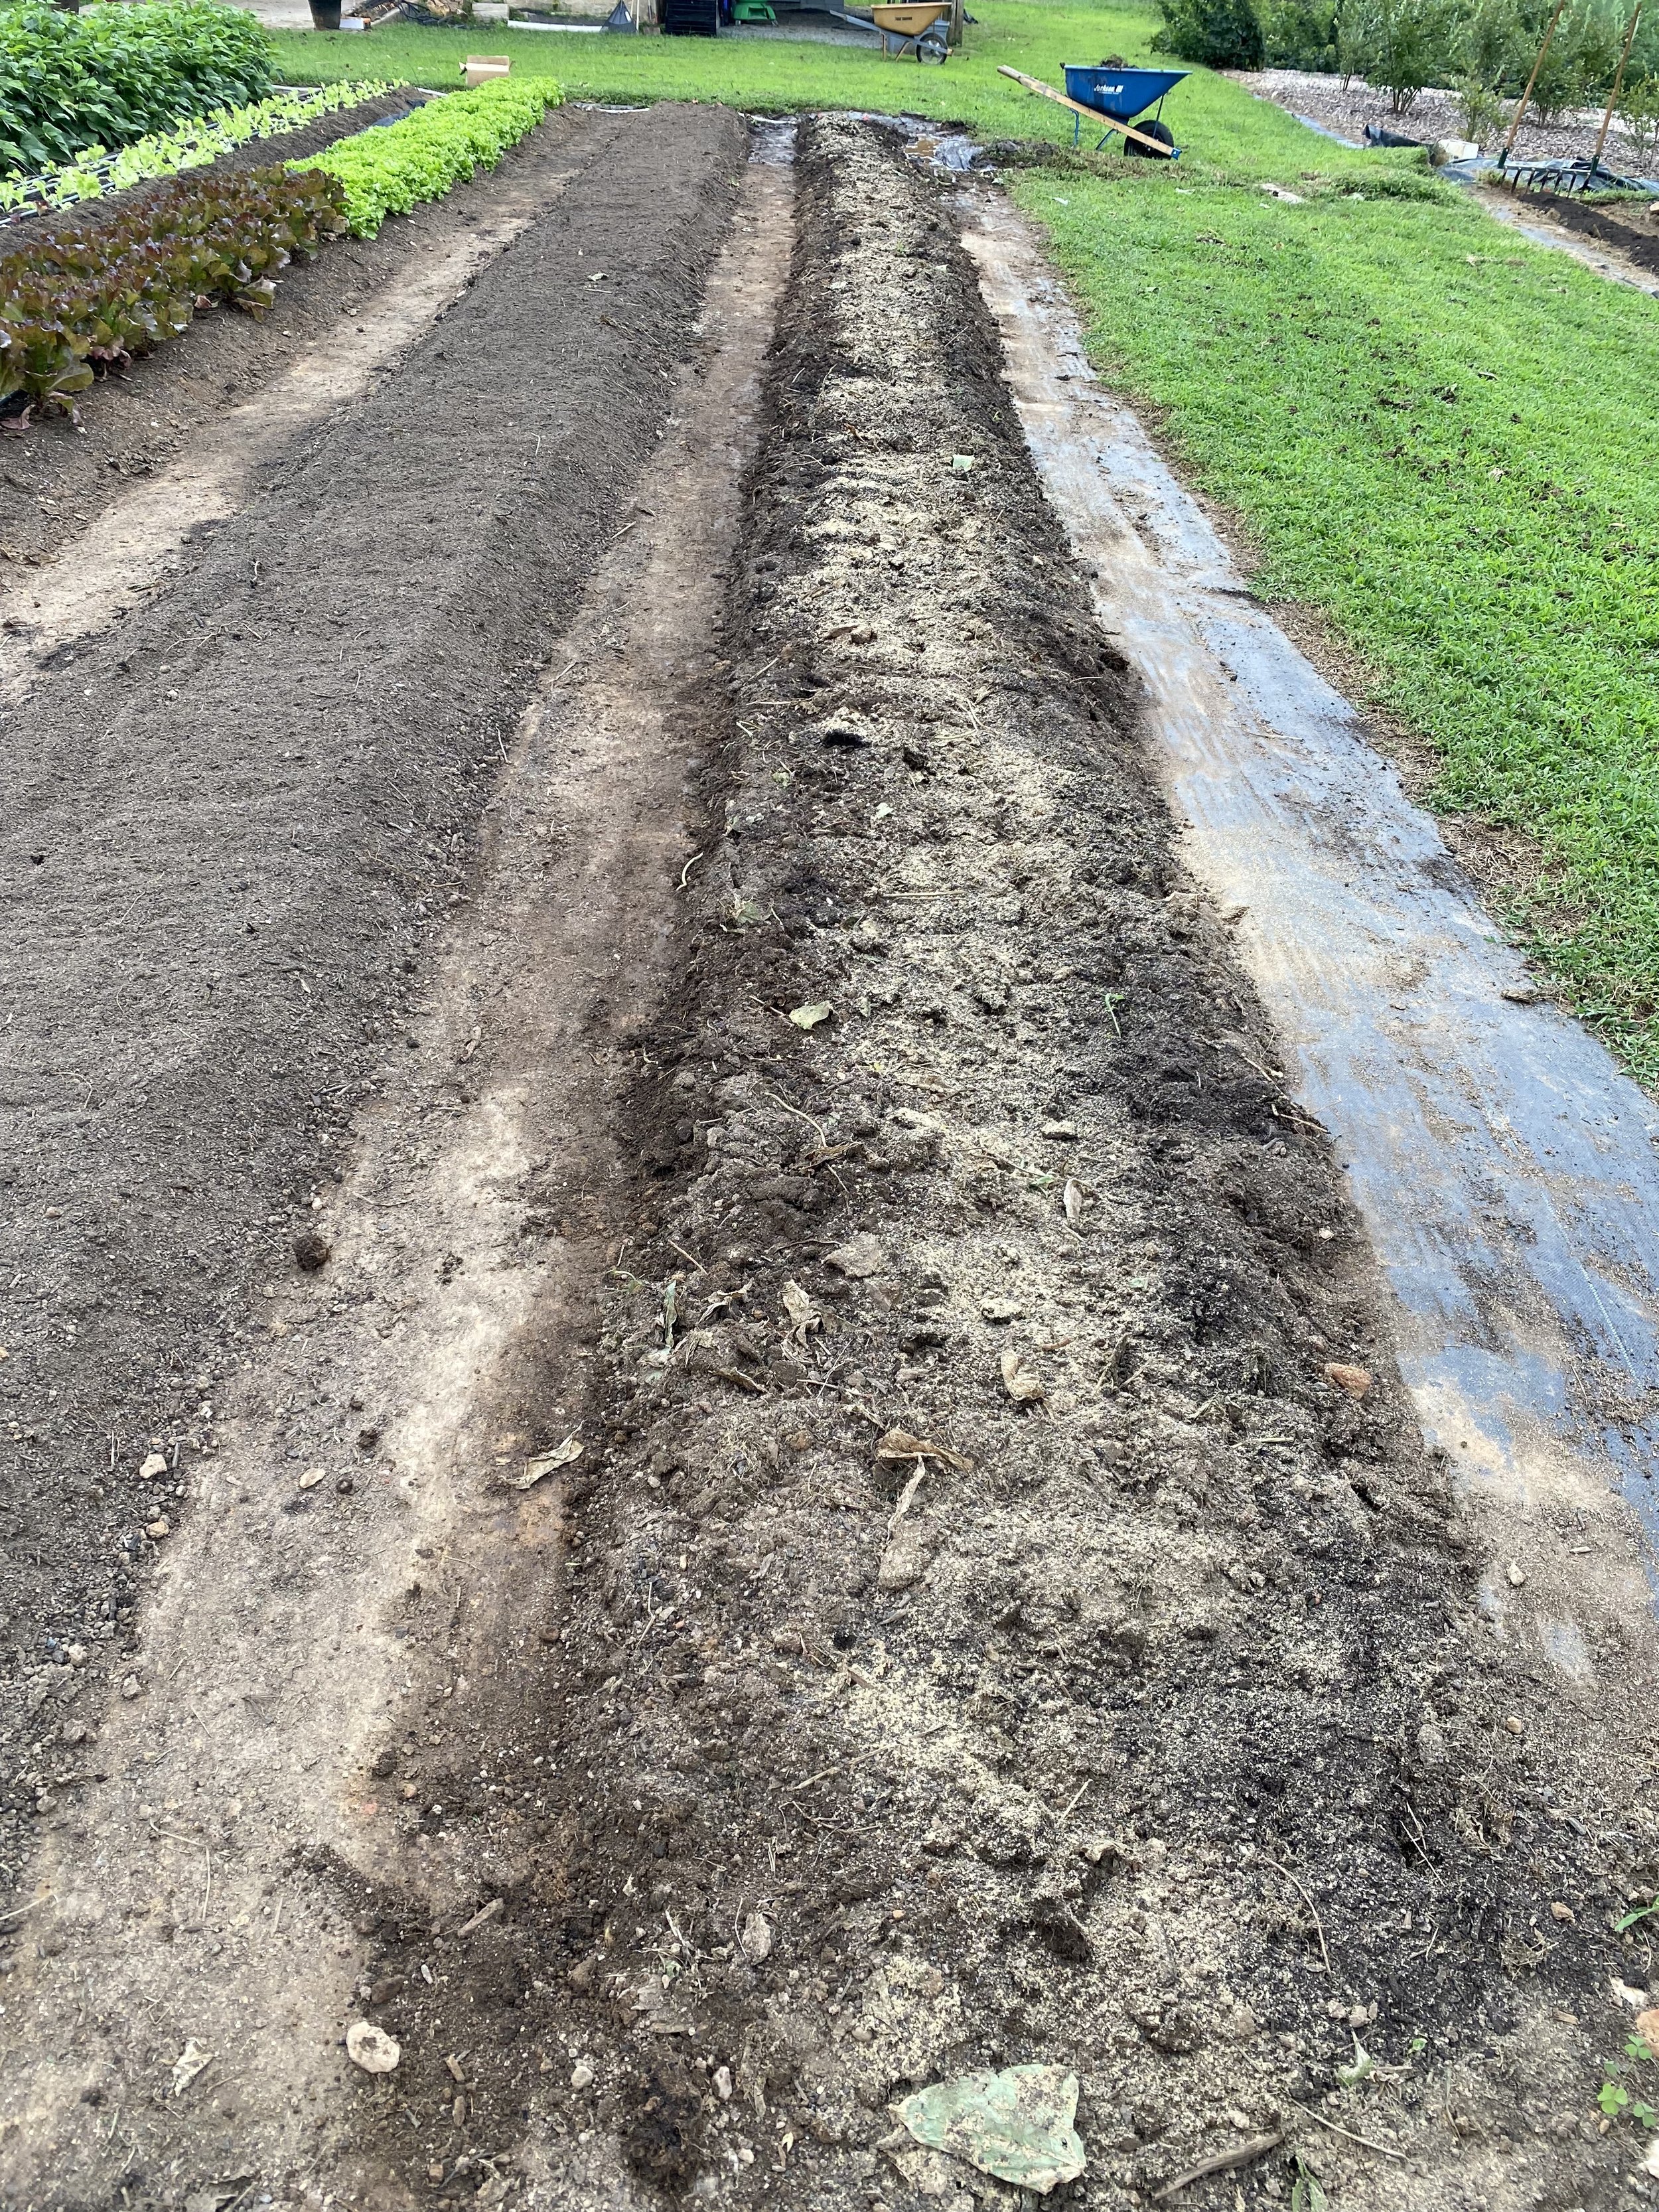
Next we apply two additional amendments to our beds – feathermeal (which is rich in nitrogen) and Harmony, an organic composted chicken manure mixture that has a broad range of macro-nutrients that plants need to thrive. If you are growing in raised beds and have already added compost to your soil, you can skip this step… because we “flip” our beds multiple times through the season, we need to do a bit more work to put nutrients back into our soil.
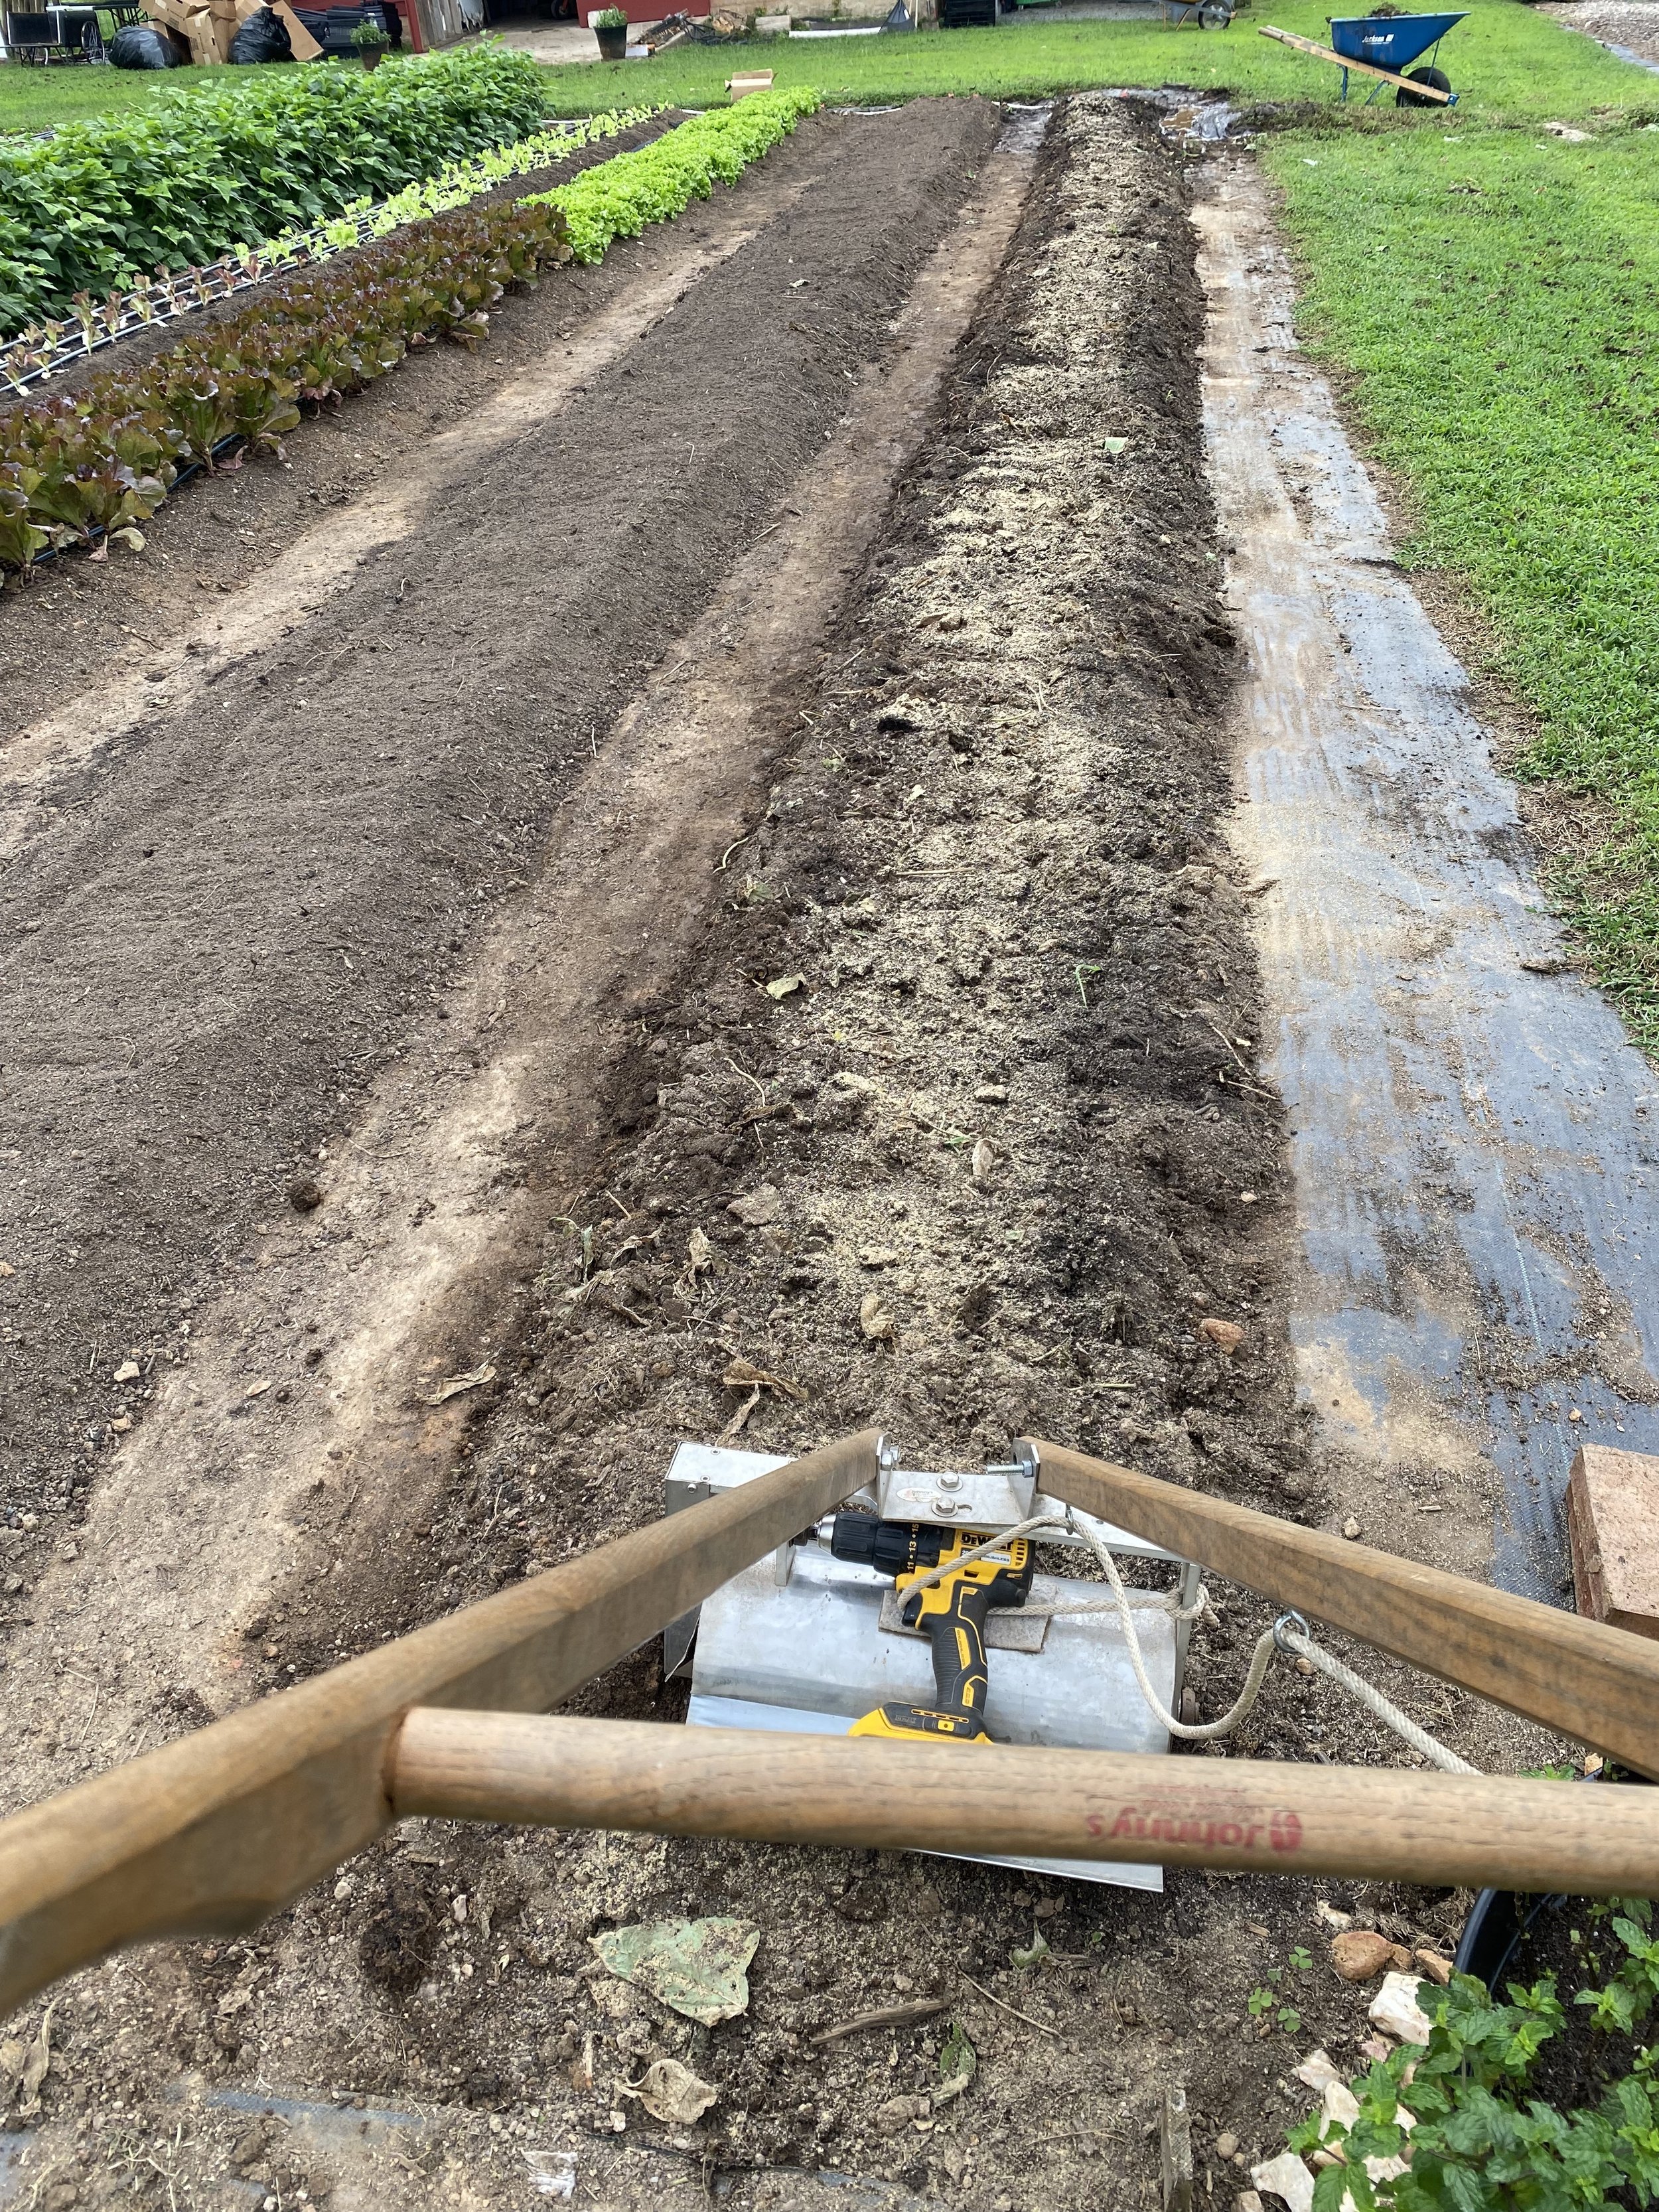
The last step for our bed preparation is my favorite… tilthing! We use an amazing tool called a tilther, which is powered by a cordless drill and does an amazing job working our compost + amendments into the soil, and creating a nice smooth bed. This tool would not be practical for raised bed growing – if you are growing in beds, I think the best tool is your hands to work in the compost with the rest of the soil, and to break up any clods to create a nice smooth bed.
A reminder that after planing your new fall babies, make sure to give them some extra love to give them the best chance at success! I just fertilized all our new plants with organic fish emulsion, which you simply dilute in water and apply either with a watering can or 1 or 2 gallon sprayer.
I just led a full virtual farm tour this morning, so you can see all the new fall planting that we’ve been up to via our private Facebook group here. Later this weekend I’ll upload it to our private Google drive folder here.
As always, if you have any questions or need some inspiration in the garden or in the kitchen as we head towards fall, please don’t hesitate to reach out! Happy growing + cooking + eating friends!
PS – I just added two more culinary workshops here this fall… Superpower Salads for Fall on Oct 6th and Knife Skills 101 on Oct 15th. Snag your spot while they last!
Kitchen Notes
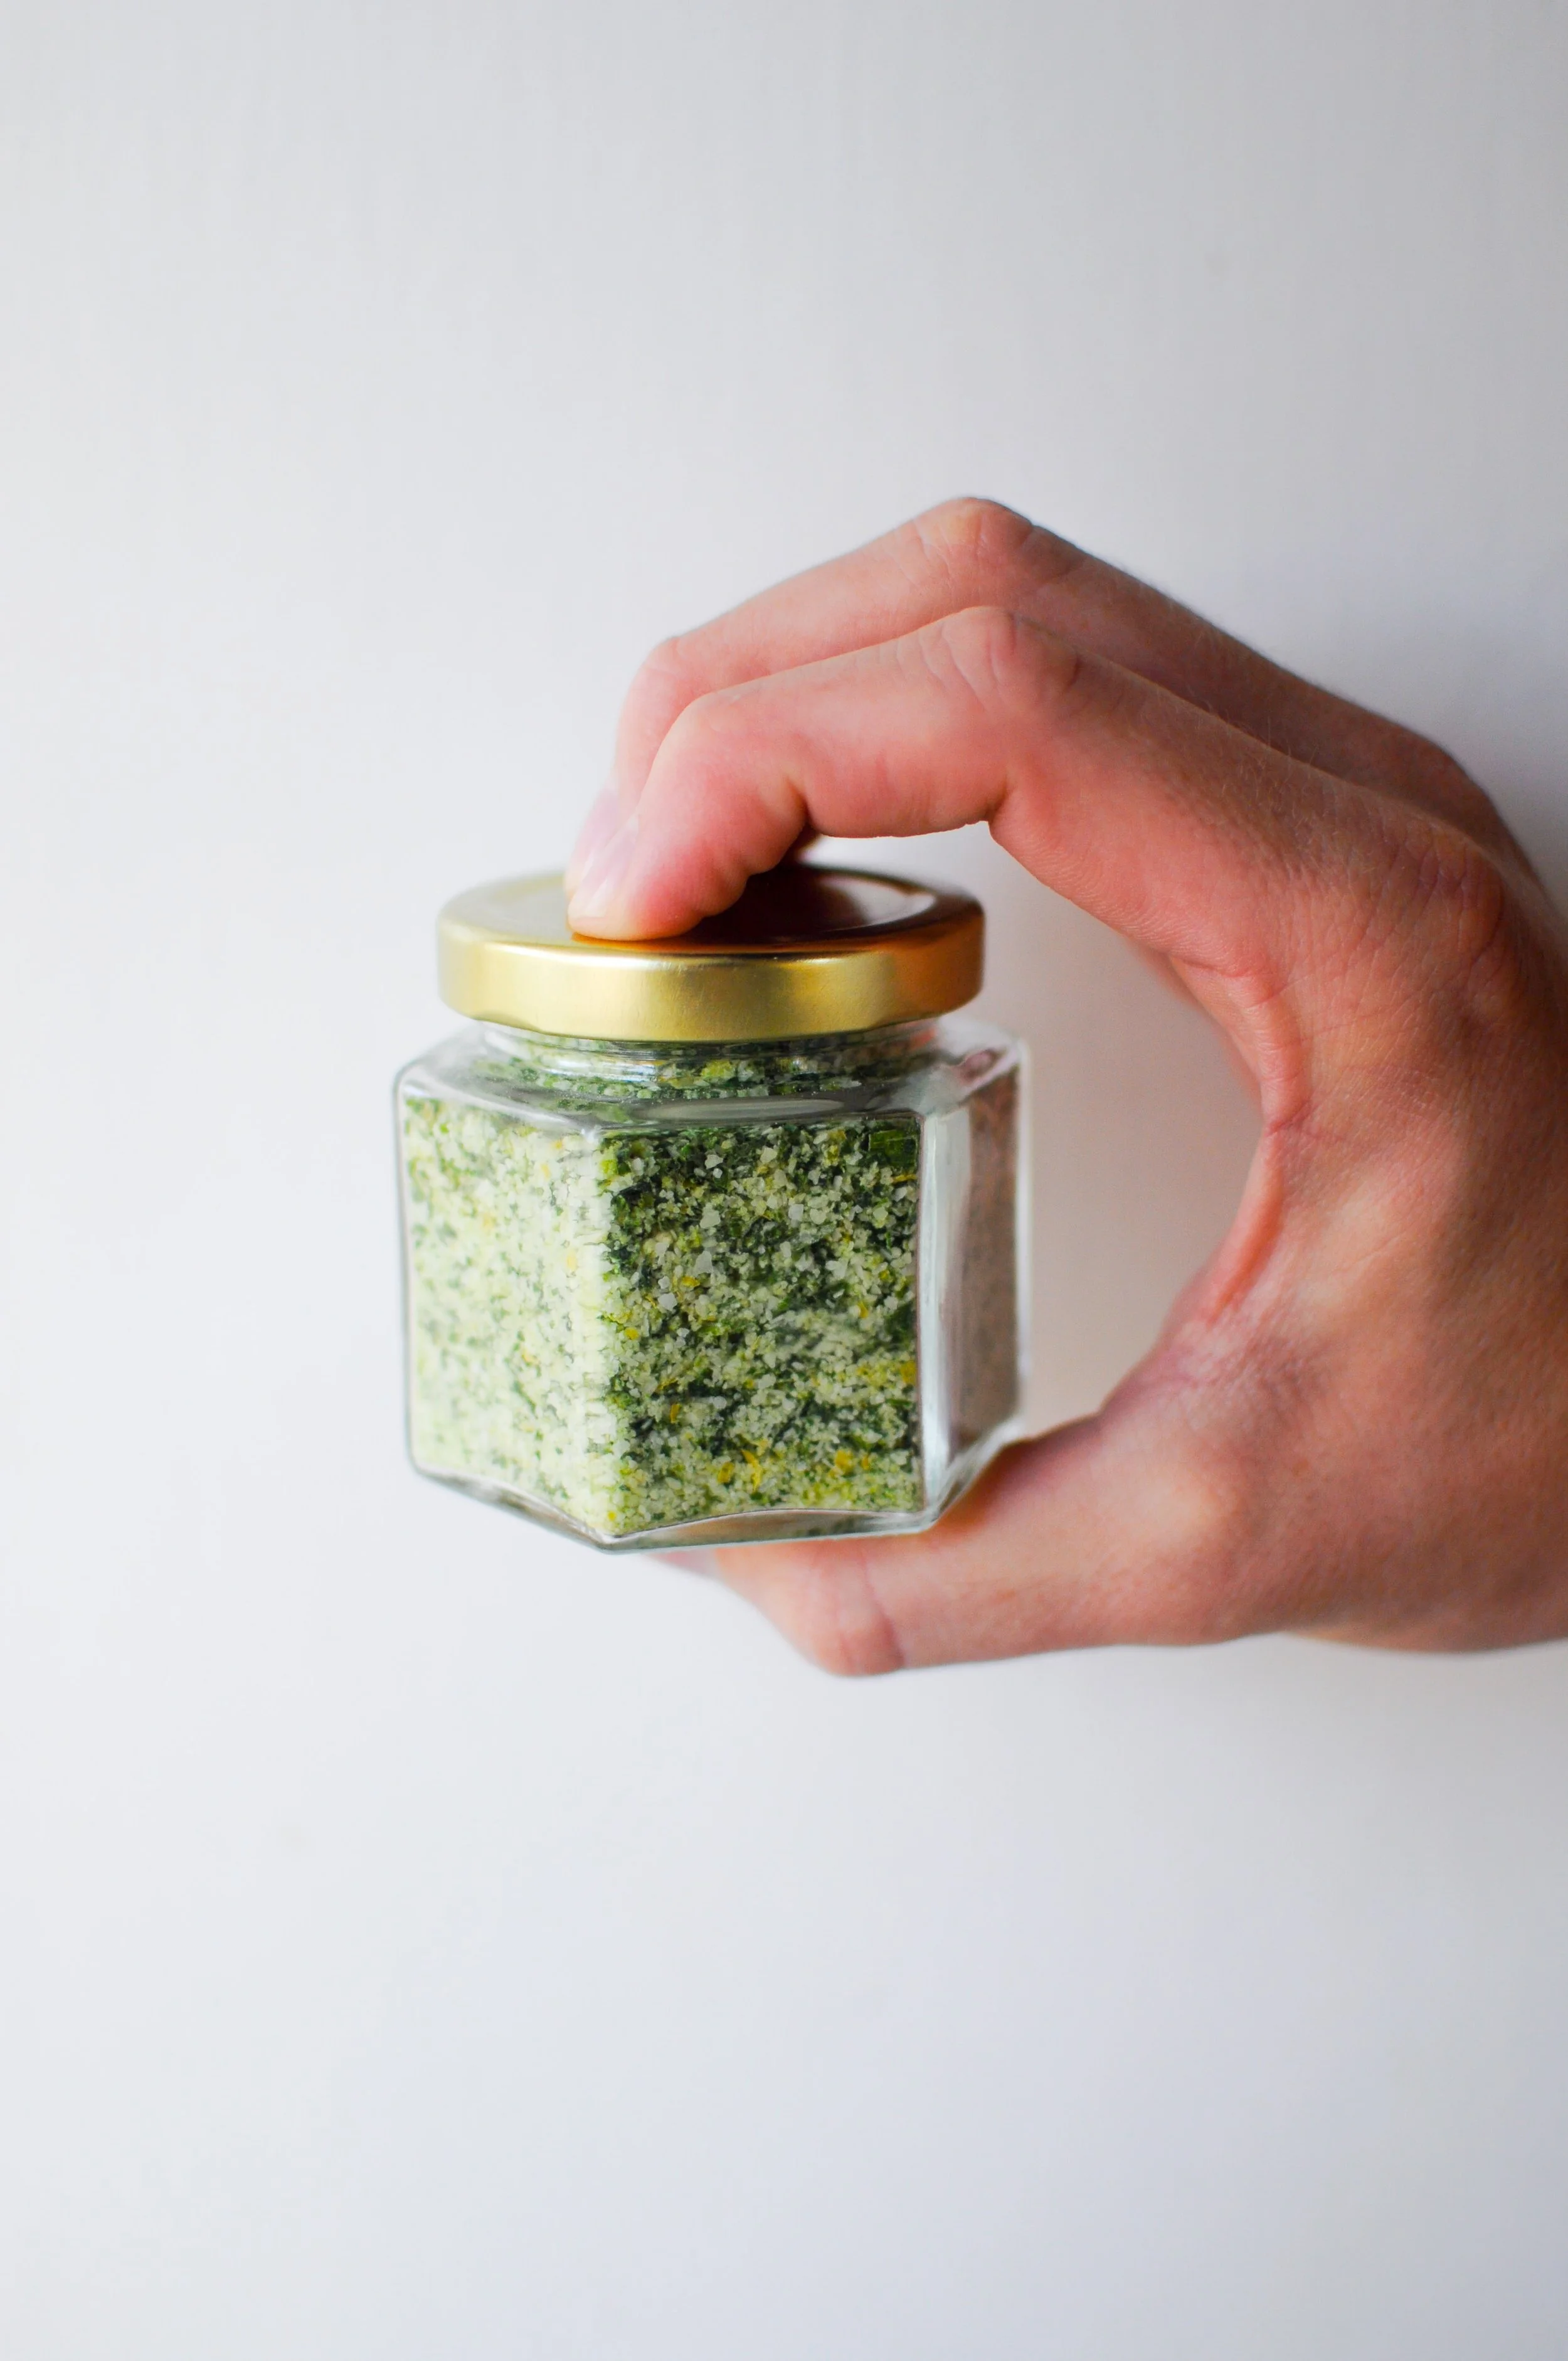
Right now our basil is still growing like crazy, and while I may be feeling sick of basil now.. I know that in a month or two, I’ll be missing all these fragrant summer herbs, so NOW is the time to preserve them while we can! Making herb salt is one of the easiest ways to preserve fresh herbs, and they are seriously amazing for seasoning meat, veggies, eggs, etc. In this recipe I’m making basil salt, but feel free to use whatever herbs you have on hand – I like to use a 1:1 ratio of fresh herbs to kosher salt. When it comes to the salt, my favorite brand of kosher salt is Diamond. Pro tip: Cute little jars of herb salt also making great gifts from your garden!
HOMEMADE BASIL SALT
INGREDIENTS
1 cup loosely packed mixed fresh basil leaves (or any herb of choice)
1 cup kosher salt
Optional additions: a teaspoon lemon zest and/or minced garlic
PREPARATION
Preheat your oven to the lowest temperature (usually around 180F).
Combine fresh basil leaves and salt together in a food processor and blend until the herbs are fully incorporated into the salt (this usually takes a minute or two).
Spread the herb salt onto a rimmed baking tray, and put into your preheated oven for 45-60 minutes. Stir the salt mixture (or if it’s easier, use your hands to break/mix everything up) every 20 minutes until the salt is fully dry, making sure it doesn’t burn.
Let the herb salt cool fully, then store in a jar with a lid in a cool, dry spot in your pantry, where it will keep for several months.
Today’s Stats
Low temp: 68F
High temp: 89F
Sunrise: 6:44am
Sunset: 7:53pm
Moon phase: Waning Crescent
Additional notes: Mostly sunny, slight chance of showers