
Farm Notes
And just like that, our Summer CSA has come to a close! This season has definitely been our most abundant yet, though I’m already scheming and dreaming of ways to nourish our soil and grow even better next year. I’ve been farming in one way or another for the past 15 years, and every year I get a little better… AND I also make tons of new mistakes, because somehow, there seems to be no shortage of ways to screw things up no matter how long you’ve been farming.
Overall, it’s been a great season, though I’d be lying if I didn’t say that I am TIRED. I opened up a bit about August burnout over on my instagram (which you can read here), and I was honestly blown away by the reaction and how many people reached out in support + solidarity. I just think it’s important to keep it real about what it’s REALLY like to run a small farm, because it’s so easy to just show all the beautiful, fun, instagram-perfect stuff… all while sweeping the ugly parts under the rug. Now that our Summer CSA is behind us, and with a bit of a break these next few weeks, I’m already feeling more energized for fall… anyone else ready for sweater weather? Just me?!

CSA Week 10 (Full Share)
Speaking of fall… our 12-Week Fall CSA is officially sold out (thank you!) and now we’re in a 3 week “break” between CSA seasons, which allows us to take a much needed deep breath (!) and to flip most of our growing beds, removing summer veggies and replacing them with cool weather crops like lettuces, kale, radishes, turnips, arugula, etc. I should mention there are a few crops that will stay in the ground and continue pumping out veggies through the fall… things like okra, eggplant, peppers, and some tomatoes – so we aren't quite finished with the summer goodness just yet!
In other news, have you seen our big barn reveal?! Over the summer one of our big projects was giving our barn a #glowup, and we worked with a local team who painstakingly replaced all the rotten boards, chipped away the peeling paint, and gave everything a fresh coat of paint and WOW… what a world of a difference! Our family feels incredibly privileged to be the stewards of this land, and part of that stewardship means taking care of the structures that have been here for decades, and that are a crucial part of the fabric of this farm.

Barn before…

…and after!
Last but not least… as we look ahead to fall, I’m excited to announce a new workshop hosted here at the farm… local friends, I hope you’ll join us on Sunday, September 11th for my Pickling & Fermenting class!
This is one of my favorite classes to teach, and it’s super hands-on as everyone helps harvest veggies that we’ll use to make homemade quick pickles and sauerkraut. Also included in the workshop is a walking tour of our farm, and lots of delicious pickled + fermented dishes to sample and enjoy. More details + tickets available HERE.
PS – I just took y’all on a virtual farm walk, with lots of new things going on around here! For a full tour of the farm + tips for your own gardens, here’s a link to watch! You can also check it out in our private Google Drive folder here (video will be posted here later today).
Kitchen Notes
In honor of my upcoming pickling + fermenting class, I thought it would be fitting to share a family recipe for pickled green beans, aka dilly beans! I’ll be honest that until I met my husband Matthew and his family, I had never even heard of dilly beans… but now I’m making up for lost time, especially since these days we are swimming in green beans. Even if you are new to canning, this recipe is very straightforward... though the process is even more fun when you have some helping hands! | MAKES 8 16-oz jars
DILLY BEANS (PICKLED GREEN BEANS)
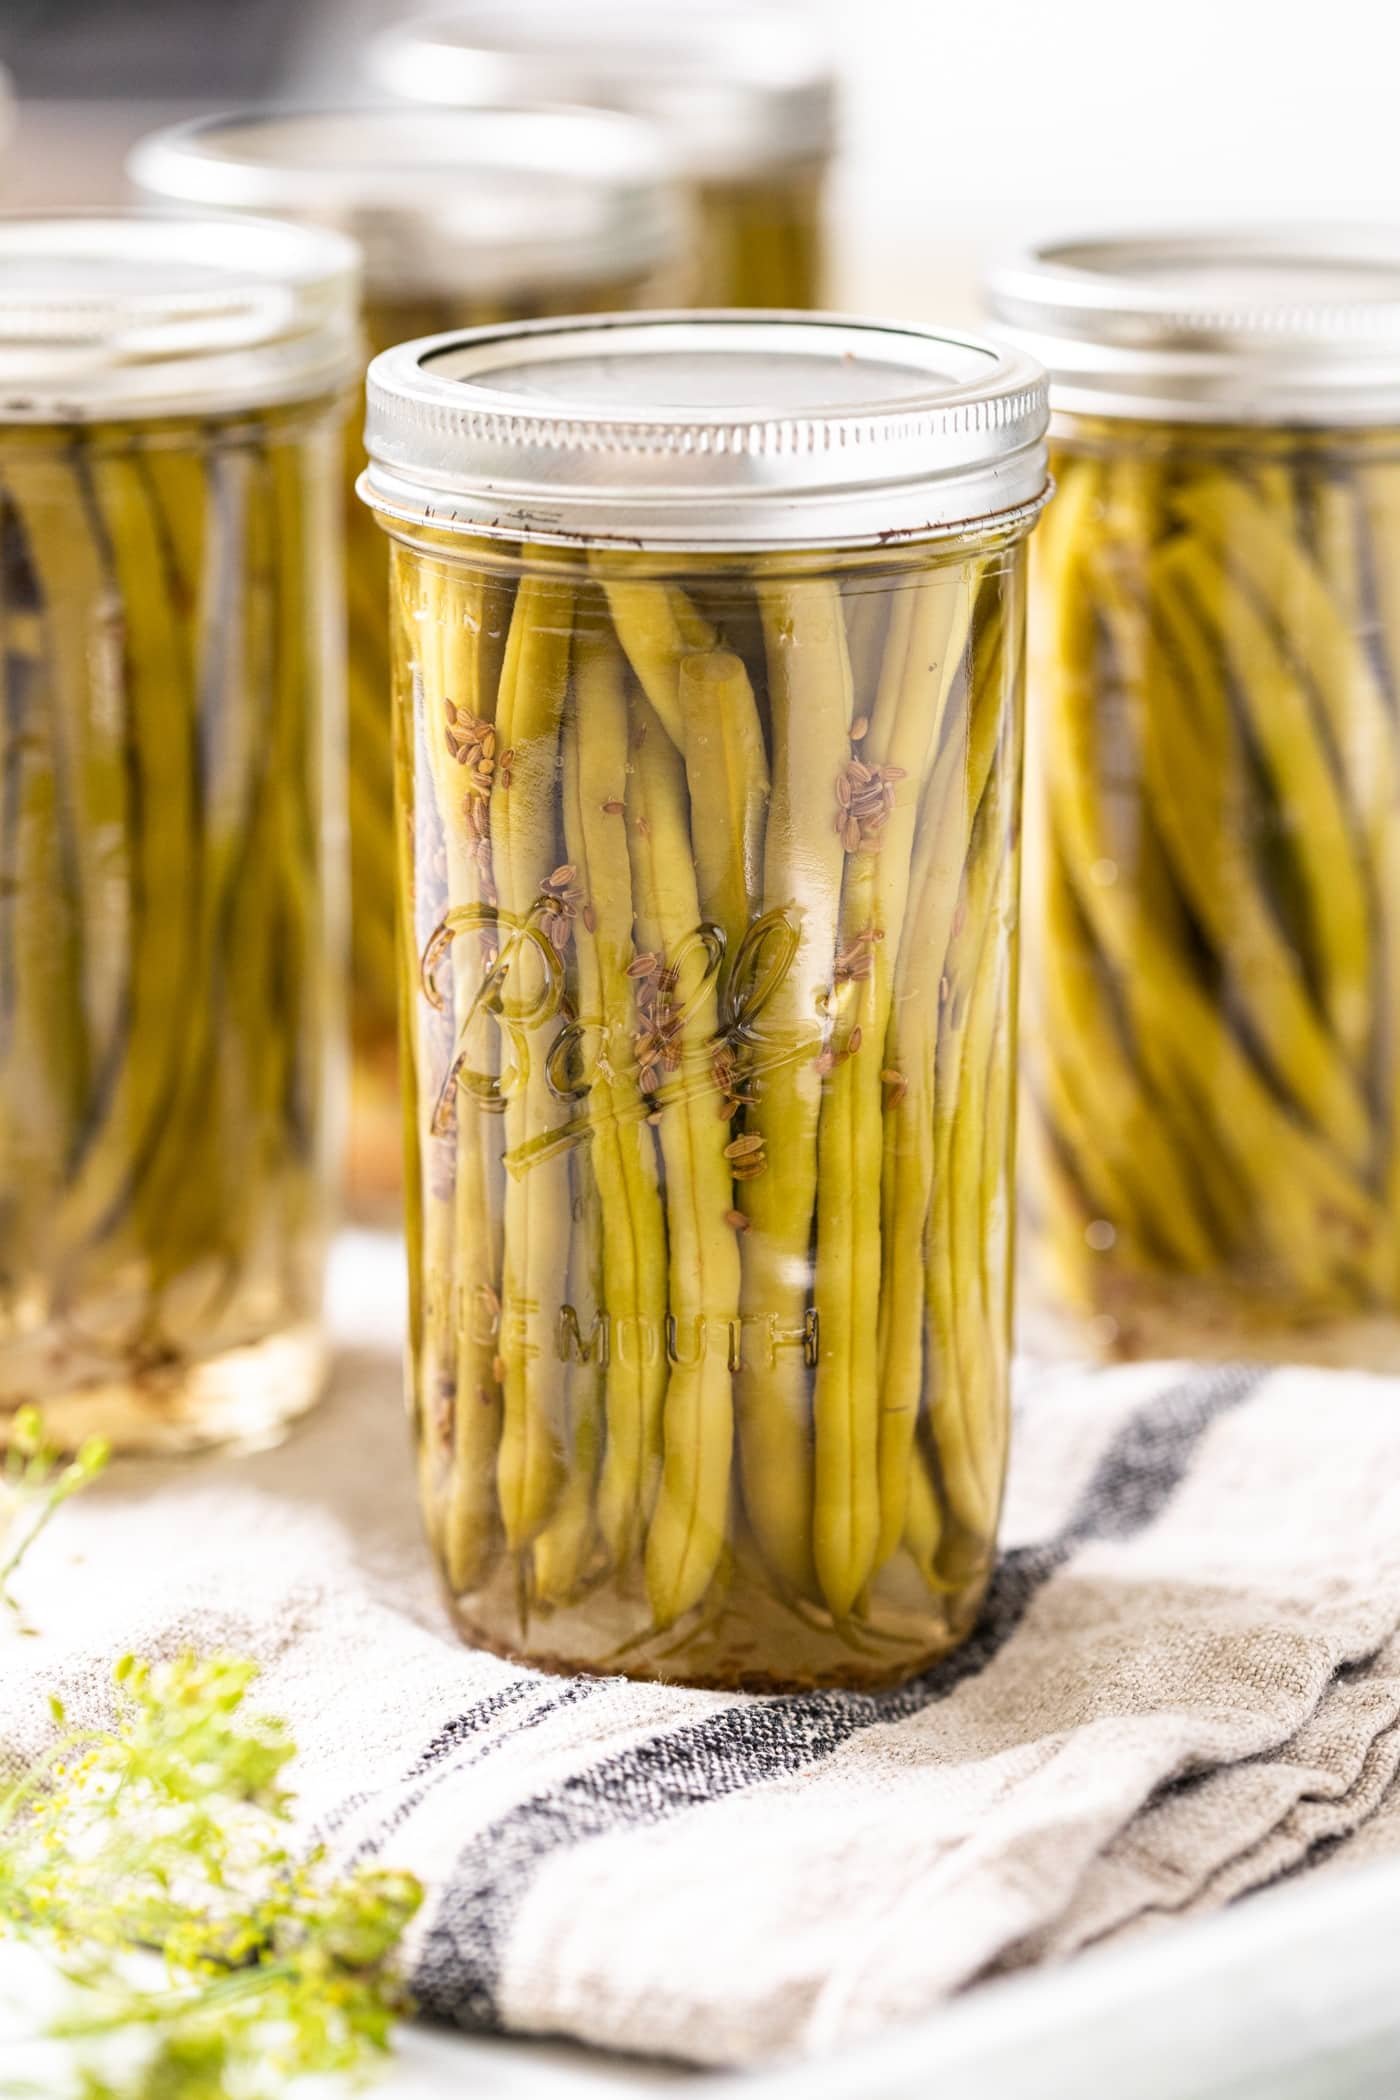
Photo Credit: Wyse Guide
INGREDIENTS
6 cups water
6 cups white vinegar
1/4 cup kosher salt
4-5 pounds fresh green beans | ends trimmed
1 teaspoon chopped fresh dill
1/4 teaspoon dill seed
1/4 teaspoon celery seed
1/8 teaspoon alum (keeps the beans crisp)
1/2 teaspoon dry red pepper flakes
2 cloves garlic
INSTRUCTIONS
Start by sterilizing 8 pint-size mason jars by boiling them for 10 minutes in a large stockpot. Boil the lids for 10 minutes in a separate smaller saucepan. Remove with rubber tongs, set aside and allow to dry until needed. Keep the stockpot filled with water on the stove, as you will need it again to seal the jars once they are packed with beans and brine.
Quickly blanch the green beans by bringing salted water to boil in a medium saucepan. Add green beans, cook at a medium boil uncovered for two minutes, then immediately refresh the beans in an ice bath.
Next, make the brine by combining the water, vinegar, and salt in a saucepan and bringing to a gentle boil. Lower the heat to keep a very low simmer.
Meanwhile, pack the fresh dill, dill seed, celery seed, alum, red pepper flakes, and garlic into your sterilized jars. Next, pack the beans tightly in the mason jars and ladle in the hot brine to just cover the beans (leave 1/2” head space). Fasten the lids to each jar and carefully place the jars back into the stock pot with boiling water to seal the jars. After 10 minutes in the hot water bath, remove jars with rubber tongs and gently place on your countertop, as they cool you should hear each jar “pop” as the lid seals. Store for at least two weeks before eating.
Today’s Stats
Low temp: 60F
High temp: 82F
Sunrise: 6:32am
Sunset: 8:12pm
Moon phase: Full Moon
Additional notes: Mostly sunny, finally less humid!