April 1

Farm Notes

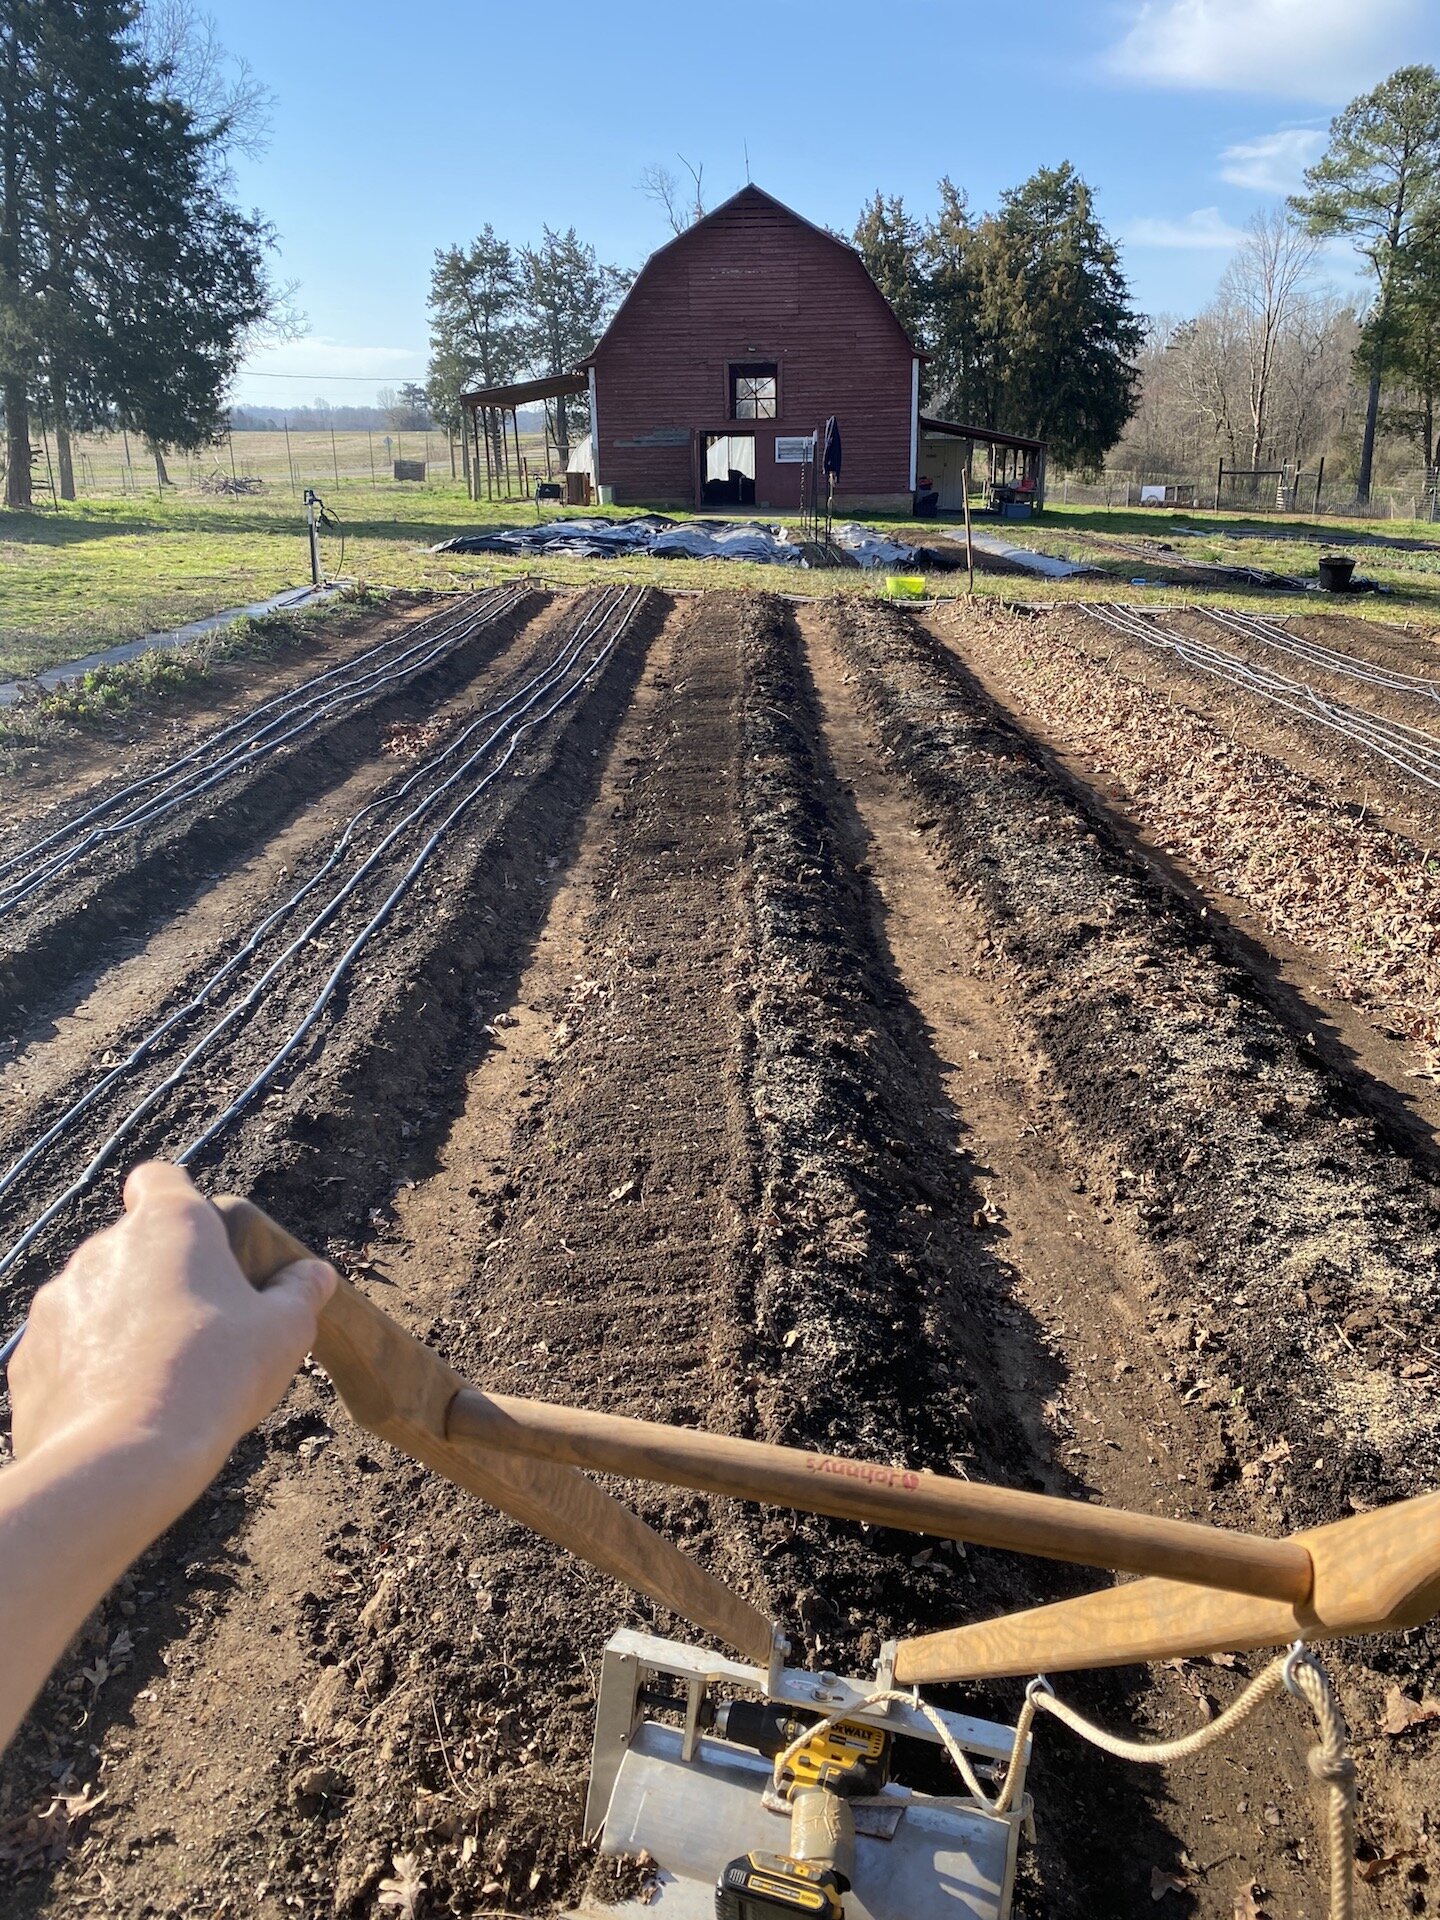
Thank goodness, we made it to April! I don’t know about y’all, but the past month has just felt HARD – between hustling to get thousands of plants in the ground (and keeping them alive through major frosts), battling with squirrels who seem hell bent on eating all our plants, sick family members, inconsistent childcare, issues with our well water, etc – it’s all felt a bit overwhelming. So while I love spring, I always forget that around here, the month of March is absolutely non-stop. Alas! We’ve made it through one of the busiest times of the growing season, and I feel like we (and the plants!) are finally hitting our stride.

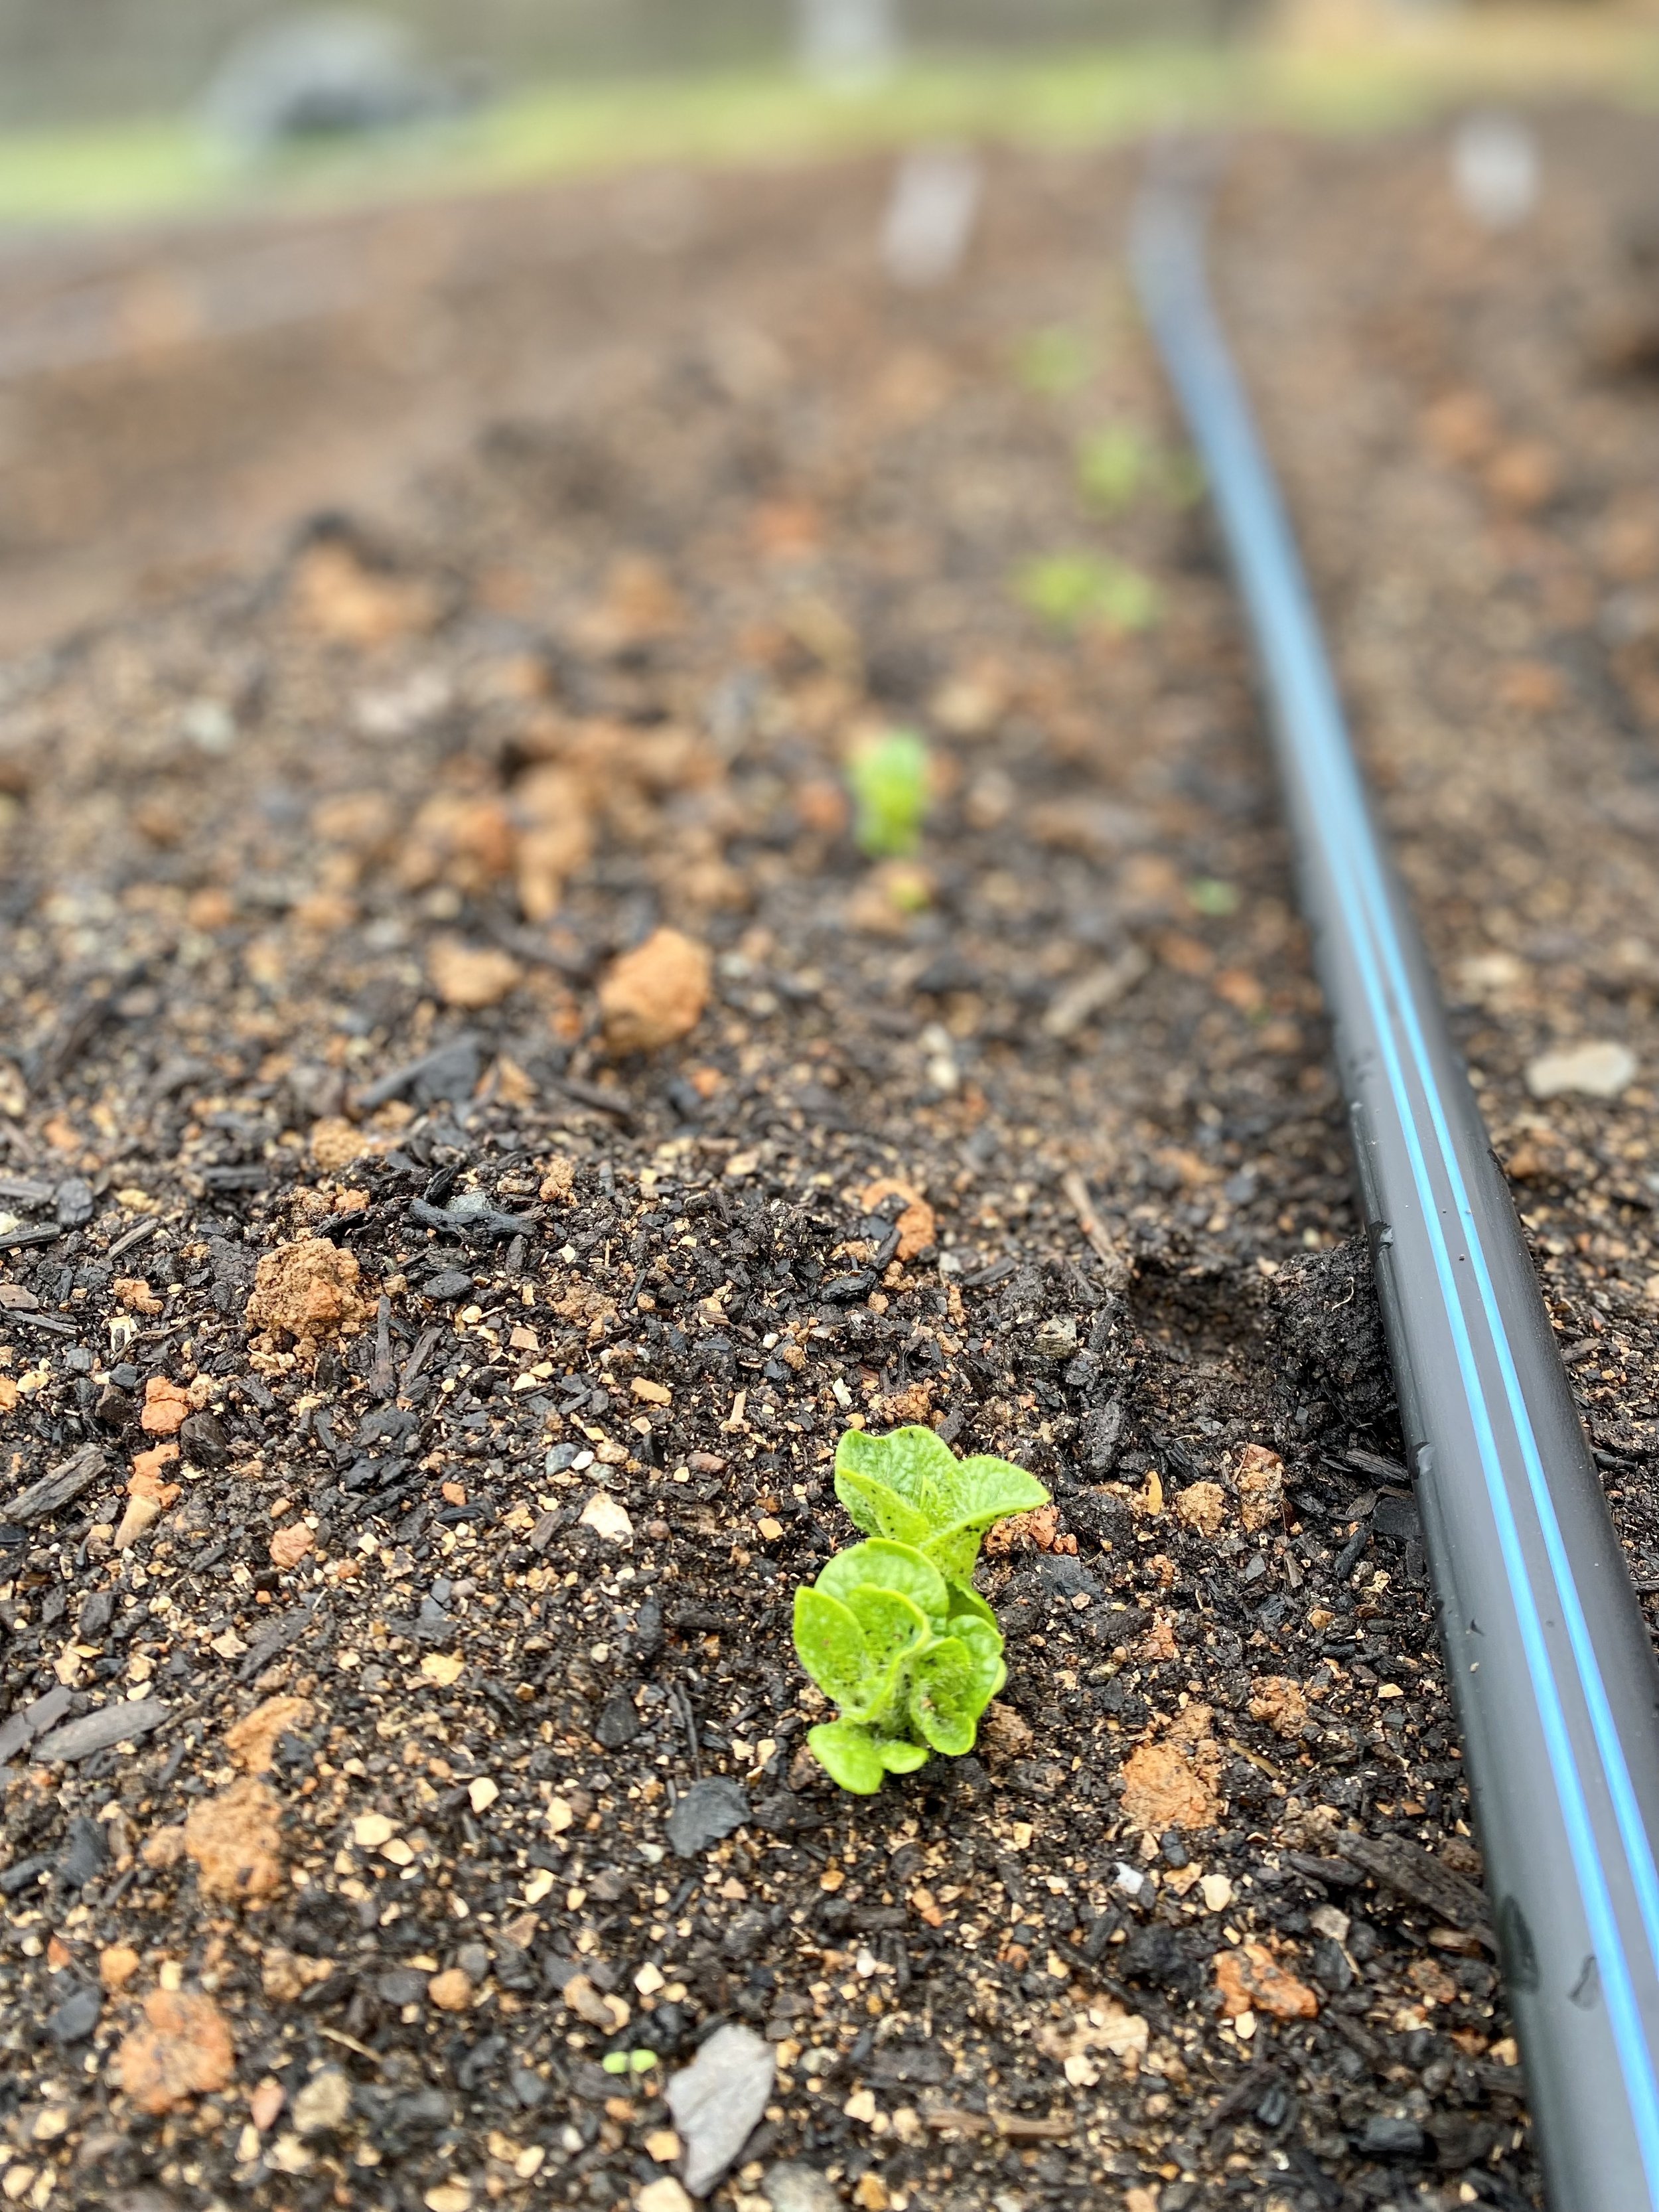
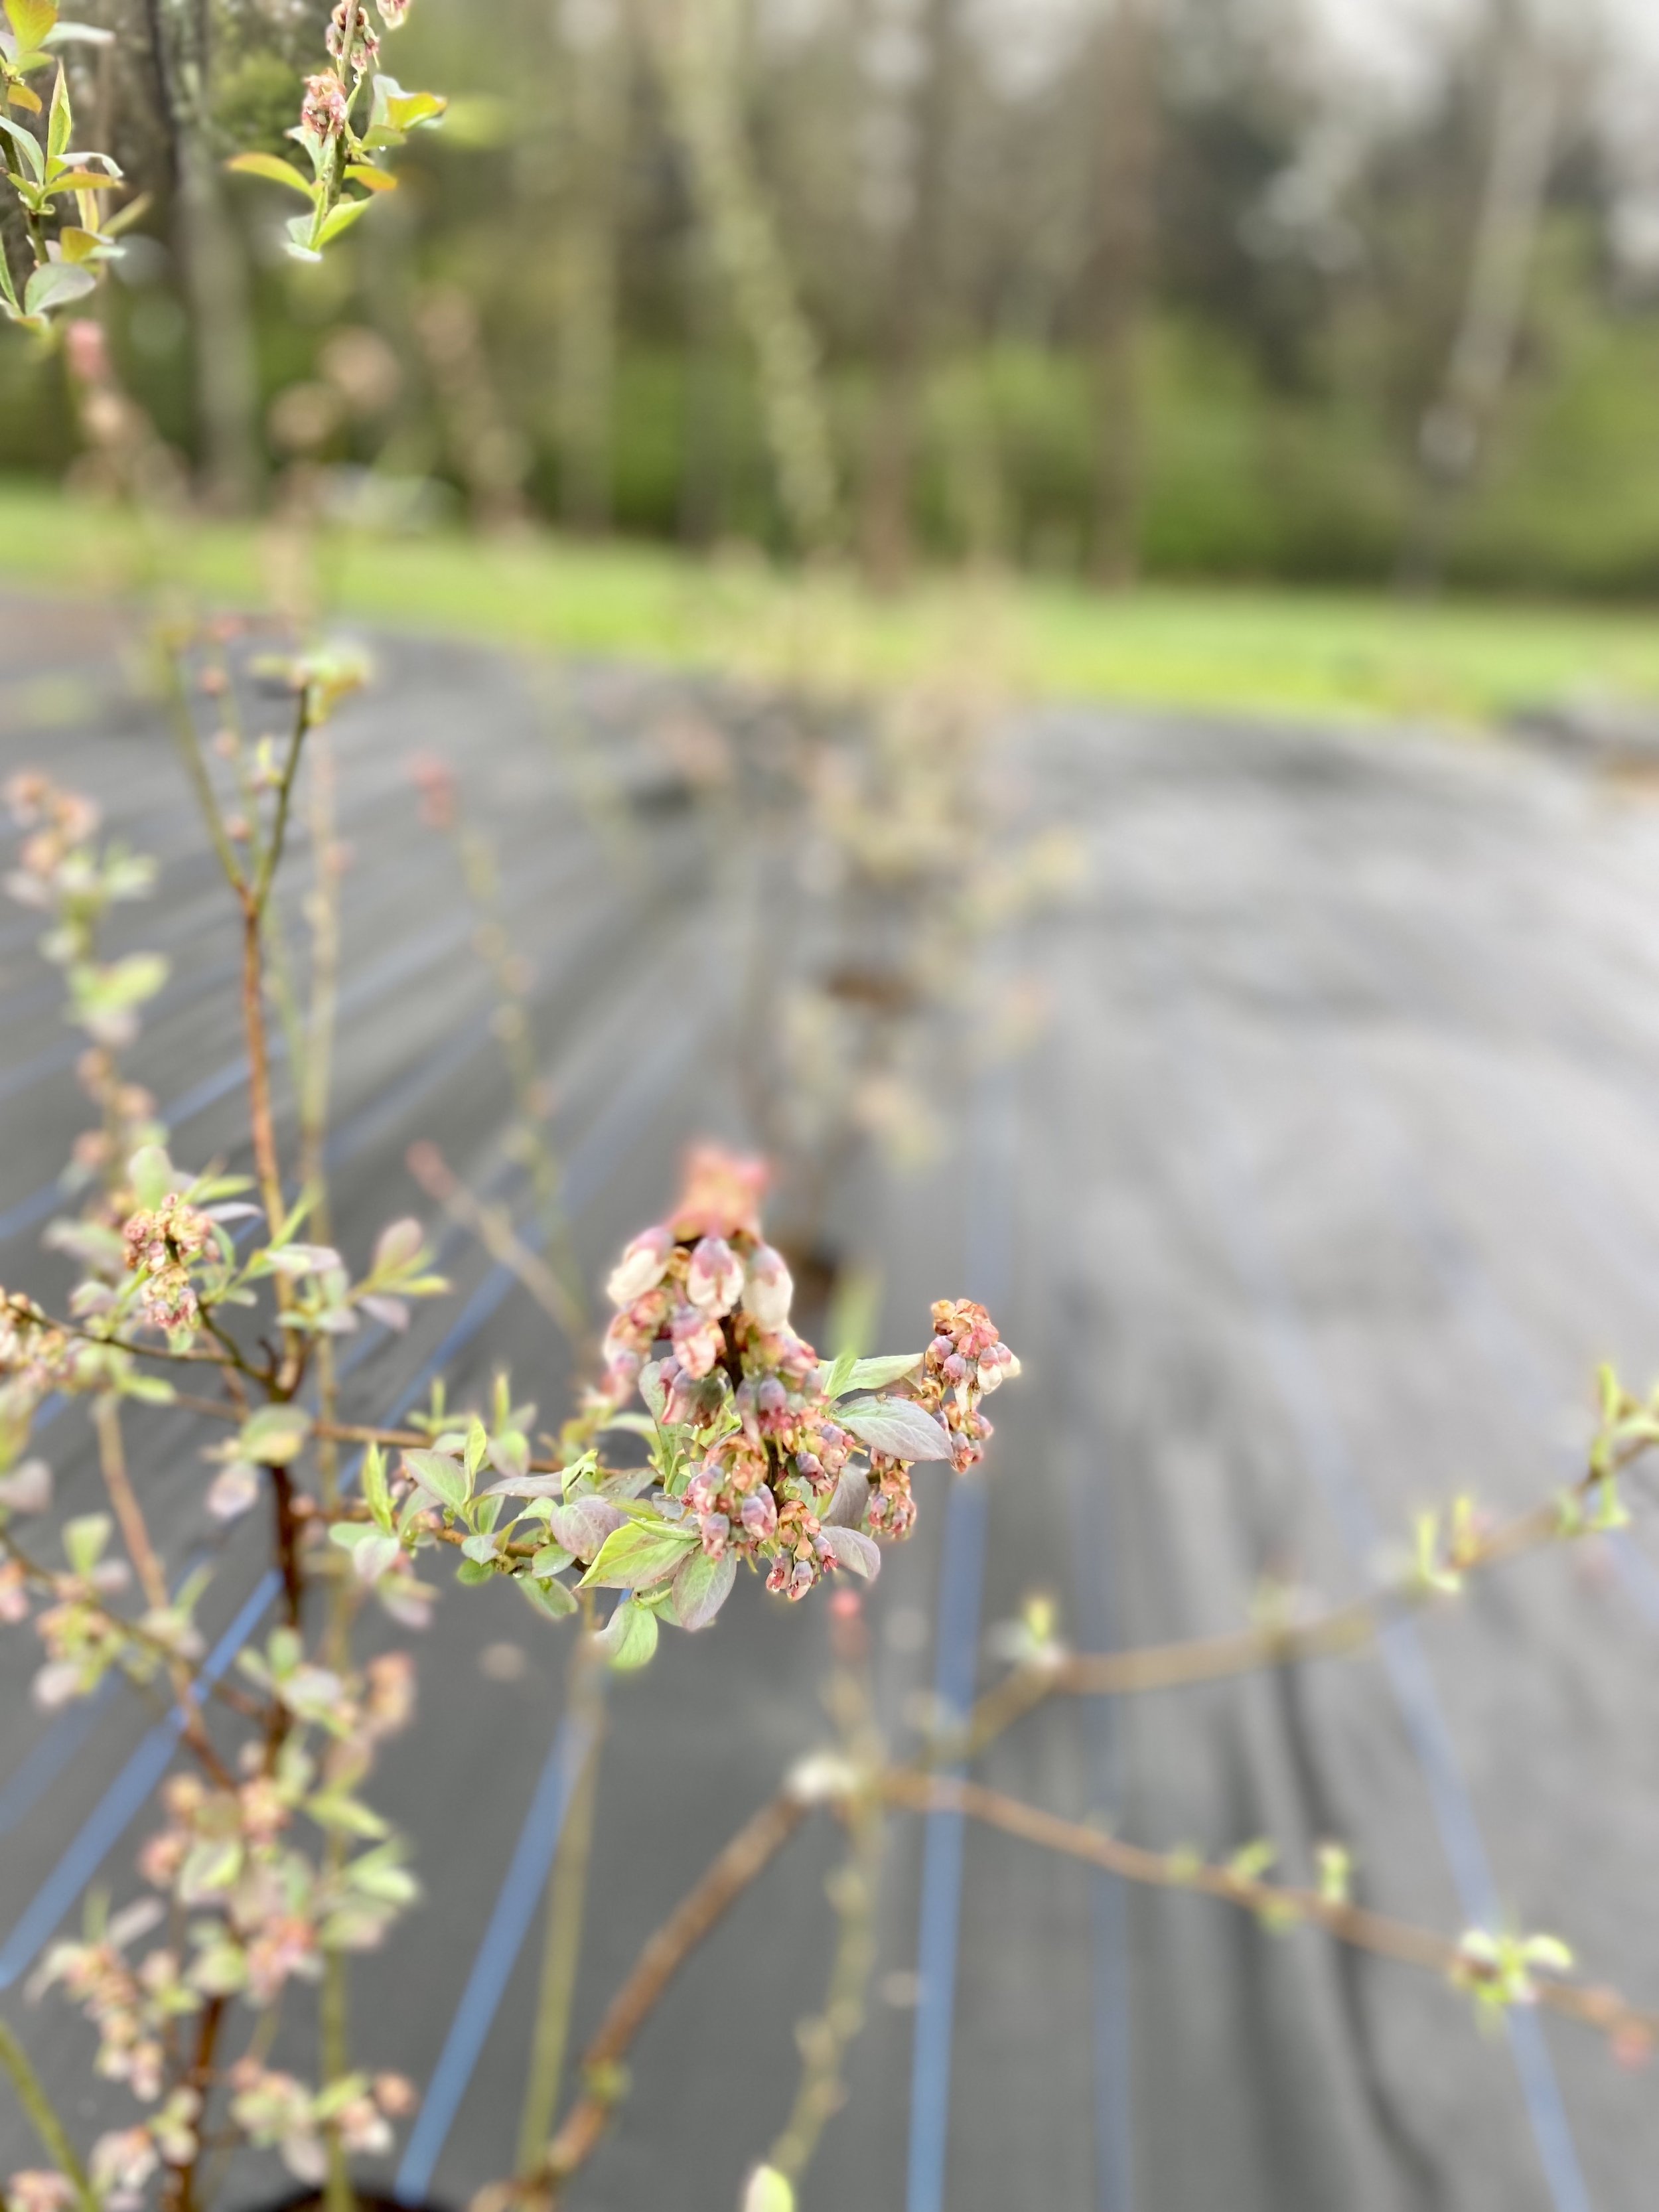
Just this morning, I was walking around the farm and could see signs of new life that had been dormant only a few weeks ago. Suddenly, the freshly planted asparagus has shot up, the new blackberry plants are leafing out, blueberry bushes are blooming, potatoes have emerged above ground, and our lettuces are looking extra-lush. The longer + warmer days have made a world of a difference, and seeing all the new growth has put some much needed pep in this tired farmer’s step.

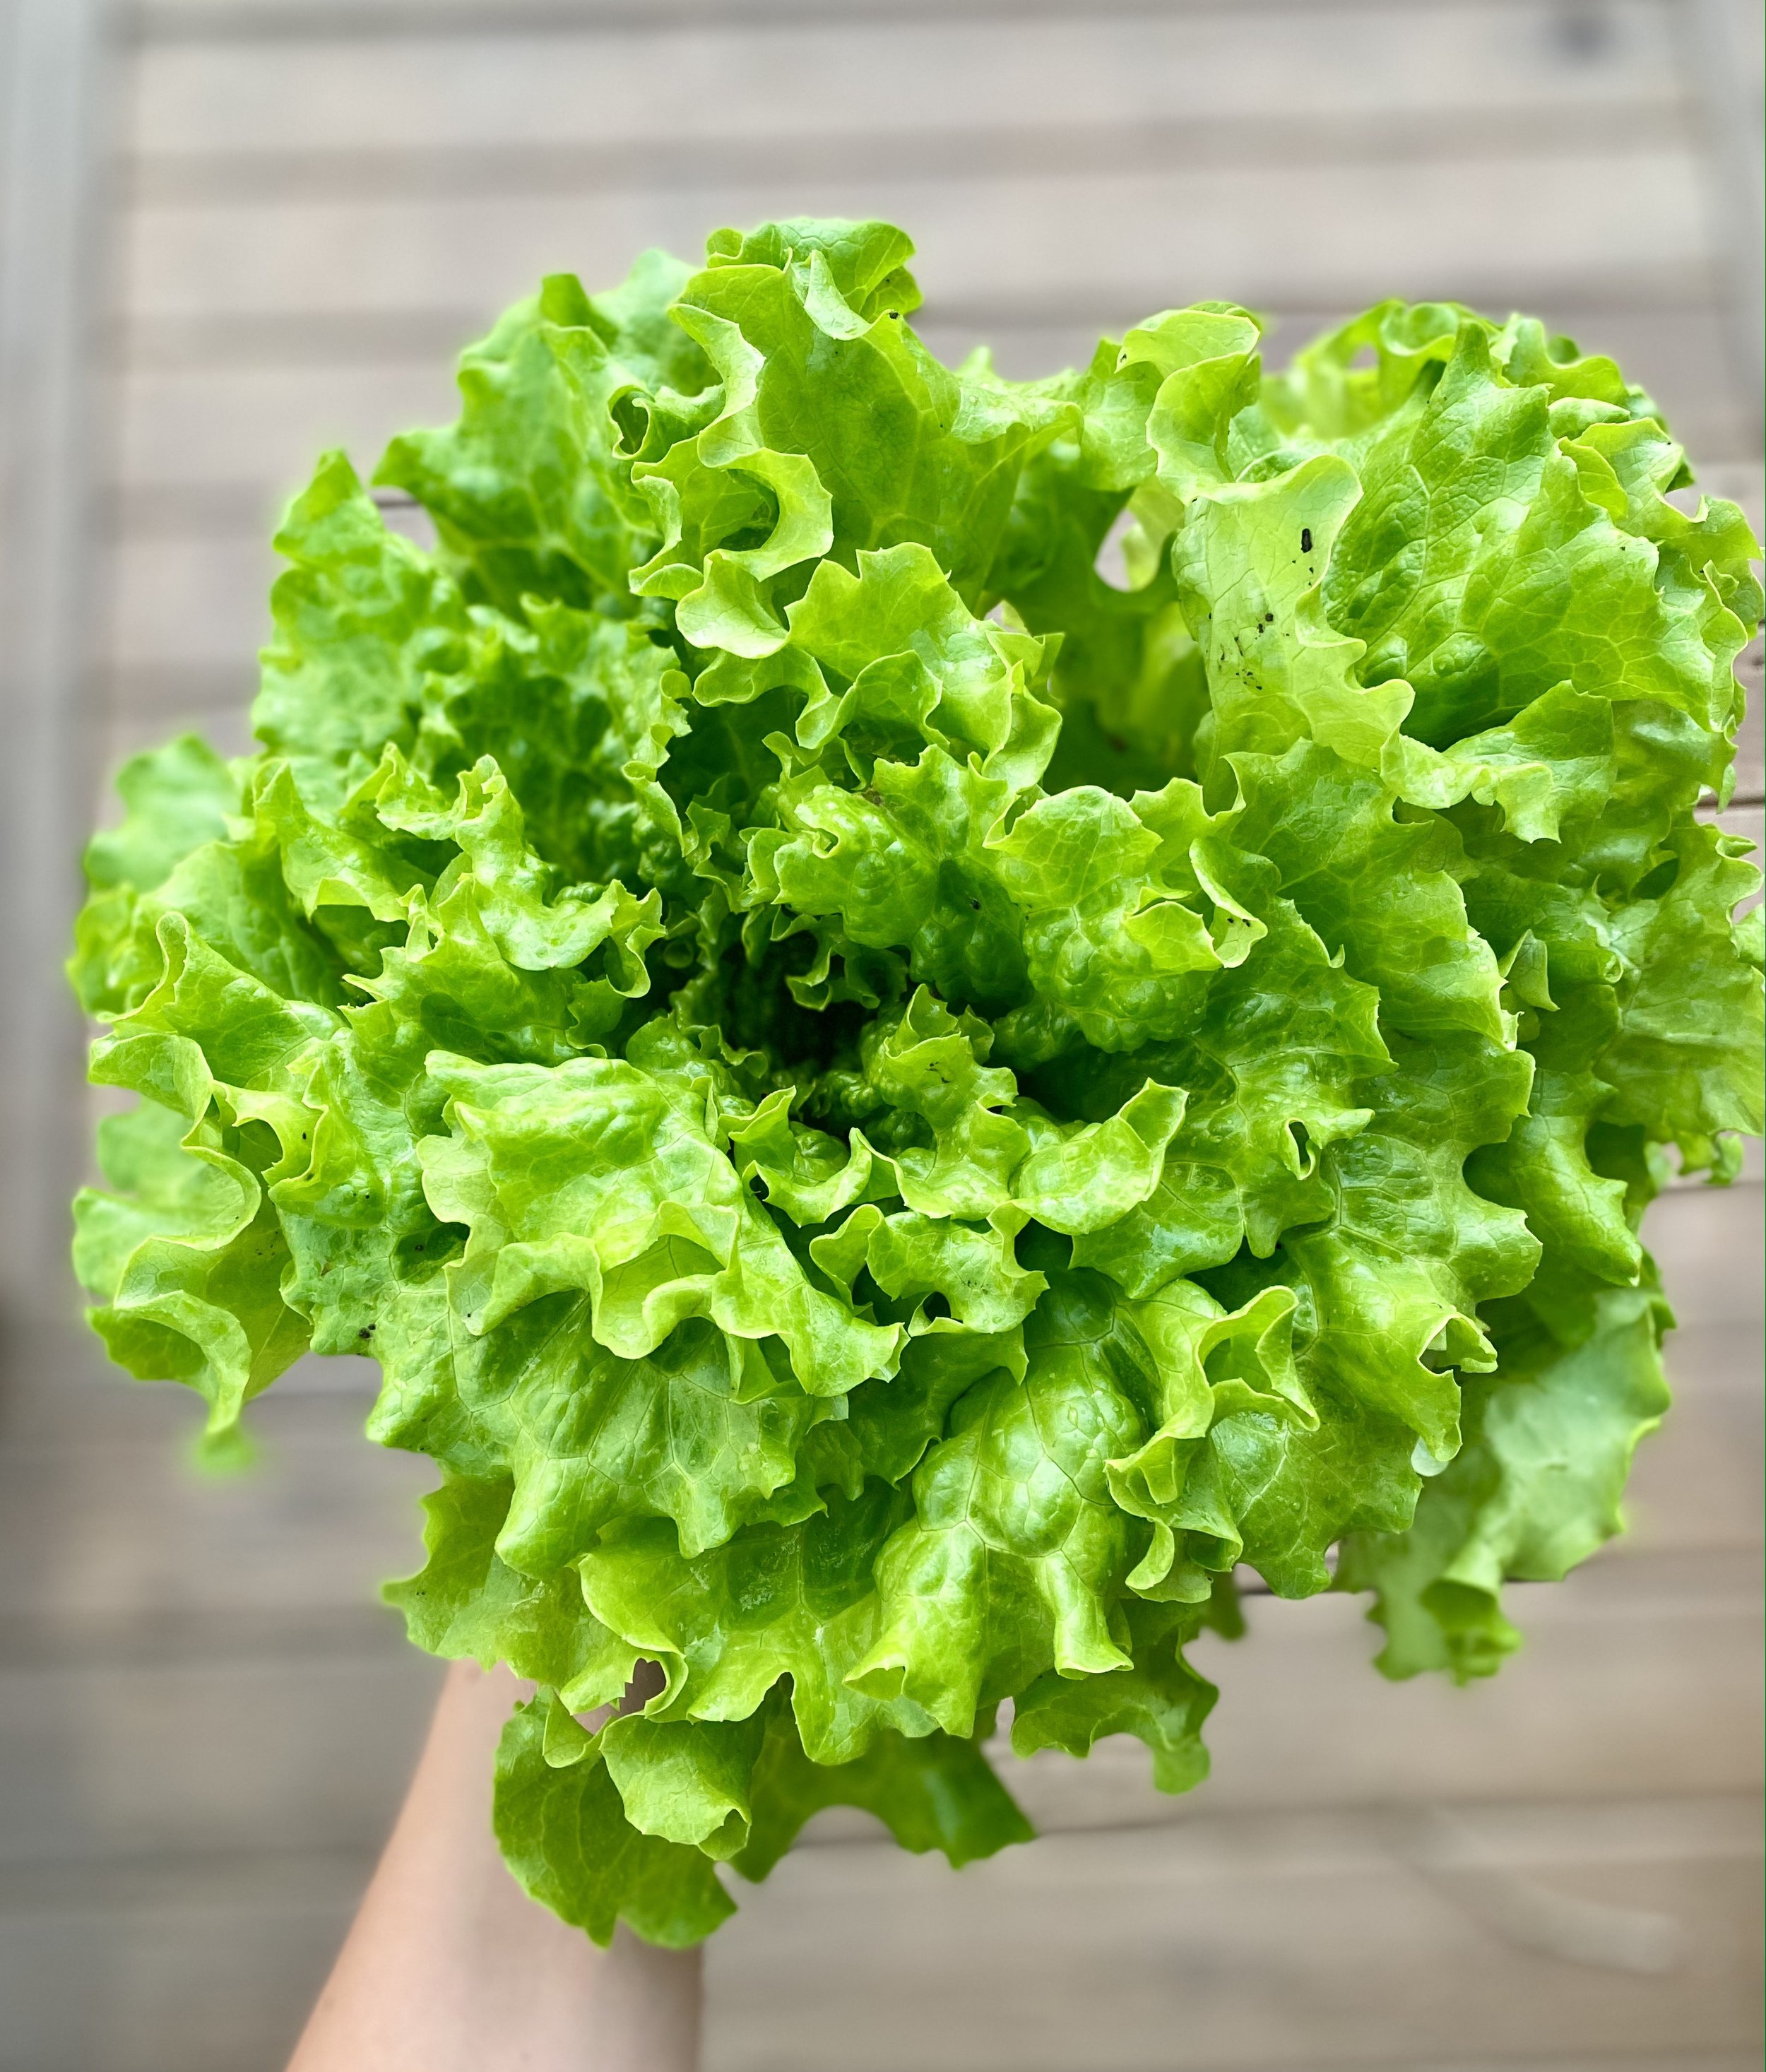
In other exciting news, our Spring CSA officially starts next week! I can’t believe it’s already here, but I’m happy to report that we have an abundance of gorgeous swiss chard, lettuces, asian greens, radishes, etc that will be heading home with our awesome CSA members next Thursday (if you are a CSA member, I’ll be sending an email to you on Monday to remind you about all the details for our first pick up on Thursday, April 7th).

And while our early spring veggies have been busy growing and are getting ready to be harvested, I’ve been busy seeding more of our summer crops like zucchini, cucumbers, and okra. These are crops that are easily started at home and usually only need about 4 weeks from the time of seeding to when they can be transplanted, so if you’re starting your own seeds, give these plants a try! A reminder that THIS is a great free online tool to figure out when to start seeds for each crop based on your climate/frost dates.

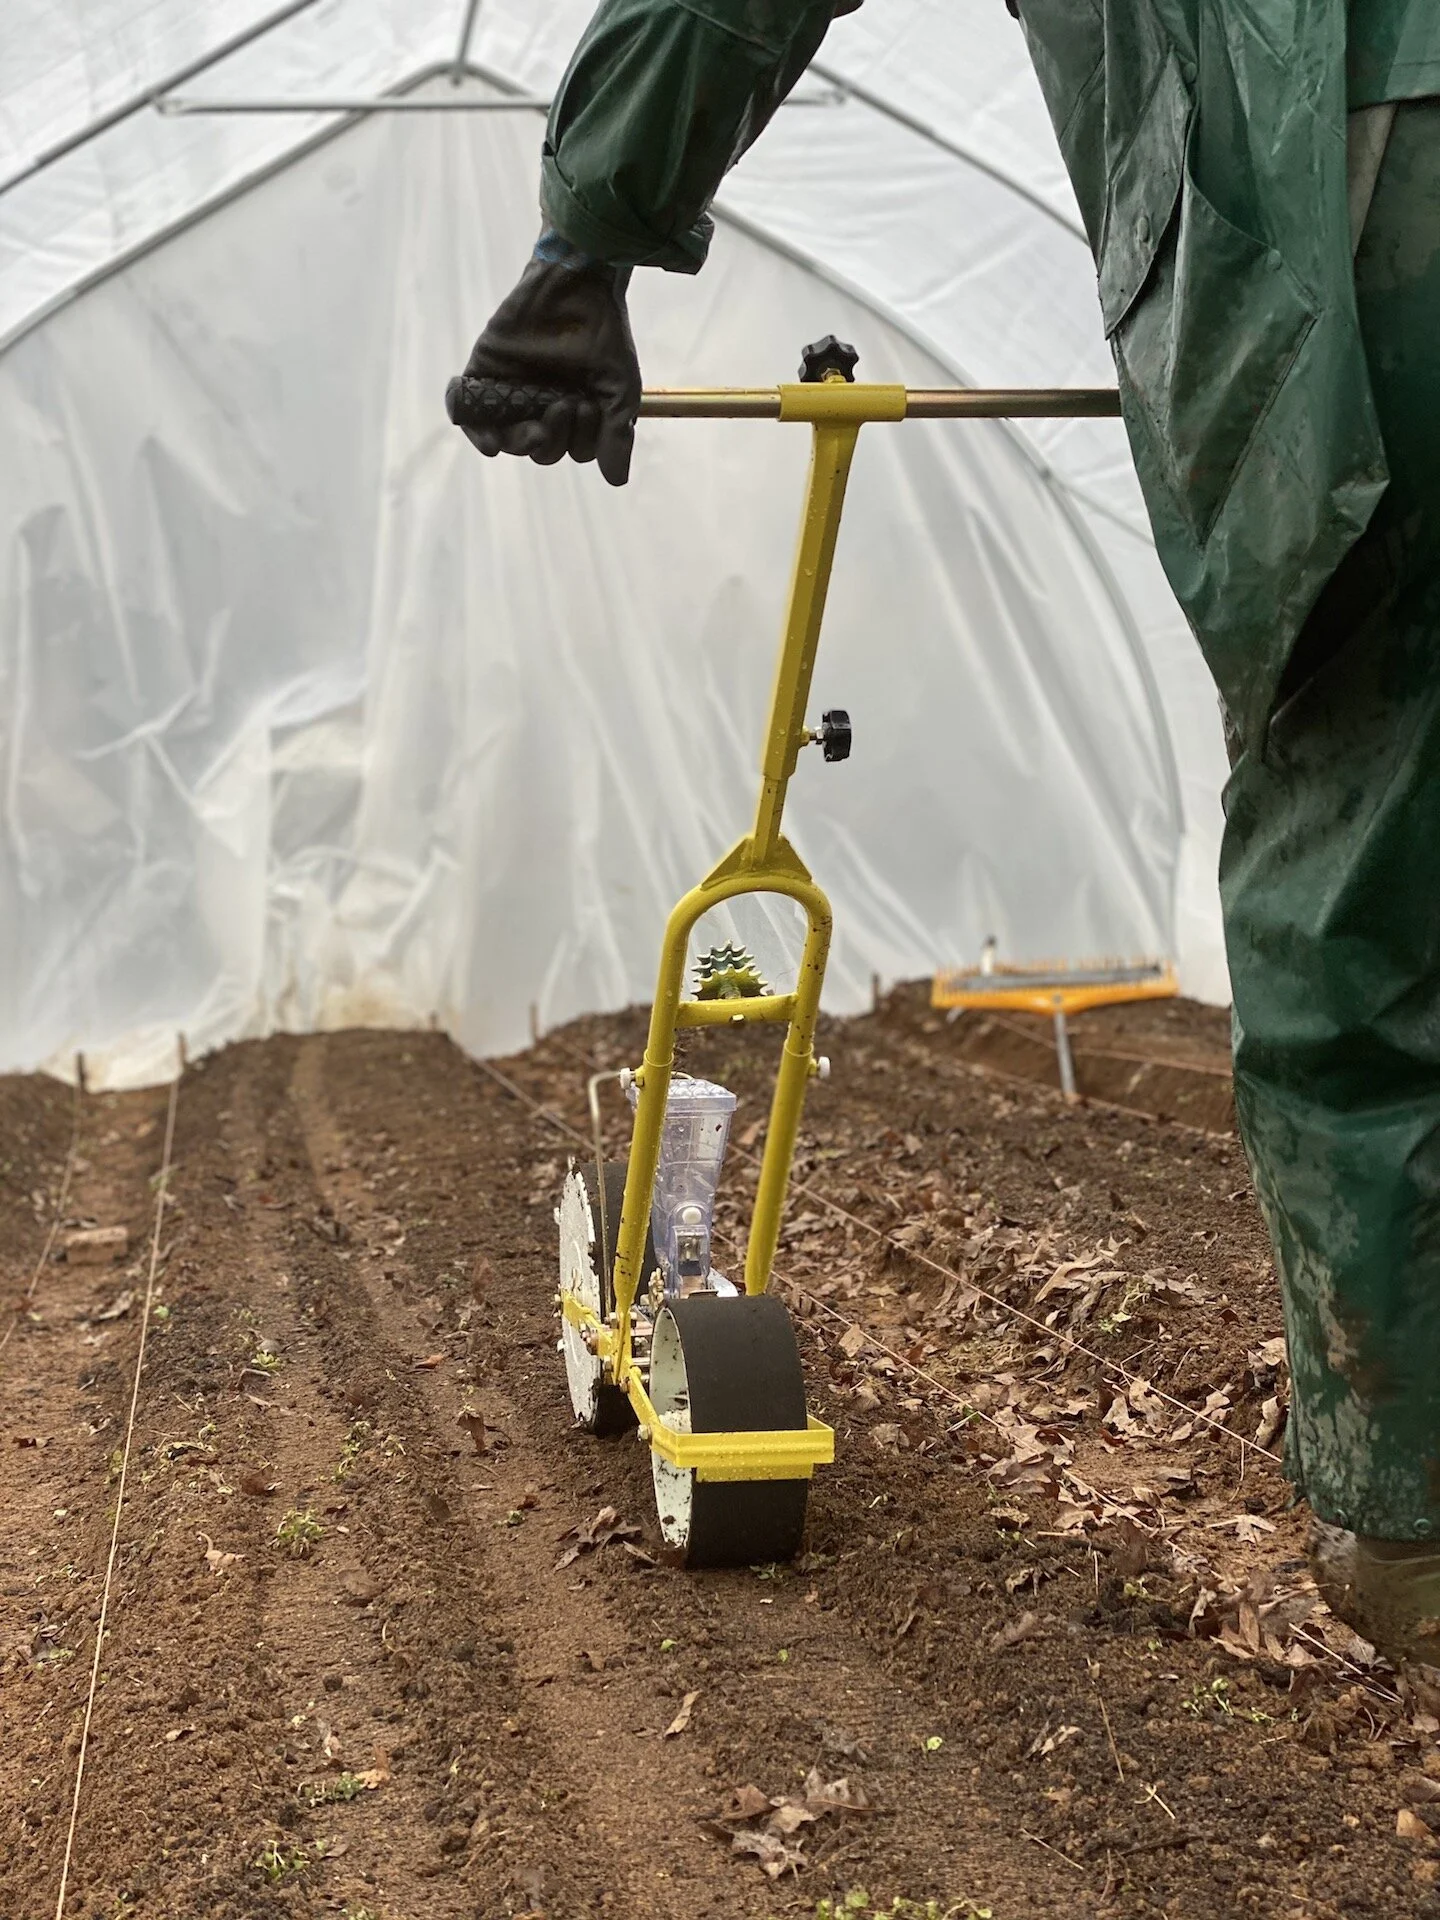
Another thing I wanted to help clarify for any new gardeners is which plants should be planted directly into your garden as a seed, versus which plants are best transplanted as an established seedling. Here is a quick guide on which plants to grow from seed vs. seedlings:

Crops to plant as SEEDS:

  • Carrots, beets, arugula, baby kale, looseleaf lettuces, radishes, turnips, mustard greens, beans and peas, corn

Crops to plant as SEEDLINGS:

  • Tomatoes, eggplant, peppers, onions, most brassicas (kale, cauliflower, broccoli, etc), okra, fennel, most herbs (basil, thyme, rosemary, etc)

A note that cucurbits (ie summer and winter squash, cucumbers, melons) can be planted either directly by seed or as seedlings. If starting from seed, it takes 3-4 weeks from when you start the seed to being ready to transplant in the bed.

Hopefully this info is helpful as your spring gardens get growing! As always, don’t hesitate to reach out if you have any questions or just need someone to bounce ideas off… I’m here for you! :)

Kitchen Notes

Every spring without fail, I start craving anything + everything GREEN. Which is why I love this recipe for a Spring Greens Soup, lightly adapted from the blog Kale & Caramel. The original version of this soup features roasted fennel, which I love, so I’ve gone a step further and added roasted cauliflower for extra body and sweet, caramelized goodness.

So while this 100% plant-based soup definitely falls into the “healthy” category – it’s full of flavor thanks to all the sweet roasted veggies, bright acidity from lemon juice + zest, zippy greens and vibrant herbs. It may seem like a lot of ingredients, but I’ll bet they are things you already have on hand – and if not, everything can be easily sourced.

SPRING GREENS SOUP WITH ROASTED FENNEL & CAULIFLOWER

INGREDIENTS

Roasted Fennel & Cauliflower

  • 4 cups sliced fennel bulb, green fronds reserved

  • 4 cups coarsely chopped cauliflower

  • 4 tablespoons olive oil

  • 1/4 teaspoon sea salt

  • 1/4 teaspoon fennel seeds (optional)

  • fresh ground pepper, to taste

For the Soup

  • Roasted fennel and cauliflower, from above

  • 2 cups diced yellow onion

  • 2 tablespoons olive oil

  • 1/4 teaspoon sea salt

  • Freshly ground pepper, to taste

  • 2 teaspoons minced garlic

  • 6 cups vegetable broth

  • 1 lemon, zested and juiced

  • 6 cups spinach

  • 1 cup arugula

  • 1 cup fennel fronds

  • 1/2 cup roughly chopped chives

  • 1/4 cup roughly chopped mint

  • 1/4 teaspoon sea salt, plus more to taste

Toppings (optional)

  • Thinly sliced radishes

  • Carrot top gremolata (see recipe here)

  • Fennel fronds

  • Drizzle of olive oil

INSTRUCTIONS

Roasted Fennel & Cauliflower

  1. Preheat the oven to 400ºF. Line a rimmed baking sheet with parchment paper or foil.

  2. Lay the sliced fennel and chopped cauliflower on the baking sheet in an even layer, and drizzle with olive oil and sprinkle with salt, pepper, and fennel seeds (if using). Toss gently to coat the mixture evenly. Roast for 30-35 minutes until tender and beginning to brown. Flip the vegetables halfway through roasting to ensure even browning.

For the Soup

  1. Heat the olive oil in a large pot or dutch oven over medium heat. Add the diced onion, salt and pepper and sauté until golden brown, stirring occasionally.

  2. Add the garlic and stir another minute. Add the vegetable broth, lemon zest + lemon juice, as well as the roasted fennel + cauliflower and bring the mixture to a simmer. Simmer gently for 10 minutes.

  3. Remove the pot from heat, add the spinach, arugula, fennel fronds, chives and mint. Stir to submerge in the soup, cover, and let the greens to wilt in the heat of the broth for a few minutes.

  4. Transfer the whole pot of ingredients to a high speed blender and blend until completely smooth (you'll likely need to do this in batches). Return to the pot, taste, and add more salt and pepper as needed.

  5. Garnish with an assortment of sliced radishes, a drizzle of olive oil, fennel fronds, etc. A topping of crunchy pistachio + carrot top gremolata is especially lovely.


Todays Stats

  • Low temp: 36F

  • High temp: 65F

  • Sunrise: 7:03am

  • Sunset: 7:39pm

  • Moon phase: New moon

  • Additional notes: Sunny and breezy

April 26

Farm Notes

It was a fairly quiet and restful weekend on the farm, with a welcomed (for me at least) day of rain all day Saturday. Waking up on Sunday morning, there wasn’t a cloud in the sky and it felt like the drenching rain had made every leaf and blade of grass turn an extra bright shade of green. And this week it is finally (finally!) time to plant out the rest of our summer veggies. I’ve already planted our first round of eggplant and cucumbers, and later this week our zucchini, okra, basil, and first round of peppers will also go in the ground.

I know everyone’s garden layout/situation is different, but in case it’s helpful, here is some more detailed info about how far apart we space most of our summer veggies. Spacing is always an important detail when planning + planting, because while you want to maximize your growing space, your plants will suffer if they are spaced too close together.

  • Basil – 2 rows per bed, 18” apart

  • Eggplant – 1 row per bed, 18” apart

  • Okra – 1 row per bed, 24” apart

  • Peppers – 1 row per bed, 18” apart

  • Tomatoes – 1 row per bed, 18” apart

  • Zucchini/summer squash – 1 row per bed, 24” apart

No other major news to report around here… the farmstand is humming along and I’m so grateful for all the support we get from our community each week. Seeing photos of dishes that people make with our veggies (and items from other growers that we offer through the farmstand) really does make all the work worth it!

Kitchen Notes

I’m going to be real honest, there hasn’t been a ton of creative cooking happening around here recently! Let’s just say that the most creative thing I made recently was a (very delicious, I might add) quesadilla filled with black beans, red onion, and roasted broccoli.

Alas! I promise that more Farmbelly recipes will be coming soon. In the meantime, I wanted to share a few woman that I have especially enjoyed following recently for cooking inspiration:

Today’s Stats

  • Low temp: 48F

  • High temp: 74F

  • Sunrise: 6:30am

  • Sunset: 8:00pm

  • Moon phase: Waxing Gibbous

  • Additional notes: Sunny, breezy and beautiful.


March 12

Farm Notes

Holy guacamole, it has been a WEEK. I’m tired and covered and dirt and a little sunburned, but couldn’t be more grateful for this glorious spring weather during a week full of prep + planting. For the last week we’ve been working to get our beds ready for 4,000+ seedlings that arrived yesterday from Banner Nursery, and I can happily say that all the hustling paid off, because when our plants arrived promptly at 10:30am, we were ready to start planting! I’m grateful that I took the time to map out where all the plants were going ahead of time, as it made the actual planting process super smooth and streamlined. While we didn’t get all of the seedlings planted yesterday, we got the majority of them in the ground, and we will get the rest in over the next few days.

One of the things to keep in mind when planting in your garden is having the right spacing between your plants, which will vary greatly depending on the plant! In case it’s helpful, I’m including here some info about how we space various spring veggies/herbs. A note that we plant in 30” wide beds, so when I say “3 rows” I mean that we fit 3 rows of that plant into a single 30” wide bed (so in a bed with 3 rows, each row is ~8” apart). I should also mention that because we try to grow (and sell) as many veggies as possible, we tend to plant pretty intensively/tightly.

  • Beets – 4 rows, 4” apart

  • Broccoli – 2 rows, 18” apart

  • Cabbage – 2 rows, 20” apart

  • Fennel – 3 rows, 8” apart

  • Head Lettuce & Asian Greens – 3 rows, 6-9” apart (depends on variety)

  • Kale – 3 rows, 12” apart

  • Spring herbs (cilantro, parsley, dill, chives, etc): 4 rows in a bed, 4-6” apart

  • Swiss Chard – 3 rows, 12” apart

If you have any questions as you start planting your spring seedlings, give me a holler!

So. Many. Plants!

So. Many. Plants!

IMG_3754.JPG
IMG_3724.JPG

Kitchen Notes

I’ll be honest that my focus this week has been more outside in the dirt than in the kitchen, so there’s been quite a bit of takeout (and at least one frozen pizza) this week! So while I don’t have a recipe to share, I realized that I haven’t talked at all about the many cooking videos I’ve made on my Farmbelly YouTube channel. About two years ago, a friend with lots of video skillz helped me make a series of videos where I demonstrate lots of simple, but super helpful culinary techniques – everything from making your own delicious vinaigrettes, how to dice an onion, knife skills, how to whip up homemade butter from scratch, and many more! I had a blast making these videos, and I hope that you’ll find they help you cook and eat like a farmer. :)

Today’s Stats

  • Low temp: 51F

  • High temp: 79F

  • Sunrise: 6:32am

  • Sunset: 6:22pm

  • Moon phase: Waning Crescent

  • Additional notes: Sunny and warm all day.

February 18

Farm Notes

While the weather was nothing to celebrate today… we had quite an exciting afternoon over here. Today we started direct seeding in our new caterpillar tunnel, and instead of planting every. dang. seed. by. hand. (like we did all last season) – we got to use our new push seeder, which is a TOTAL game changer!

IMG_3316.JPG

Here’s the thing – seeding by hand works great for home gardens and smaller plots, but for the amount of seeds we plant each season, it was totally inefficient to be doing it all by hand. The problem was that push seeders are not cheap, so I’ve been saving up and finally bought one at the end of last year (specific model is a Jang JP-1). In addition to the seeder, you have to buy a whole assortment rollers (which are also $$$), in various sizes to fit all the different sizes of seeds (here’s a guide for all the roller sizes). It definitely takes a few minutes to get the seeder calibrated correctly based on the seed you are planting (today we planted a few varieties of radishes), but once you get rolling, it’s blazingly fast.

A note that if you’re in the market for a push seeder, but you’re looking for a more economical option, the Earthway Seeder is also quite popular and is about 1/3 of the price of the Jang seeder.

If y’all have any other questions about push seeders, let me know!

Kitchen Notes

I’m usually not very hungry in the morning, and I’m often rushing out the door to do chores outside, which means that many days I realize it’s 11am, I haven’t eaten anything, and I am HANGRY. Which is 0% enjoyable for anyone. So to combat my hangry-ness, I’ve starting making jars of overnight oats, and I’m loving it.

If you’re new to overnight oats, it’s pretty straightforward – literally just soak rolled oats in liquid along with chia seeds and whatever other fruit/nuts/sweeteners you’d like, let sit overnight, and enjoy the next morning! It makes a great on-the-go breakfast/snack, since it’s already in a jar and you can just pop it in your bag to wherever you’re headed. This is definitely a “no recipe” kind of recipe – and while I give specific measurements here, when I make these I never measure anything, so feel free to just “eyeball” the ingredients, use what you have on hand, and taste as you go!

Overnight Oats

Photo: One Lovely Life

Photo: One Lovely Life

INGREDIENTS

  • 1 cup rolled oats

  • 1.5 cups almond milk (or whatever milk you prefer), plus more to taste

  • 2 tablespoons chia seeds

  • 3 tablespoons peanut butter or almond butter (or other nut or seed butter)

  • 3 tablespoons maple syrup

  • 1/2 cup blueberries (or other fruit of your choice like bananas, peaches, apples, etc)

  • 1/4 cup chopped almonds (or other chopped nuts/seeds)

  • 1 teaspoon cinnamon

  • 1/4 teaspoon kosher salt

INSTRUCTIONS

  • In large (quart sized) mason jar or in bowl with a lid, add all ingredients and stir well to combine. If the mixture seems dry, add a bit more milk. Taste and adjust seasoning (ie sweetness, saltiness, other spices) to taste.

  • Cover securely with a lid/seal and set in the refrigerator overnight (or for at least 6 hours) to set and soak.

  • The next day, open and enjoy as is or garnish with other toppings (like additional fruit, nuts, yogurt, maple syrup, etc). Overnight oats will keep in the refrigerator for 3-4 days (if it lasts that long)!

Today’s Stats

  • Low temp: 31F

  • High temp: 38F

  • Sunrise: 7:01am

  • Sunset: 6:02pm

  • Moon phase: Waxing Crescent

  • Additional notes: Cold and freezing rain throughout the day.