Shaved Summer Squash with Herbs, Lemon & Parmesan

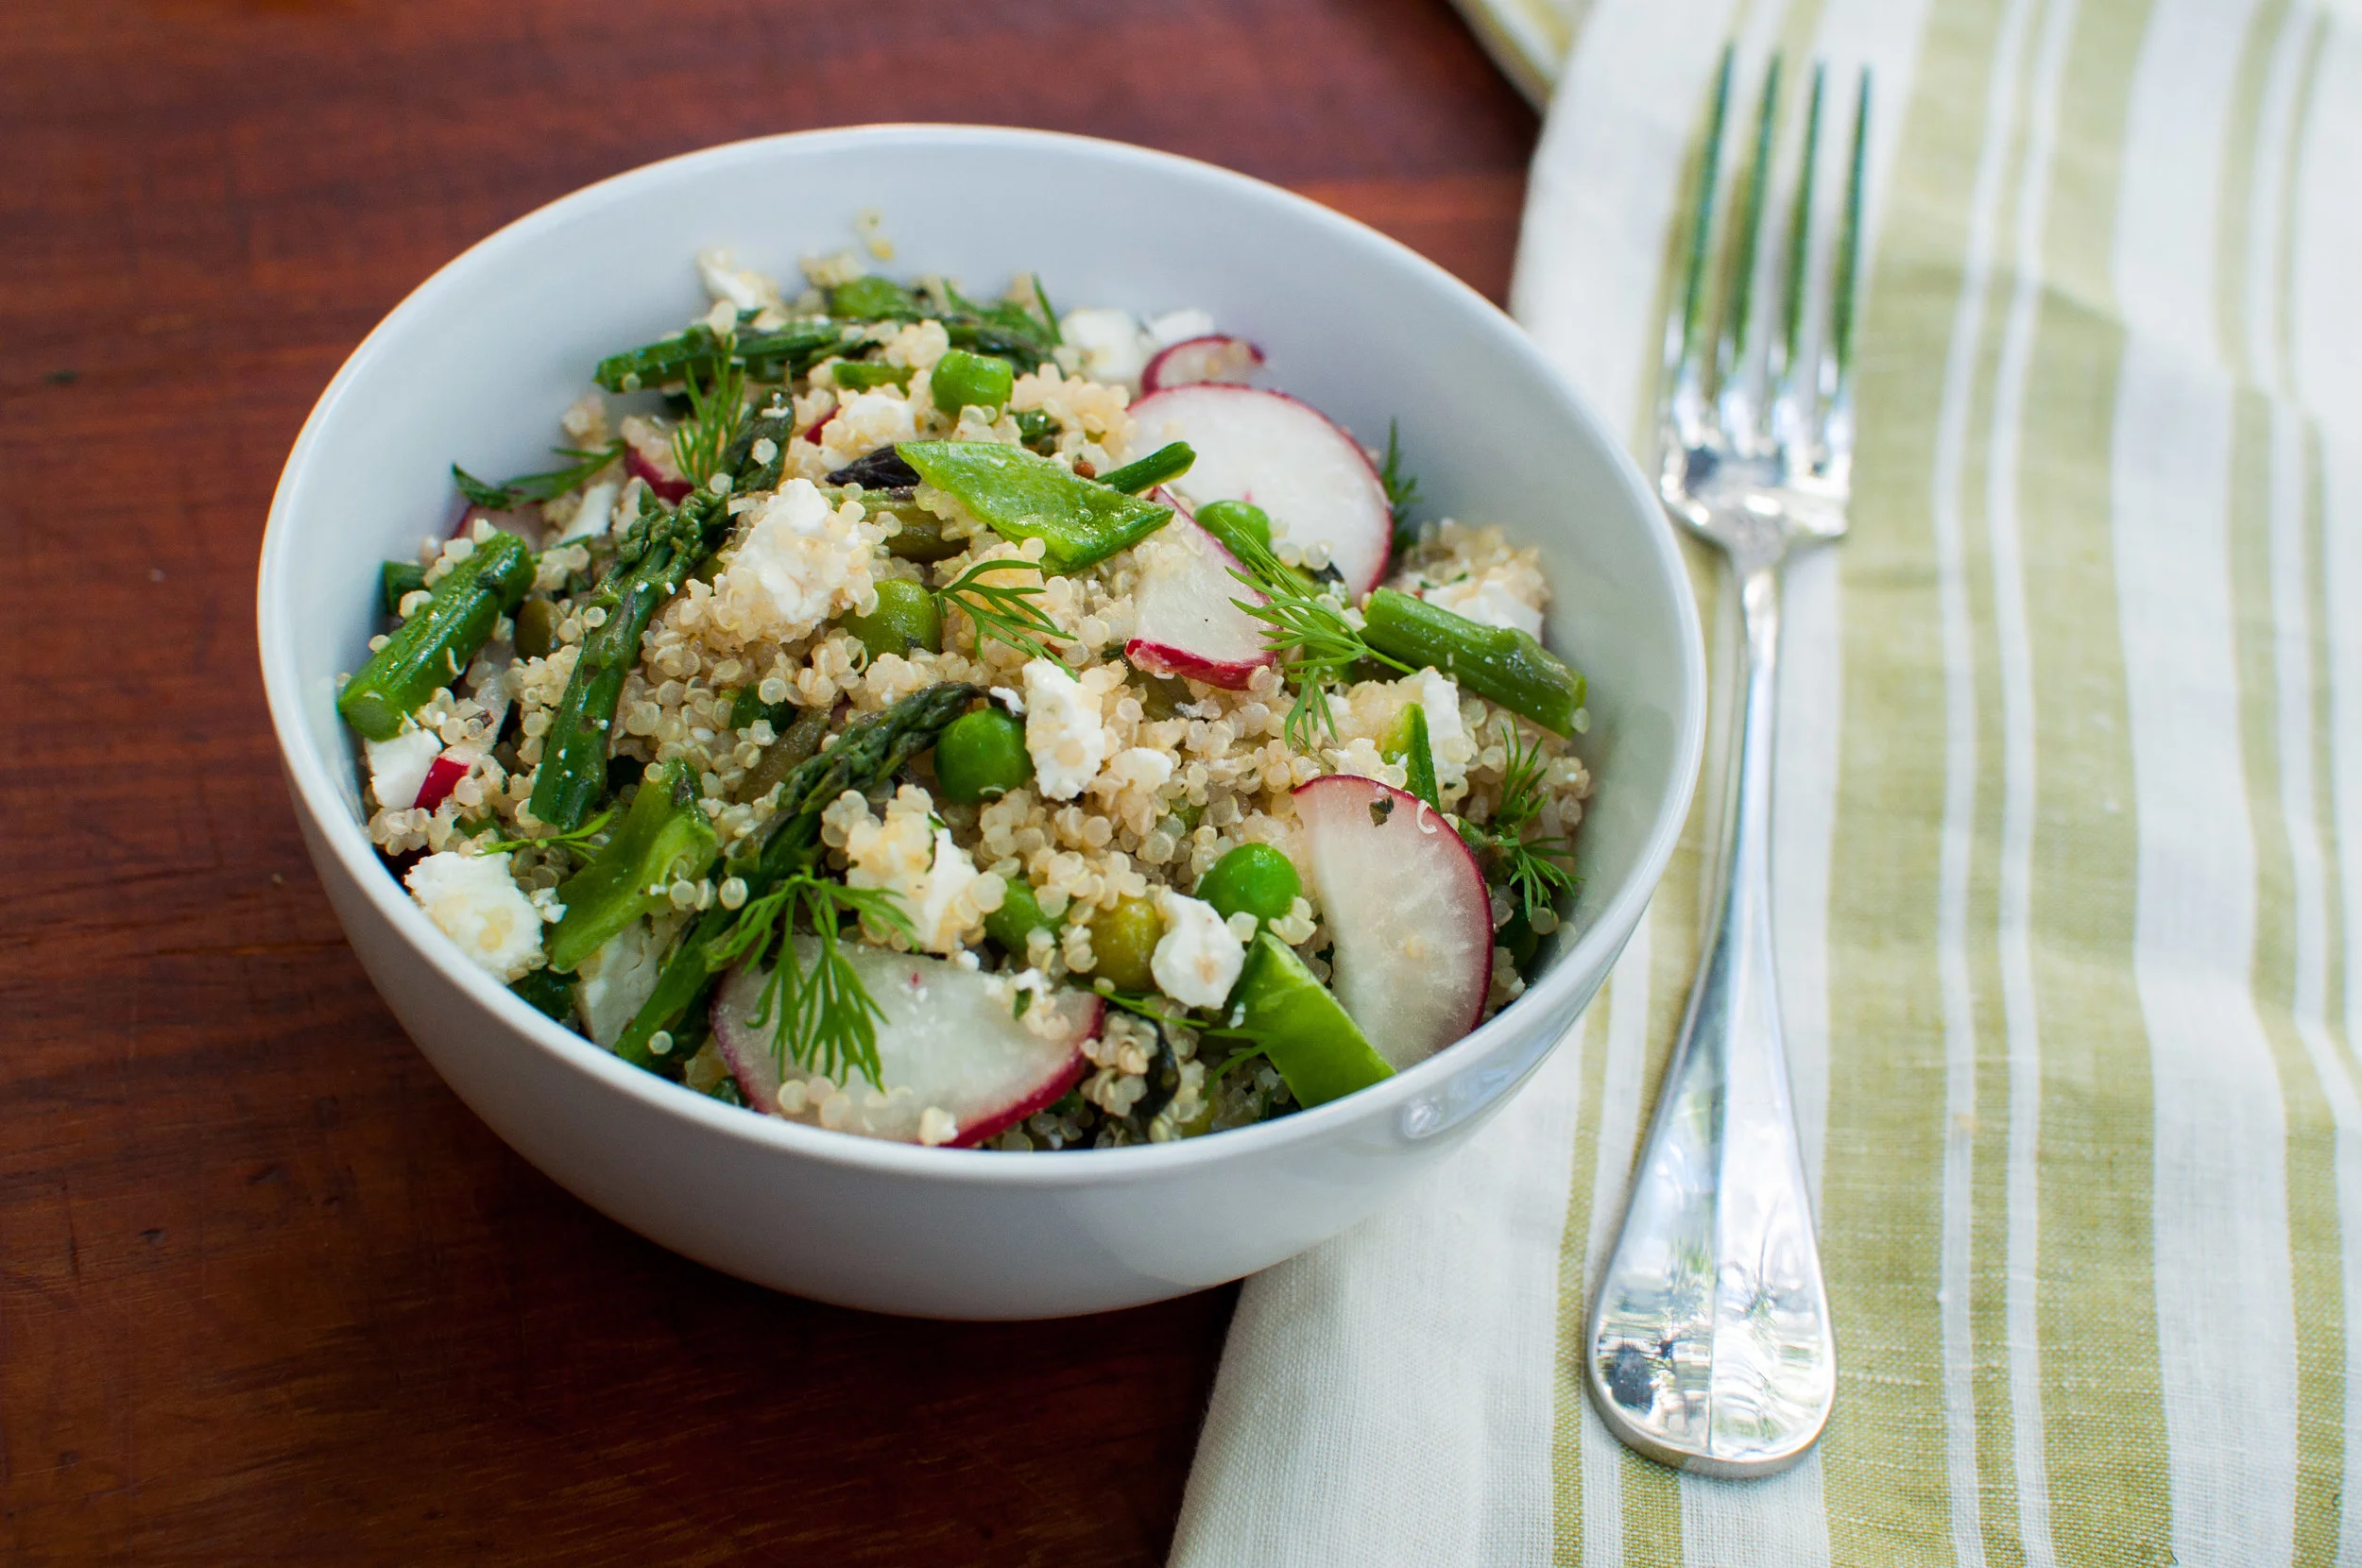
This is a quick, colorful salad made for hot summer days when zucchini is flowing from the garden (and when you don’t want to heat up the kitchen by turning on the oven or stove). For this recipe, it’s best to use small to medium sized squash, as larger squash will have tougher skin and larger seeds. This recipe is lightly adapted from my favorite new cookbook – 'Ruffage' by Abra Berens. Abra has a background as a farmer, she got her culinary training at Ballymaloe (which where I also attended culinary school), and today she is the chef at Granor Farm in Three Oaks, Michigan. Ruffage is an ode to vegetables and all their nuances, and this cookbook will give you the tools + practical know-how to bring out the best in your vegetables. Keep reading for the full recipe!

Shaved Summer Squash with Herbs, Lemon & Parmesan

Yield: Serves 4
Author:
prep time: cook time: total time:
This is a quick, colorful salad made for hot summer days when zucchini is flowing from the garden, and you don’t feel like turning on your oven or stove! For this recipe, it’s best to use small to medium sized squash, as larger squash will have tougher skin and larger seeds. This recipe is lightly adapted from the cookbook 'Ruffage' by Abra Berens.

ingredients:

  • 2-3 summer squash, shaved thinly into 1/8" slices
  • 1 cup assorted coarsely chopped herbs
  • 4 oz Parmesan cheese, peeled into ribbons
  • 1 teaspoon kosher salt
  • 1/2 teaspoon freshly ground black pepper
  • Between 1/4 - 1/2 cup olive oil
  • 2 tablespoons lemon juice

instructions:

How to cook Shaved Summer Squash with Herbs, Lemon & Parmesan

  1. Toss together the shaved squash, chopped herbs, Parmesan ribbons, salt + pepper, 1/4 cup of the olive oil, and the lemon juice. 
  2. Taste and adjust the seasoning, adding more olive oil and/or lemon juice as needed to make it well dressed and flavorful. 
  3. Serve within the next 30 minutes. If serving later, shave the zucchini in advance but dress just before serving. 
Created using The Recipes Generator

Spring Tabbouleh Salad

This salad is a spring-time riff on my Summer Quinoa Tabbouleh, and holy guacamole… it is so. freaking. good. Maybe it’s just because I’ve been eating kale and root vegetables all winter long, and this salad embraces all the bright, vibrant + colorful veggies of spring that I’ve been craving… all I know is I’ve been eating it for breakfast, lunch, and dinner (not even kidding) and I’m also not complaining one bit.

Instead of cherry tomatoes, corn, and avocado (which are in the summer version of this recipe) I subbed in local asparagus, radishes, and peas. Instead of basil, I chopped up heaps of mint, dill and parsley from the farm where I work. This is one of my go-to salads to make ahead and portion out for a few lunches or dinners, because it’s super hearty and stays fresh + crisp in your fridge for days and days. See below for the full recipe.

Spring Tabbouleh Salad by Farmbelly

Spring Tabbouleh Salad

Author:

ingredients:

For the salad
  • 2 cups quinoa
  • 3 cups water
  • 1/2 teaspoon kosher salt
  • 1 bunch asparagus, chopped into 1 inch pieces
  • 1 cup green peas (fresh or frozen)
  • 1/2 cup sliced sugar snap or snow peas
  • 4-5 radishes, thinly sliced
  • 3 scallions/green onions, thinly sliced
  • 1/4 cup toasted pepitas/pumpkin seeds
  • 1/4 cup chopped fresh Italian parsley
  • 1/4 cup chopped fresh mint
  • 2 tablespoons chopped fresh dill
  • 4 ounces feta cheese, diced (optional)
For the lemon vinaigrette
  • 1/4 cup freshly squeezed lemon juice
  • 1/2 cup good olive oil
  • 1 tablespoon dijon mustard
  • 1 tablespoon honey
  • 1 garlic clove, minced
  • Kosher salt
  • Freshly ground black pepper

instructions:

How to cook Spring Tabbouleh Salad

  1. Pour 3 cups of water into a medium saucepan and bring to a boil. Stir in the quinoa, lower the heat and simmer, covered, for 15 minutes. Turn off the heat and allow quinoa to steam with the lid on for 5 minutes, then uncover and fluff with a fork. Transfer quinoa to your salad bowl.
  2. While the quinoa is cooking, blanch asparagus in a large pot of salted boiling water for about 1 minute, then add the peas and cook for another 30 seconds. Drain and immerse the asparagus and peas in a cold water bath. Drain once more and dry the blanched vegetables by laying them out on a clean kitchen towel.
  3. While the asparagus and peas are drying, make the lemon vinaigrette: Simply combine all the vinaigrette ingredients in mason jar and shake well. Taste and adjust seasoning as needed.
  4. Add the blanched veggies to the salad bowl with the cooked quinoa. Add the sliced sugar snap peas, radishes, green onions, chopped herbs, pepitas, feta cheese (if using) and pour over the vinaigrette (using only as much vinaigrette as you need), gently stirring everything together.
  5. Taste and adjust seasoning as needed (such as adding a bit more salt or lemon). This bright, hearty salad keeps very well in the fridge for several days.
Created using The Recipes Generator

Roasted Beet & Quinoa Salad with Citrus-Za'atar Viniagrette

I know what you’re thinking. We’re in the depths of winter, and the last thing you want is another recipe containing beets and kale and quinoa. BUT HEAR ME OUT. This salad takes winter staples (like the aforementioned beets and kale) and jazzes them up, thanks to generous dusting of fresh mint and a zippy citrus-za’atar vinaigrette.

If you’re not familiar with za’atar (pronounced ZAH-tar) it is a supremely aromatic eastern Mediterranean spice blend – typically consisting of toasted sesame seeds, dried thyme/oregano/marjoram, cumin, sumac, and salt. I love using za’atar to spice up a vinaigrette, but it’s also fabulous for seasoning meat, fish, and vegetables or just sprinkle it on top of just about anything – hummus, baba ganoush, yogurt, bagels, chickpeas, popcorn, etc. Shop local if possible, but if you can’t find za’atar locally, here’s a recommended brand you can purchase online.

Oh! And on a root-to-stem cooking note – if you’re making this recipe and purchase beets with tops, you can (and should!) use the beet greens instead of kale in this recipe. This recipe was developed in partnership with Imperfect Produce.

beetquinoasalad-7.jpg

Roasted Beet & Quinoa Salad with Citrus-Za'atar Vinaigrette

ingredients

For the Salad
  • 3 large (or 4 small) beets
  • Olive oil
  • Salt & pepper
  • 1 cup quinoa
  • 1 bunch of kale, chopped (or use beet tops, if available)
  • 1/2 cup toasted walnuts, roughly chopped
  • 1/2 cup chopped fresh mint
For the Citrus-Za'atar Vinaigrette
  • Juice from 1 orange (3-4 tablespoons)
  • 1 tablespoon apple cider vinegar
  • 1/4 cup extra virgin olive oil
  • 1 teaspoon honey
  • 1 teaspoon dijon mustard
  • 1 1/2 teaspoons za’atar
  • Kosher salt, to taste (start with 1/4 teaspoon)
  • Freshly ground pepper, to taste

instructions

  1. Preheat oven to 400F. Wrap the beets individually in foil and drizzle each beet with a teaspoon or two of olive oil and a pinch of salt + pepper. Roast for 45-50 minutes, or until tender and easily pierced with a paring knife. When cool, remove skin and chop into bite-sized pieces and set aside.
  2. While the beets are roasting, cook the quinoa. Bring 1.5 cups of water and a pinch of kosher salt to a boil in a small saucepan. Stir in 1 cup uncooked quinoa, lower the heat to a simmer and cover. Cook for 15 minutes. After 15 minutes, add the chopped kale (or beet tops, if using) to the top of the quinoa, then re-cover the saucepan and let the greens steam for 5-10 minutes. When done, fluff the quinoa and greens lightly together with a fork.
  3. While the quinoa and kale are cooking, make the citrus-za’atar vinaigrette. Combine all the vinaigrette ingredients in a mason jar and shake vigorously until emulsified.  Taste and adjust seasoning as needed. 
  4. Combine the quinoa/kale mixture, roasted beets, chopped walnuts, and chopped fresh mint together in a bowl. Drizzle on the citrus-za’atar vinaigrette and stir everything gently to combine. Taste and adjust seasoning as needed – I usually add a bit more salt and pepper. 
Created using The Recipes Generator

Summer Tabbouleh Salad

You know how there’s always a “song of the summer”? 🎶 Well, this is the SALAD of the summer that’s playing on repeat in my kitchen: Summer Quinoa Tabbouleh, with heaps of fresh herbs, local cherry tomatoes, cucumbers, corn, avocado, feta, and a sunshine-y lemon vinaigrette. Tabbouleh is a classic Middle Eastern dish traditionally made with couscous, but I've swapped it for quinoa, which is a naturally gluten free seed that's packed with protein, and is one of the few plant foods that contain all nine essential amino acids. This is a substantial salad that can easily be served as a vegetarian main course, though it's also a lovely side salad to round out a summer meal.

The recipe (see below) is quite loose and forgiving, so feel free to swap in / out whatever summer veggies and herbs you have on hand. You'll notice the ingredients and instructions for the lemon vinaigrette are intentionally vague, to encourage you to whip up a vibrant vinaigrette with just a few ingredients, a mason jar, and your kitchen intuition. If you need a little extra guidance, here is a YouTube #eatlikeafarmer video where I walk you through the technique of making your own vinaigrette (without using a single measuring spoon)!

quinoatabbouleh-5.jpg

QUINOA TABBOULEH

QUNIOA TABBOULEH

PREP + COOK TIME:

Salad Ingredients:
  • 2 cups uncooked quinoa
  • 1/2 teaspoon kosher salt, plus more
  • 1 red onion, thinly sliced
  • 1 hothouse cucumber (or 2 Persian cucumbers), cut to a small dice
  • 2 cups cherry tomatoes, halved
  • 2 ripe avocados, diced
  • 2 ears of corn, kernels removed
  • 8 ounces feta cheese, diced
  • A few cups of fresh arugula
  • Chopped fresh parsley (about a 1/2 cup)
  • Chopped fresh mint (about a 1/4 cup)
  • Chopped fresh basil (about a 1/4 cup)
  • 1 bunch scallions/green onions, thinly sliced
  • Lemon Vinaigrette Ingredients:
    • Juice of 2-3 large lemons
    • Olive oil
    • Dijon or Whole Grain Mustard
    • Honey
    • Minced garlic
    • Freshly chopped herbs (optional)
    • Salt and Pepper, to taste
    • Instructions:
      1. To cook the quinoa:Bring 3 cups of water and 1/2 teaspoon kosher salt to a boil in a medium sized saucepan. Stir in the quinoa, reduce heat to low and simmer, covered, for 15 minutes. After 15 minutes, turn off the heat and allow quinoa to steam with the lid on for 5 minutes, then uncover and fluff with a fork. Spread out quinoa on a large rimmed baking sheet and let cool.
      2. To make the lemon vinaigrette: Juice your lemons and pour the juice into a mason jar. Add twice as much olive oil as lemon juice to the jar. Add a good squeeze (about a teaspoon) each of mustard and honey. If you'd like, add minced garlic, fresh herbs, and/or lemon zest for added flavor. Add salt and pepper to taste and shake, shake shake! Taste the dressing and adjust seasoning as necessary - you're looking for a good balance between sour, sweet, and salty.
      3. Transfer cooled quinoa to a large salad bowl, mix in 1/2 cup of your vinaigrette and stir to combine.
      4. Add the sliced red onion, diced cucumber, halved tomatoes, avocado, corn kernels, feta cheese, arugula and chopped herbs to the bowl with the cooked quinoa. Pour in the remaining vinaigrette and stir gently to combine. Taste and adjust seasoning as needed. Serve warm or at room temperature. Keeps for several days in the fridge.

California Coleslaw

I'll be honest. Growing up, I didn't have a great opinion of coleslaw. I used to associate coleslaw with heaping bowls limp, colorless shredded vegetables, smothered to death in way too much mayonnaise. And yet. I knew coleslaw had some redeeming qualities, and so I decided to modernize it by swapping out the mayonnaise for plain greek yogurt, a bit of tang thanks to apple cider vinegar and fresh apples, adding color and flavor heaps of herbs, and even more creaminess (and California-ness) with diced avocado. This recipe comes together super quickly and it's very loose - so please do make substitutions and additions as you see fit. The shredded cabbage and carrots hold up well, so you can keep enjoying the leftovers in your fridge for several days. So when your next potluck, picnic, or trip to the beach rolls around - give coleslaw another chance with this California-style remix. 

coleslaw-2.jpg

CALIFORNIA COLESLAW

Serves: 8-10

California Coleslaw

Prep time:

Ingredients:
  • 1 red cabbage (small-medium size), shredded
  • 1 green cabbage (small-medium size), shredded
  • 3 cups shredded carrots
  • 2 apples, small dice or thinly sliced
  • 2 avocados, diced
  • Handful chopped chives (or green onions)
  • Handful chopped fresh parsley
  • 1 cup plain greek yogurt
  • 1/3 cup olive oil
  • 1/3 cup apple cider vinegar
  • 2 tablespoons dijon or whole grain mustard
  • 2 tablespoons honey
  • Kosher salt and freskly ground pepper to taste

Instructions:
  1. Combine shredded cabbage, carrots, apples, avocado, and fresh herbs in a large bowl.
  2. In a separate bowl, whisk together the greek yogurt, olive oil, apple cider vinegar, mustard and honey until smooth and evenly incorporated. Season to taste with salt and pepper.
  3. Pour the dressing into the salad bowl and toss thoroughly (I like to use my hands) to combine. Taste and adjusting seasoning to your liking.
  4. Enjoy immediately, or store in your fridge where it will keep nicely for several days.

Simple Green Salad with a Lemon Vinaigrette

What’s one way to eat more like a farmer? Never underestimate the power of a simple green salad. In my humble opinion, pretty much any meal can be improved with a heaping bowl of greens dressed with a bright vinaigrette. A fresh green salad serves as a breath of fresh air on the plate and palate, especially if you’re eating a rich, decadent meal. The recipe below is more of a guide - use whatever greens and herbs you have available for the salad, and follow my tips for making a show stopping vinaigrette... the key to a killer dressing is to use good quality oil (this is my go-to brand) and to find a balance between acidic/sour, sweet, and salty. When you put your vinaigrette ingredients in a mason jar and give them a good shake, make sure to TASTE and make adjustments as needed. Too sweet? Add a bit more acid or oil. Too salty? Try to dilute the dressing with a bit more oil. You get the idea. Keep scrolling for the full recipe below - and remember it's just a guide, so get creative with whatever produce is available in the moment.

IMG_4507.JPG

SIMPLE GREEN SALAD WITH A MASON JAR LEMON VINAIGRETTE

Serves: 4-6 people

Simple Green Salad

Prep time:

Salad Ingredients:
  • 1-2 heads fresh lettuce, leaves washed, dried, and torn into bite-sized pieces with your hands
  • Handful chopped fresh herbs - mint, basil, parsley, chives, etc
  • Handful assorted greens - spinach, swiss chard, radish tops, fennel fronds, etc
  • Edible flowers to garnish (optional, but encouraged... we eat first with our eyes!)
  • Vinaigrette Ingredients:
  • Juice of 2 lemons
  • Zest of 1/2 lemon
  • Olive oil
  • Dijon and/or Whole Grain Mustard
  • Honey
  • Minced clove of garlic
  • Freshly chopped herbs
  • Kosher salt and pepper, to taste

Instructions:
  1. In a wide salad bowl, combine your lettuces, chopped herbs, and assorted greens (if using).
  2. To make the dressing, put the juice of your lemons in a mason jar. Add twice as much olive oil as lemon juice to the jar. Add a good squeeze (at least a teaspoon) each of mustard and honey. If you'd like, add minced garlic, fresh herbs, and/or lemon zest for added flavor. Add salt and pepper to taste and shake, shake shake! Taste the dressing and adjust seasoning as necessary - you're looking for a good balance between sour, sweet, and salty.
  3. Just before serving, toss the salad with some of your vinaigrette, using your hands to gently coat the greens. Start with less dressing than you think - you can always add more, but you can't take it back once you've overdressed. Garnish with flakey sea salt and edible flowers.

Green Goddess Dressing

Every week when I head to the Santa Barbara farmers' markets, I'm like a kid in a candy store. It's a total sensory overload walking down each aisle and taking in all of the sights, smells, sounds, textures, and tastes. At the market each week, we get to watch and taste as the calendar year unfolds... spring peas and leafy greens turn into ripe summer fruits, in autumn we find tables piled high with apples, corn, and sweet root veggies, followed by hardy squash and famed Southern California citrus in the colder winter months. 

And yet, as wonderful as the farmers' market can be, it's easy to feel overwhelmed by all of the abundance, or to assume that shopping at a big grocery store is more convenient and less expensive. Fear not! As someone who has worked both sides of the farmers' market table, I have heaps of insider secrets that will revolutionize the way you shop at the market. Keep reading for all my tips + tricks of the trade AND get my recipe for Green Goodess Dressing (which doubles as a fabulous veggie dip)!

Canvas the market before making any purchases.

  • I always recommend taking a lap around the market before pulling out your wallet. This initial stroll gives you better sense of the farms who have the produce items you need, and which stands have the nicest looking produce, best prices, etc. 

PLAN YOUR MEALS AHEAD OF TIME.

  • Before you head to the market, figure out your meals for the week ahead and write a list of the produce you hope to find (but be sure to leave room to explore and try something new)! This way, you won't be overwhelmed and make impulse purchases that you regret later. 

REMEMBER YOUR TOTE BAGS & CARTS.

  • A small detail, but it's worth remembering those totes and carts! The flimsy plastic bags that some farm stalls provide can easily break and spill your purchases onto the pavement. Plus, you get instant street cred from farmers when they see you rocking your own sturdy bag or cart.

purchase whole vegetables.

  • Root vegetables like carrots, beets, and radishes are sometimes sold both whole (with greens attached) and trimmed (roots only). When possible, opt for the whole version. When you see the green tops, you know the root vegetables are freshly picked, but even more importantly - the greens are edible and delicious! Carrot and radish tops make fabulous earthy pestos, and beet greens can be prepared the same way as chard or kale.

Don’t be afraid of “ugly” produce.

  • Many of us are used to seeing waxed, perfectly uniform fruits and veggies at the grocery store... so you'll notice that produce from the farmers' market produce may be less uniform than the supermarket aisle. That's the beauty of shopping at the market! I think the imperfections make the produce even tastier, so don't let a few bumps or extra curves scare you away.  One of my favorite bargain bins at the Santa Barbara markets is Fair Hills Farm's boxes of "distressed" apples - if you dig a little, you'll find amazing tasting apples at a fraction of the price!

Learn what’s in season, and buy in bulk when produce is abundant.

  • The best deals at the farmers’ market are had when you buy seasonally and/or in bulk. Not only will you enjoy the best flavors, but you'll also find the best prices when you buy fruits and veggies at their harvest peak. For instance - the first tomatoes of the season in early May will always be much more expensive than tomatoes in August, when many farms have an abundance of this favorite summer crop.

head home immediately to refrigerate your veggies.

  • Don’t let those beautiful greens wilt in your hot car! Make sure to bring your hard earned produce home quickly to refrigerate and keep everything nice and fresh.

Get to know your farmers.

  • Be sure to introduce yourself and get to know your farmers! Farmers love to hear what you are cooking with their produce, and your meals are sure to taste even better after knowing the hands that tended to your fruits and veggies.

As a bit of inspiration for your next foray to the farmers' market, I'm excited to share my favorite Green Goddess Dressing + Dip. This recipe is super quick to make and is packed with flavor and amazing vivid green color thanks to ripe avocado and heaps of fresh herbs. 

Green Goddess Salad Dressing

greengoddess-3.jpg

ingredients

Makes 1 cup

  • 1 clove garlic | peeled
  • 1 cup fresh basil | loosely packed
  • 1/3 cup fresh parsley | loosely packed
  • 1 ripe avocado | flesh removed
  • 1/4 cup olive oil
  • 2-3 tablespoons fresh lemon juice (about 1 lemon)
  • 1/4 to 1/2 cups water
  • Kosher salt to taste (start with a ½ teaspoon)

Instructions

  • First pulse the cloves of garlic in a food processor.
  • Next add the herbs, avocado, olive oil, and lemon juice in a food processor and process until well blended.
  • Add between 1/4 cup and 1/2 cup water to thin dressing to your desired consistency. 
  • Add salt, taste, and adjust seasoning as needed.