Basil Salt

Right now our basil is still growing like crazy, and while I may be feeling sick of basil now.. I know that in a month or two, I’ll be missing all these fragrant summer herbs, so NOW is the time to preserve them while we can! Making herb salt is one of the easiest ways to preserve fresh herbs, and they are seriously amazing for seasoning meat, veggies, eggs, etc. In this recipe I’m making basil salt, but feel free to use whatever herbs you have on hand – I like to use a 1:1 ratio of fresh herbs to kosher salt. When it comes to the salt, my favorite brand of kosher salt is Diamond. Pro tip: Cute little jars of herb salt also making great gifts from your garden!

HOMEMADE BASIL SALT

INGREDIENTS

  • 1 cup loosely packed mixed fresh basil leaves (or any herb of choice)

  • 1 cup kosher salt

  • Optional additions: a teaspoon lemon zest and/or minced garlic


PREPARATION

  1. Preheat your oven to the lowest temperature (usually around 180F).

  2. Combine fresh basil leaves and salt together in a food processor and blend until the herbs are fully incorporated into the salt (this usually takes a minute or two).

  3. Spread the herb salt onto a rimmed baking tray, and put into your preheated oven for 45-60 minutes. Stir the salt mixture (or if it’s easier, use your hands to break/mix everything up) every 20 minutes until the salt is fully dry, making sure it doesn’t burn.

  4. Let the herb salt cool fully, then store in a jar with a lid in a cool, dry spot in your pantry, where it will keep for several months.

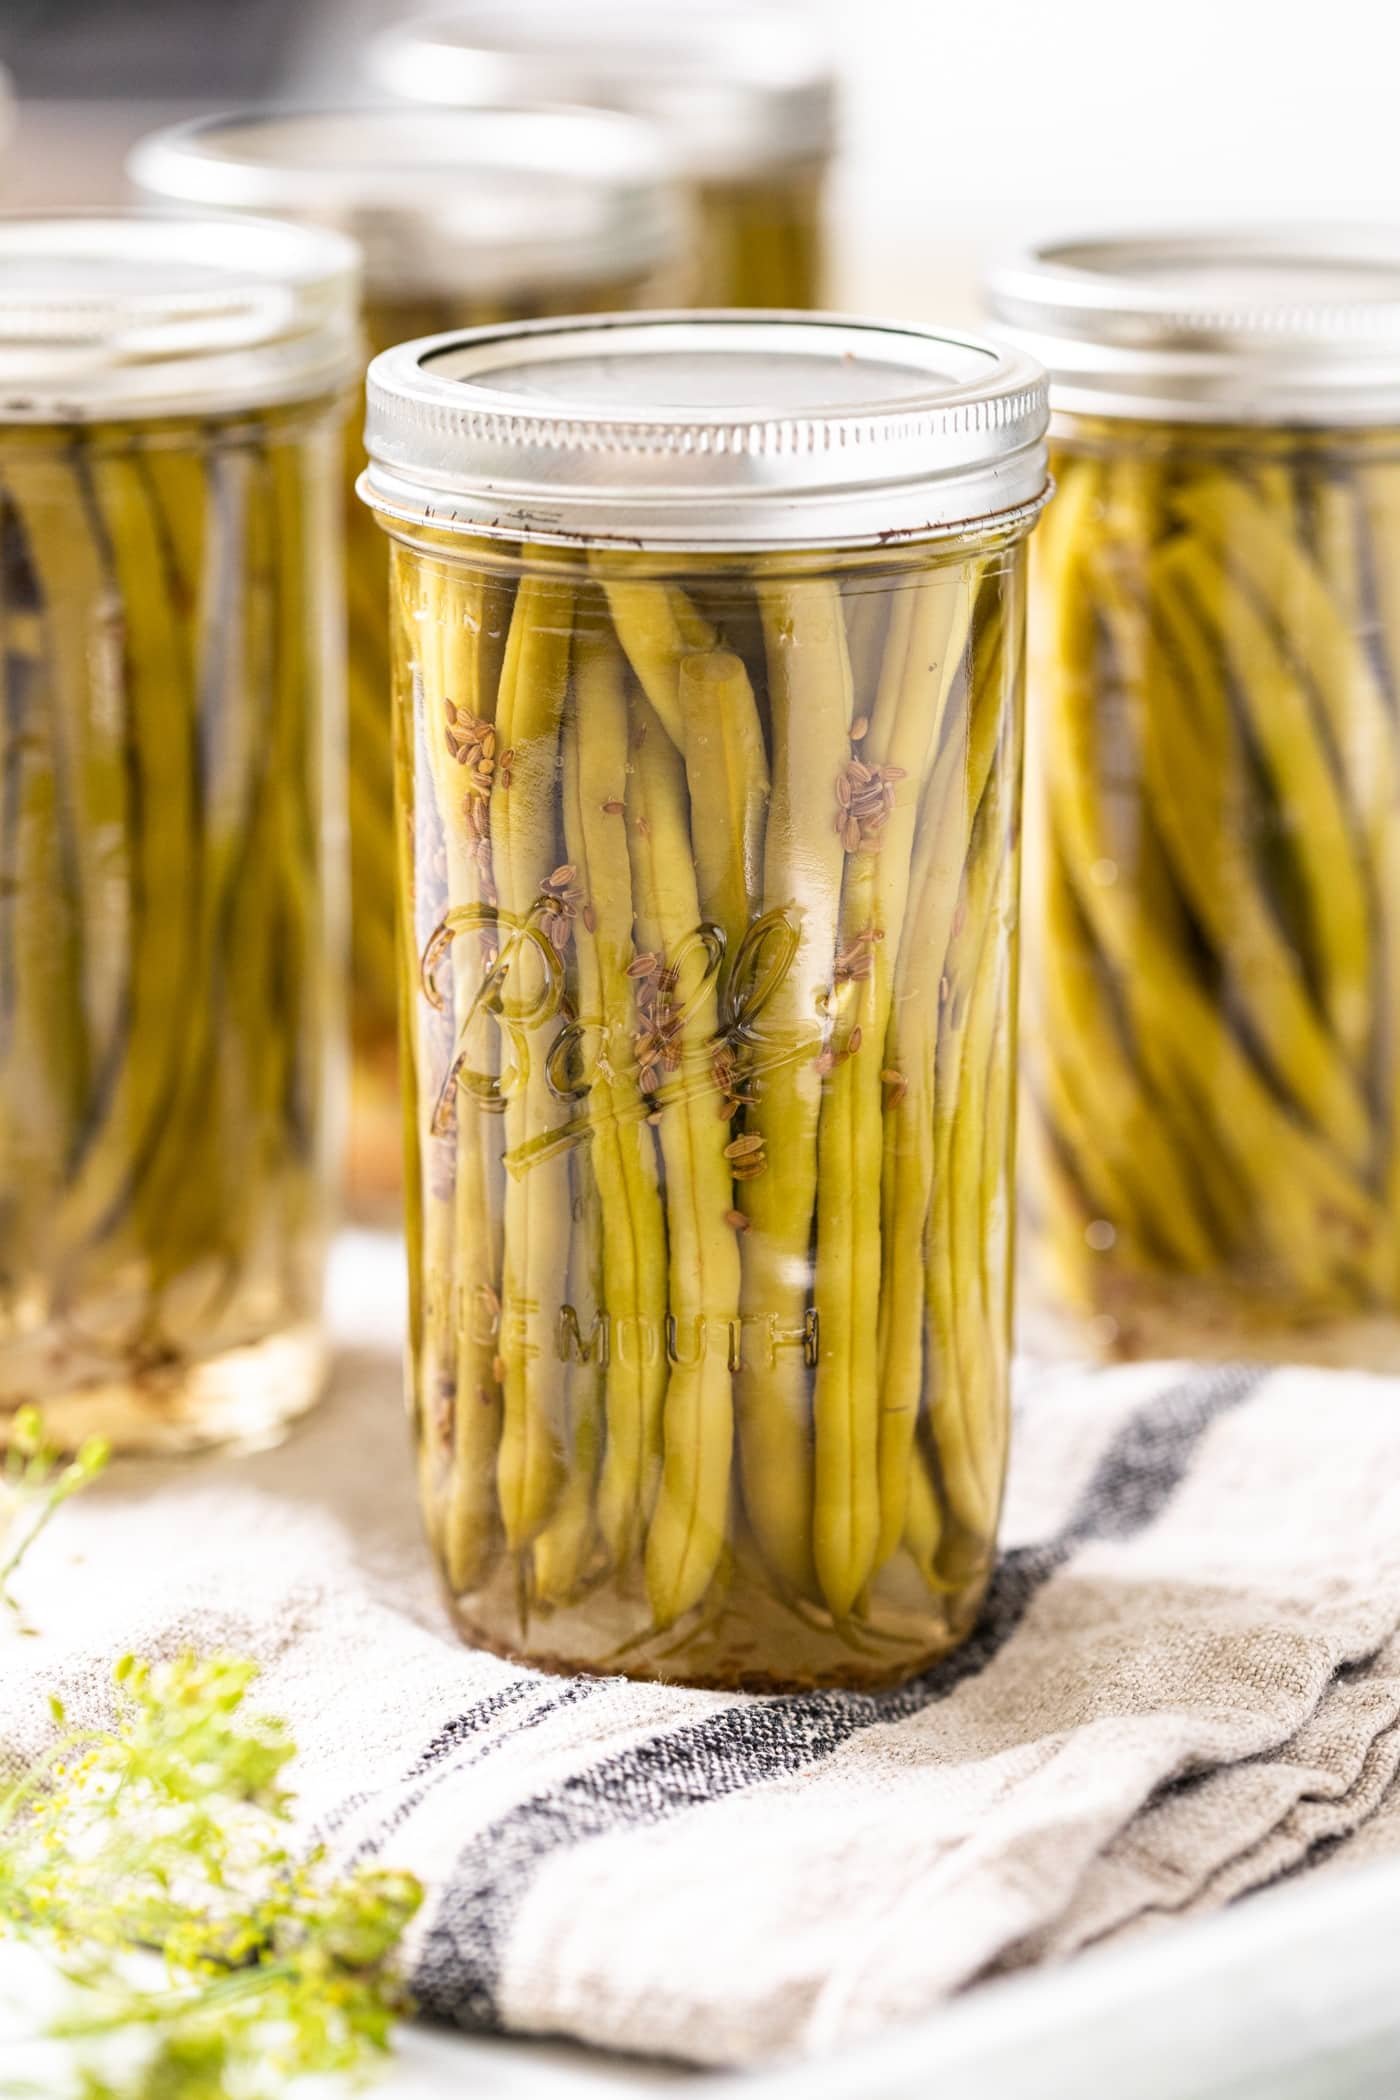
Dilly Beans (Pickled Green Beans)

I’ll be honest that until I met my husband Matthew and his family, I had never even heard of dilly beans… but now I’m making up for lost time, especially since these days we are swimming in green beans! Even if you are new to canning, this recipe is very straightforward... though the process is even more fun when you have some helping hands! | MAKES 8 16-oz jars

DILLY BEANS (PICKLED GREEN BEANS)

Photo Credit: Wyse Guide

INGREDIENTS

  • 6 cups water

  • 6 cups white vinegar

  • 1/4 cup kosher salt

  • 4-5 pounds fresh green beans | ends trimmed

  • 1 teaspoon chopped fresh dill

  • 1/4 teaspoon dill seed

  • 1/4 teaspoon celery seed

  • 1/8 teaspoon alum (keeps the beans crisp)

  • 1/2 teaspoon dry red pepper flakes

  • 2 cloves garlic

INSTRUCTIONS

  1. Start by sterilizing 8 pint-size mason jars by boiling them for 10 minutes in a large stockpot. Boil the lids for 10 minutes in a separate smaller saucepan. Remove with rubber tongs, set aside and allow to dry until needed. Keep the stockpot filled with water on the stove, as you will need it again to seal the jars once they are packed with beans and brine.

  2. Quickly blanch the green beans by bringing salted water to boil in a medium saucepan. Add green beans, cook at a medium boil uncovered for two minutes, then immediately refresh the beans in an ice bath.

  3. Next, make the brine by combining the water, vinegar, and salt in a saucepan and bringing to a gentle boil. Lower the heat to keep a very low simmer. 

  4. Meanwhile, pack the fresh dill, dill seed, celery seed, alum, red pepper flakes, and garlic into your sterilized jars. Next, pack the beans tightly in the mason jars and ladle in the hot brine to just cover the beans (leave 1/2” head space). Fasten the lids to each jar and carefully place the jars back into the stock pot with boiling water to seal the jars. After 10 minutes in the hot water bath, remove jars with rubber tongs and gently place on your countertop, as they cool you should hear each jar “pop” as the lid seals. Store for at least two weeks before eating.

Quick Pickles

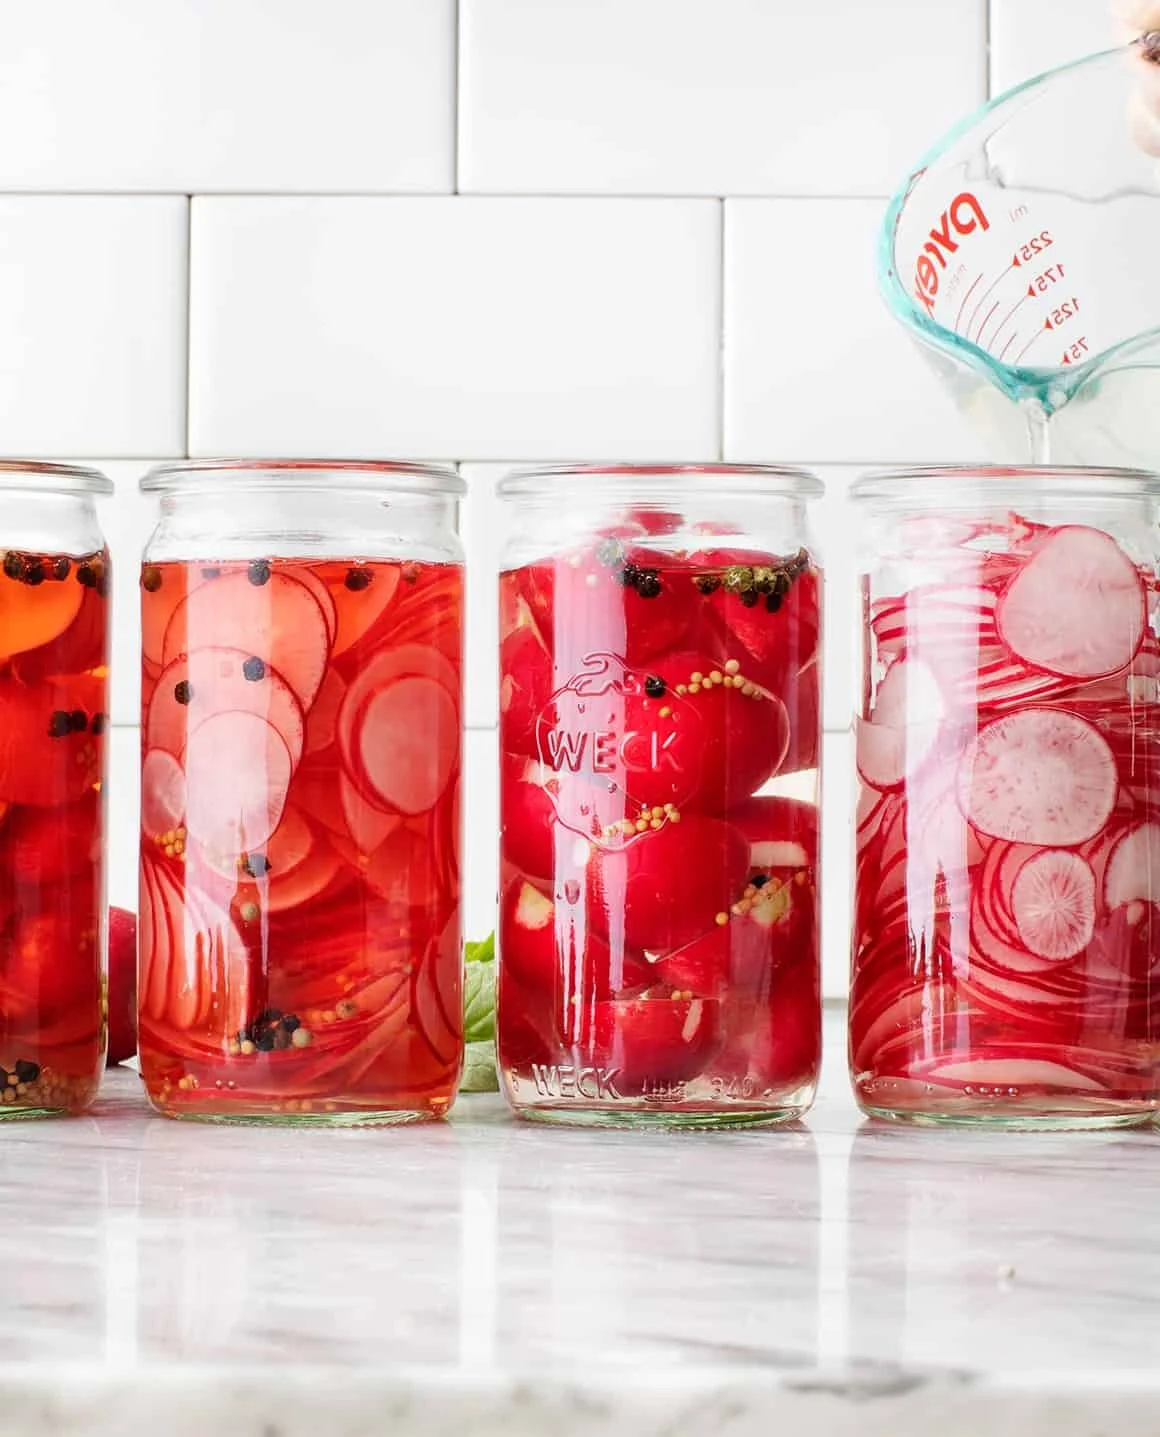
I know that when most people hear the world pickle, you automatically think of cucumbers… but actually, you can pickle just about anything! The process of pickling is just preserving food by immersing it in vinegar, as the highly acidic environment inhibits the growth of harmful bacteria and extends the life of fresh produce. Here’s my *very simple* recipe for making quick pickles… if you’re more of a visual learner, tune into my YouTube video!

HOMEMADE QUICK PICKLES

INGREDIENTS + EQUIPMENT

  • 1 pound of fresh seasonal vegetables (such as cucumbers, carrots, cauliflower, green beans, summer squash, radishes, asparagus)

  • Optional seasonings: fresh herbs, whole spices, garlic, lemon zest, ginger, etc.

  • 2 pint-sized (or 1 quart-sized) wide mouth jars with lid

Basic Brine

  • 1 cup vinegar (I usually use distilled white vinegar)

  • 1 cup water

  • ¼ cup sugar

  • 1 tablespoon kosher salt 

INSTRUCTIONS

  • Prepare the jar: Wash your mason jar and lid in hot soapy water, rinse and let air dry.

  • Make the pickling liquid: Combine the vinegar, water, salt, and sugar in a small saucepan over high heat. Bring to a boil, stirring to dissolve the salt and sugar. 

  • Prep the vegetables: Wash + dry the vegetables, peel (if necessary) and cut vegetables into desired shapes/sizes.

  • Pack the vegetables and flavorings: Pack the vegetables, herbs/spices/aromatics into the jars in layers, making sure there is a 1/2 inch of space from rim of the jar to the tops of the vegetables. Pack as tightly as you can without smashing.

  • Pour brine over the vegetables: Carefully fill each jar to within 1/2 inch of the top with the brine. Note: this recipe makes enough brine for 2 pint-sized jars, or 1 quart of pickles. 

  • Remove air bubbles and seal jars: Gently tap the jars against the counter to remove air bubbles. Top off with more brine if needed. Screw on lids until the rings are tight.

  • Cool and refrigerate: Let the jars cool to room temperature. Store the pickles in the refrigerator. These will taste good after 48 hours, but are much better after a couple days to a week. Keeps for months – the cleaner you keep the jar, the better!

Homemade Ground Pepper Powder

IMG_6058.jpg

Making your own ground pepper powder is ridiculously easy – all you need are some peppers, an oven, a few hours of patience, and a spice grinder or food processor. If you have a dehydrator, you can totally use it to dry out the peppers – I’m using the oven here because I know not everyone has a dehydrator, and I can dry bigger batches of peppers using an oven.

For this recipe, I used cayenne peppers, but you can absolutely use whatever peppers you have on hand. Not only will these be the freshest spices you’ve ever cooked with, but they make wonderful gifts!

DIY GROUND PEPPER POWDER

INGREDIENTS & MATERIALS

PREPARATION

  1. Preheat your oven to 180F.

  2. Cut off the stems and any bad spots off each pepper. If you would like to have less heat in your powder, slice each pepper in half lengthwise and use a spoon to remove the pith/membrane and seeds (I usually skip this step). Place your prepped peppers on a baking sheet(s) in a single layer.

  3. Place the peppers in the warm oven and bake until they are fully dried, checking them every so often to ensure they aren’t burning. The amount of time will vary based on the peppers you’re using – it usually takes about 3-4 hours for cayenne peppers to dry.

  4. Once the peppers have cooled, place them in batches in your spice grinder and pulse until at the desired powder consistency. Voila! You now have homemade pepper powder. Store in an air tight container for up to 6 months for maximum freshness – or you can freeze to keep even longer!